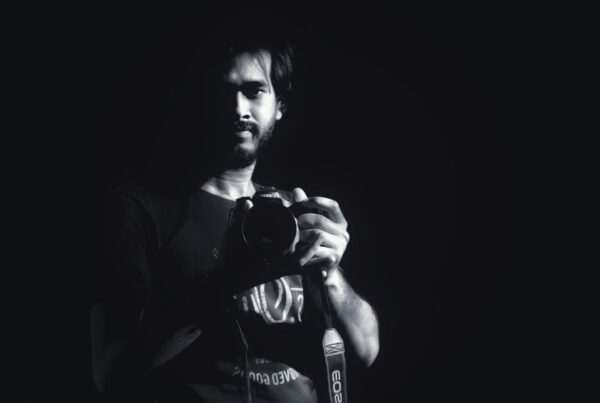

A dark garden portrait is a moody, gothic-style portrait built in an ordinary backyard with one off-camera flash. You underexpose ambient light by two to three stops, place the flash high and hard to one side, and let the garden itself fall into shadow. No studio required.
The Backyard That Didn’t Look Like Anything
October, maybe 6:40pm. The light was already going flat and gray, the kind of nothing-light that makes every frame look like a phone snapshot. My client was standing next to a hedge that had seen better decades, a plastic storage bin three feet behind her, and a neighbor’s trampoline visible over the fence. Not a location. A yard.
I killed the ambient. Dropped the shutter, stopped down, put the flash on a stand at camera left about nine feet up, feathered the edge of the beam across her jaw. Everything behind her went to ink. The hedge turned into a shape rather than a hedge. The trampoline vanished.
That’s the whole trick. A dark garden portrait isn’t about finding a gothic location. It’s about removing everything that isn’t the subject, and a single flash is the sharpest removal tool you own.
Why Does a Dark Garden Portrait Work So Well in an Ordinary Yard?
Because subtraction is cheaper than addition. A studio gives you control by putting you in an empty room. A dark garden portrait gives you the same control by making the room disappear.
Foliage is the gift here. Leaves are matte, dense, and absorb light badly compared to skin. Point one hard source at a person standing a few feet in front of a hedge, and the inverse square law does your background work for free. The subject is lit. The leaves eight feet back get a fraction of that light. Everything beyond falls off a cliff.
That falloff is what makes a dark garden portrait read as cinematic rather than snapshot. You’re not simulating night. You’re building a pool of light in a void, which is exactly how a gaffer lights a close-up.
And here’s the contrarian part: most photographers chasing this look buy a second light before they’ve learned what one can do. A second flash fills your shadows, and shadow is the entire point of the dark garden portrait. Adding light to a dark garden portrait is like adding sugar to espresso and wondering why it tastes less like coffee.
I spent most of a year believing I needed a three-light kit to get dramatic. I was wrong, and the gear sat in a bag while I shot everything on a single speedlight anyway.
What You Actually Need for a Dark Garden Portrait
Short list. Genuinely short.
- One off-camera flash: A speedlight works. A battery-powered strobe works better, mostly because it recycles faster and takes modifiers without fuss.
- A trigger: Radio, not optical. Optical slaves fail outdoors once ambient drops and line-of-sight gets blocked by a shrub.
- A light stand you trust in wind: This is the thing people cheap out on. A sandbag, a weight, a friend’s foot on the base. Whatever it takes.
- One modifier, not three: A small softbox, a gridded strip, or a bare reflector with a grid. Grids are the secret weapon of the dark garden portrait because they stop spill before it reaches your background.
- A lens around 85mm: Compression tightens the background and makes the fall-to-black feel intentional.
That’s it. If the brief for your shoot says “moody” and your gear bag weighs forty pounds, something has gone sideways.
Step One Through Four: Killing the Ambient
This is the section most people skim and then wonder why their frames look washed out. Don’t skim it. Every dark garden portrait lives or dies on what you do before the flash fires once.
- Switch to full manual on the camera. Aperture priority will fight you the entire shoot, constantly trying to rescue the exposure you are deliberately crushing.
- Set your sync speed, then back off one stop. Most systems sync around 1/200s or 1/250s. Start at 1/160s to give yourself margin, since a frame with a black bar across the bottom is a wasted frame.
- Set base ISO. ISO 100. You want the least sensitive sensor state available, because you’re trying to make the world darker, not brighter.
- Stop down until the ambient-only frame is nearly black. Take a test shot with the flash off. Adjust aperture until the garden reads roughly two to three stops under correct exposure. On a gray October evening that’s often f/5.6 to f/8. On a bright afternoon you may need f/11 or a neutral density filter.
Look at that test frame. It should be gloomy, barely legible, the hedge just a suggestion. Good. That’s your canvas for the dark garden portrait, and everything you add from here is deliberate.
If the ambient test frame still shows a readable sky, a lit window, or a neighbor’s porch light, deal with it now. Reframe, or move the subject, or wait eleven minutes for the sun to drop further. You cannot fix a bright background with a single flash later.
Step Five Through Nine: Placing the One Light
Now the fun part. The flash placement is the entire personality of the dark garden portrait, and small moves make enormous differences.
- Go high. Raise the flash eight to ten feet, well above the subject’s head, angled down. Light from above reads as natural and dramatic. Light from chest height reads as a police interrogation.
- Go wide, roughly 45 to 70 degrees off your lens axis. The further around you push it, the more of the face falls into shadow. Around 70 degrees you start getting a true short-light gothic look with one lit cheek and one dark one.
- Feather the beam. Don’t aim the center of your modifier at the face. Aim it past the subject so only the softer edge of the beam lands on them. This is the single biggest quality upgrade available for free, and it also reduces spill onto the garden behind.
- Start at low power and climb. Begin at 1/32 power. Shoot. Adjust. Working up from too dark teaches you the shape of the light far better than working down from blown highlights.
- Check the background in every test frame, not just the face. If the hedge is lifting out of black, either pull the subject further forward, tighten the grid, or feather harder.
Subject-to-background distance is a control you can adjust with your voice instead of your hands. Ask your subject to take two steps toward you and the background drops noticeably darker. No gear change, no power change. Two steps.
Confession: I lit an entire session with the stand too low because I was lazy about extending the last section in the cold. Every frame had this upward kick in the shadows under the chin that no amount of editing fixed. Raise the stand. Always raise the stand.
How Do You Make a Dark Garden Portrait Feel Gothic Instead of Just Dark?
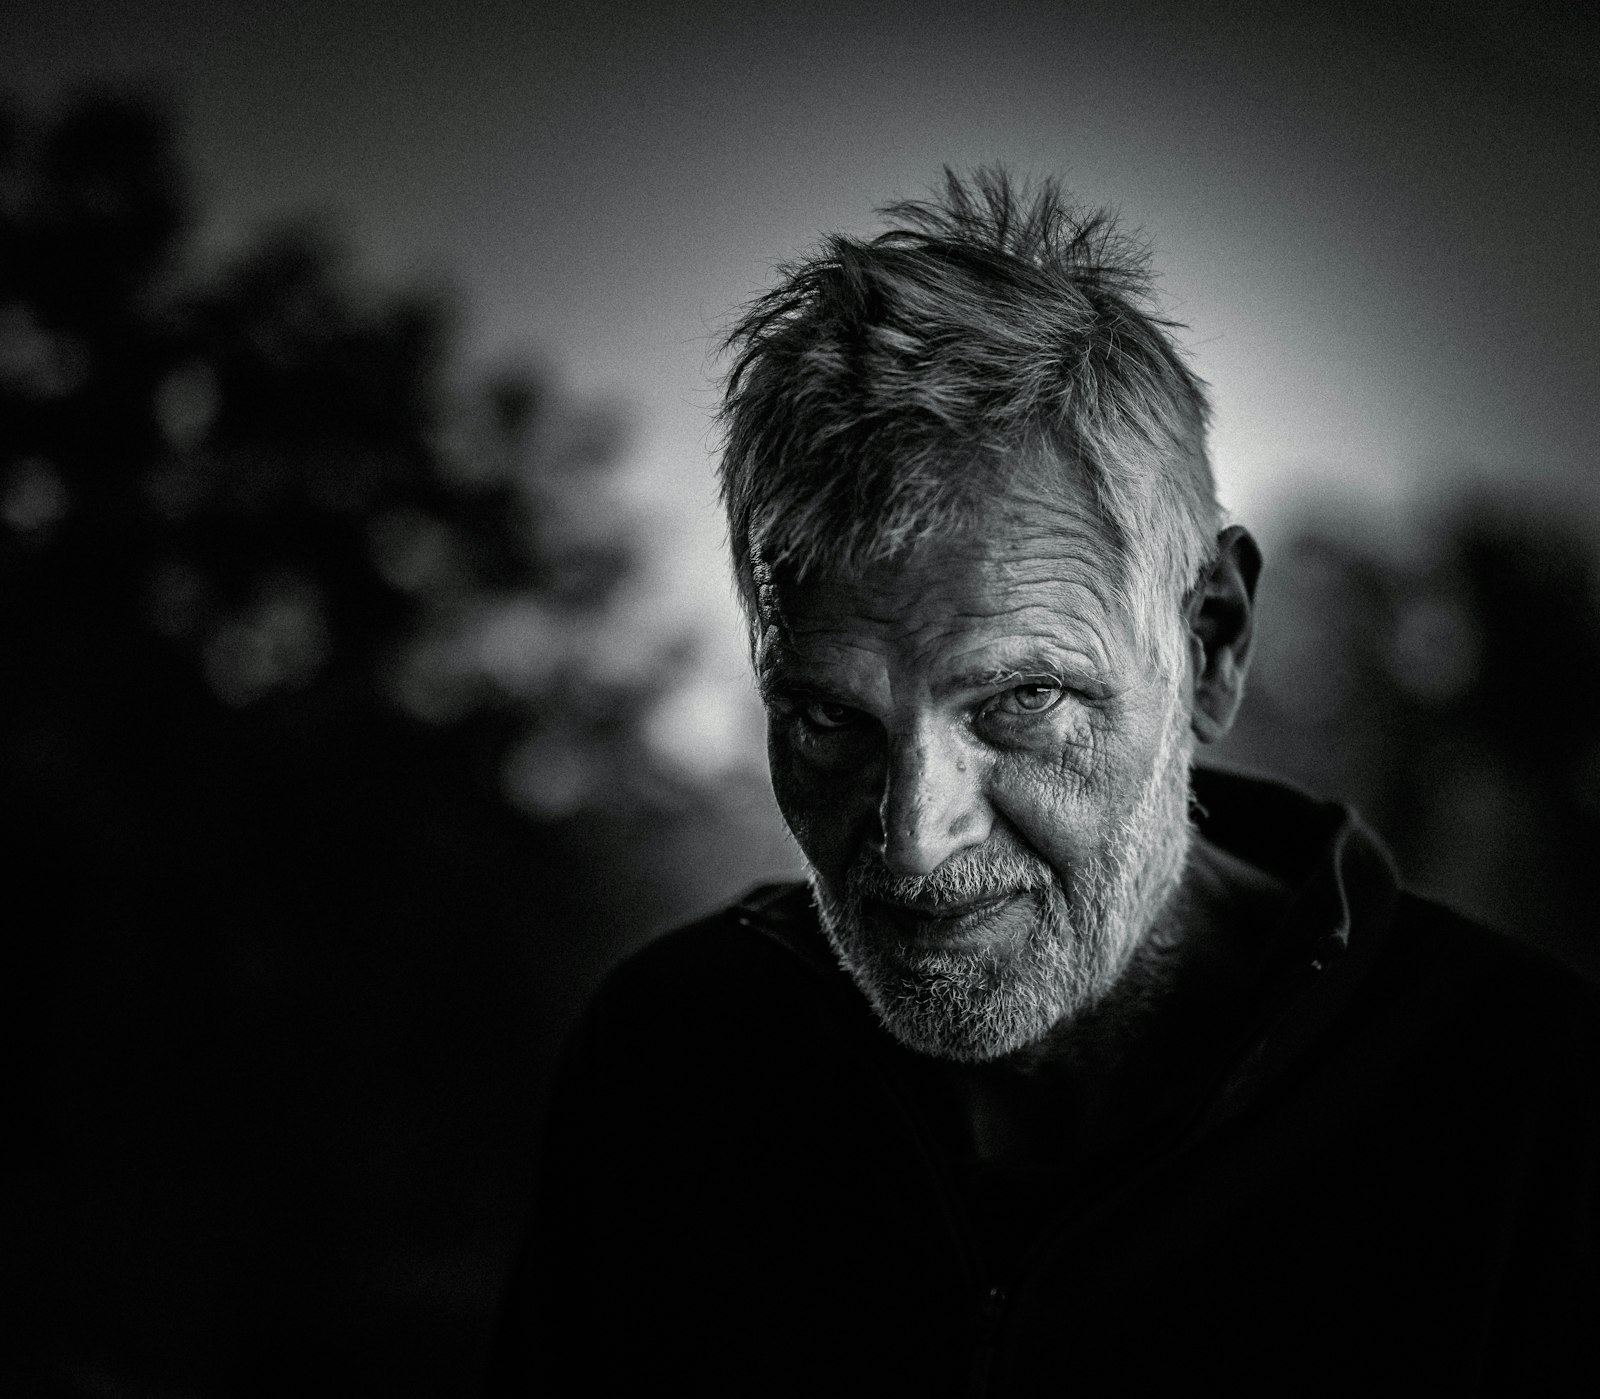
Dark is an exposure decision. Gothic is a staging decision. Those are different jobs, and conflating them is why a lot of attempts at this look end up reading as underexposed rather than atmospheric.
Three things move a dark garden portrait from dim to genuinely gothic:
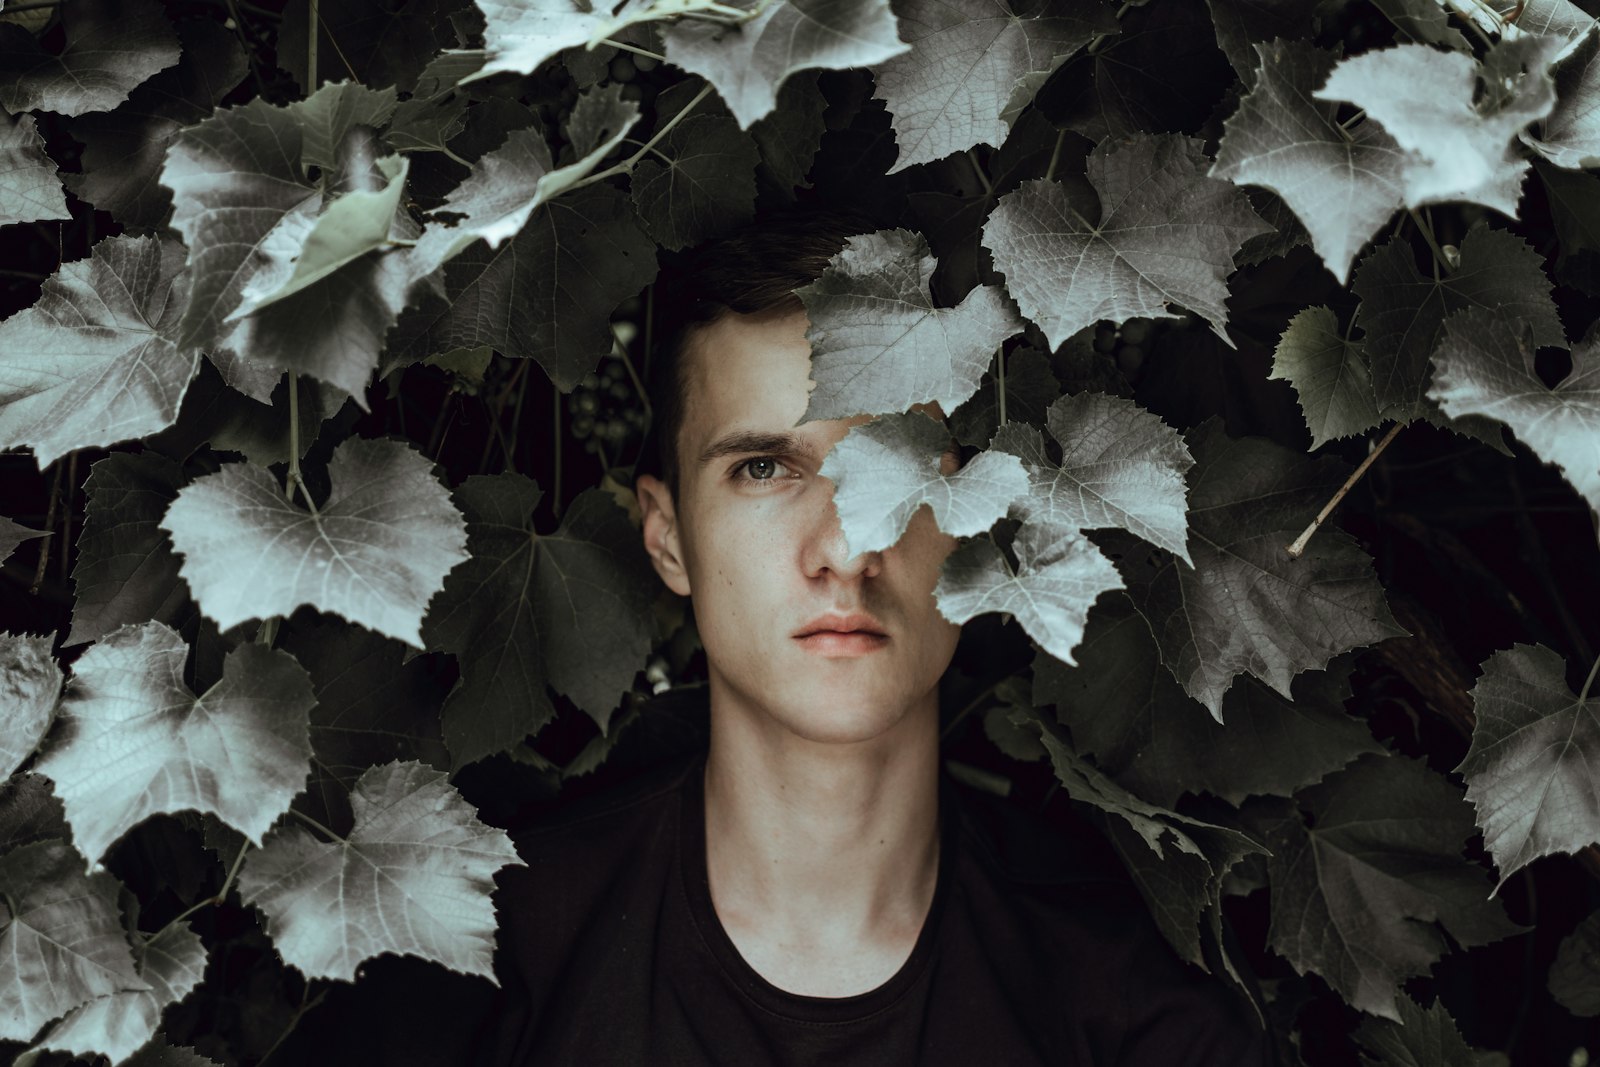
- Texture in the frame edges: A branch crossing the top corner, a vine, overgrown grass at the hem of a dress. Let a few leaves catch the very edge of your light so the viewer knows there’s a world out there.
- Negative space weighted strangely: Put the subject off-center with a large field of black beside them. Centered compositions feel like portraits. Off-balance ones feel like stills from a film.
- Stillness in the pose: Hands low, chin slightly down, eyes to the lens. Gothic portraiture is held breath, not action. If you want movement in the frame instead, that’s a different technique entirely, and our guide on how to shoot portraits in motion covers it properly.
Wardrobe does a quarter of the work here and costs you nothing. Dark fabrics merge into the background and leave only skin and hands floating in the light, which is the most reliable gothic effect available to a dark garden portrait. Light fabric does the opposite and turns your subject into a lantern.
Texture beats color too. Velvet, lace, knit, anything with a surface. A grazing flash across a textured sleeve gives you detail that a flat cotton shirt simply cannot.
Working the Light Across a Real Session
Here’s how a dark garden portrait session actually unfolds when the clock is running and the client is cold.
First ten minutes: ambient kill and one light up, no subject. Shoot the empty hedge. Get your black. This is the part clients find boring and it’s the part that saves the session.
Next fifteen: subject in, power dialed, three or four poses in the same light. Don’t move the stand yet. Get safe frames in the bag before you get ambitious.
Then: move the light, not the subject. Push from 45 degrees around to 80 and shoot the same pose again. You’ll get two completely different dark garden portrait moods from identical staging, and the variety looks like you shot two locations.
Last stretch: one rim-light variation. Walk the stand behind and to the side of the subject, aimed back at them, and let it carve an edge along the shoulder and hair while the face stays nearly black. It’s a risky frame. It’s also usually the one clients pick.
Related skill, worth reading if evening work is becoming a regular part of your business: our piece on the secret to lighting great night portraits covers the ambient-balancing side that a dark garden portrait deliberately ignores.
And if you’re still deciding whether a scene needs strobe at all, when to shoot with off-camera flash and without it is a useful gut check before you drag a stand into someone’s yard.
Editing a Dark Garden Portrait Without Ruining It
Restraint. That’s the whole section, but let’s be specific.
Pull the black point down, not up. The temptation in post is to lift shadows and “recover” the garden. Resist it. Every bit of shadow you lift undoes the work the flash did in-camera, and a lifted dark garden portrait looks muddy in a way that no contrast curve rescues.
Desaturate greens selectively. Foliage that survives in the shadows often reads as a sickly lime, which fights the mood. Drop green saturation and shift the hue slightly toward teal and the background reads as atmospheric rather than suburban.
Keep skin warm against that cool background. The temperature split does more for the cinematic feel of a dark garden portrait than any preset will.
Grain, lightly. A touch of monochromatic grain in the deep shadows stops them from banding and gives the whole frame a film-stock density. Overdo it and you get a filter. Underdo it and nobody notices, which is the correct amount of noticing.
Where the Dark Garden Portrait Goes Wrong
Four failure modes, all of them recoverable if you spot them on set rather than in the edit.
- The background won’t die: Usually ambient, occasionally spill. Check your ambient-only test frame again. If that’s clean, it’s your modifier throwing too wide, and a grid fixes it.
- Harsh, crunchy shadows on the face: Your source is too small and too far. Move the flash closer. A small softbox at four feet is softer than a large one at twelve.
- Hot spot on the forehead: You’re aiming the center of the beam at the subject. Feather it past them.
- Subject squinting and miserable: Modeling lamp blasting, or you’ve been test-firing at them for eight minutes. Turn the subject away between setups. A cold, blinded client stops giving you expressions, and no dark garden portrait survives a dead expression.
There’s a fifth one nobody admits to: shooting too late into blue hour and losing your subject’s eye detail entirely. A dark garden portrait needs catchlights. If the eyes are empty, the frame is empty.
What to Take From This
- Kill ambient first: Manual mode, 1/160s, ISO 100, stop down until the garden is two to three stops under.
- One flash, high and wide: Eight to ten feet up, 45 to 70 degrees off axis, feathered past the subject.
- Grid your modifier: Spill control is what keeps a dark garden portrait dark.
- Move the subject forward, not the light: Two steps toward camera drops the background noticeably.
- Dark wardrobe, textured fabric: It does a quarter of the gothic work for free.
- Move the light, repeat the pose: Two light positions read as two locations.
- Edit down, not up: Don’t lift shadows. Desaturate greens. Keep skin warm.
The Yard Was Never the Problem
Autumn is the easiest season for this. The light dies early, the foliage is thick, and clients already want something a little melancholy for their October and November sessions. You can be set up and shooting a dark garden portrait by 6pm and home before eight.
But the real reason to learn this is portability. Once you can build a dark garden portrait in a bad backyard with one flash, you stop being dependent on locations. A parking lot hedge works. A client’s side yard works. The strip of ivy behind a venue works.
You’re not finding drama anymore. You’re bringing it, in a bag, on a stand, and that changes what you can say yes to. For more on bending difficult light to your will, our guide to long exposure waterfalls in bright daylight runs the same logic in the opposite direction. The dark garden portrait is just the most useful version of that idea for anyone who shoots people.
FAQ
Can I shoot a dark garden portrait in the middle of the day?
Yes, but you’ll need a neutral density filter or high-speed sync to kill the ambient. Late afternoon and dusk are far easier, since the sun is already doing half the darkening work for you.
Does a speedlight have enough power for this?
Easily, at dusk. A speedlight at half power through a small softbox handles most dark garden portrait setups. Daylight shooting at f/11 is where a battery strobe starts earning its price.
What focal length works best?
Around 85mm on full frame. The compression tightens the background and makes the falloff to black look deliberate. A 50mm works at tighter crops; wider than 35mm starts including yard you don’t want.
Why does my background look green and muddy instead of black?
Light spill, almost always. Add a grid to your modifier, feather the beam further past your subject, and move the subject two steps closer to camera. Then fix the rest in post.
Do I need a modeling light?
It helps for focusing once ambient drops, but it is not essential. Most modern autofocus systems handle dusk fine, and a small LED on your hot shoe at low power covers the gap cheaply.
Photo: Fotografia Eles Dois