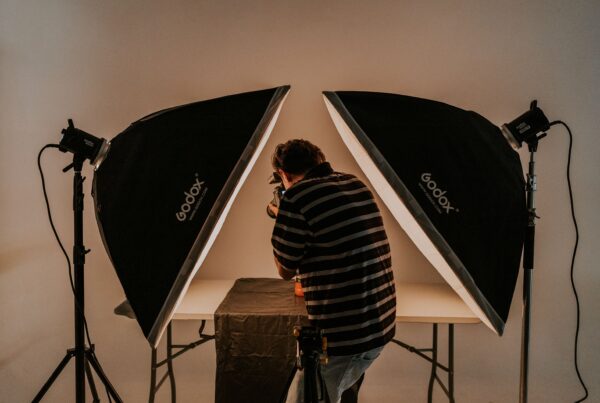
THE SHORT VERSION: The most underused approach to lighting night portraits is treating existing city light as your key and adding one small, low-powered source purely for shape. Expose for the background first, then bring in a weak light close to the subject. It keeps the night looking like night.
Ten fifteen on a Tuesday, a parking structure on the east side of town, and my client is standing under a sodium vapor lamp that’s turning her skin the color of a traffic cone. I have a speedlight on a stand. I have a modifier that’s too big for the wind. And I have about eleven minutes before she’s cold enough to stop pretending she’s having fun.
So I did the thing most of us do. I cranked the flash, killed the ambient, and made a picture that could have been shot in a garage at noon. Technically clean. Emotionally dead. The night was right there and I erased it.
That’s the trap in lighting night portraits: we bring so much light that we destroy the reason we came out after dark in the first place. The fix is smaller than you think, and it mostly involves turning things down.
Why Most Attempts At Lighting Night Portraits Fail
Here’s the honest diagnosis. Flash is loud. It’s the most obedient tool in the bag and it makes you feel competent the second it fires. So we reach for it, set it to something confident, and blast away.
The problem is that a portrait flash at normal power is dramatically brighter than anything the city is putting out. Your shutter and aperture get dragged toward the flash exposure, the ambient falls off a cliff, and the background goes black. You’ve now got a studio portrait with a dark wall behind it.
Fstoppers walked through a version of this in their piece on the secret no one tells you about lighting great night portraits, and the throughline matches what I’ve found the hard way: the overlooked move is subtraction, not addition.
Lighting night portraits well means the flash is a supporting actor. The city is the lead. Your job is to keep the city in the frame and just carve a little shape into the face so it doesn’t go flat.
The Core Principle: Background First, Face Second
Every good night frame I’ve made follows the same order of operations, and it’s backwards from how most people shoot.
You set your exposure for the background before you even think about the light on your subject. Not the other way around. The background is the part you can’t change. The face is the part you can.
Once the background looks the way you want it, you’re no longer “adding flash.” You’re matching a small amount of light to an exposure that already exists. That reframe changes everything about lighting night portraits, because it turns a power question into a distance question.
And distance is free. Power costs you recycle time, battery, and that hard-edged look nobody asked for.
How Do You Set Exposure When Lighting Night Portraits?
This is the part people skip, so let’s be concrete. Do these in order, every single time, and lighting night portraits stops being a guessing game.
- Kill the flash entirely. Turn it off. Take it off the camera if you have to. You cannot judge ambient with a flash confusing the issue.
- Frame the background you actually want. Neon, headlights, a lit storefront, the blue channel of dusk. Compose for that first, before your subject is even standing there.
- Open the aperture to something sane, not something heroic. I usually start around f/2 rather than f/1.2. You need a sliver of depth to keep both eyes sharp when you’re this close.
- Set your shutter to the slowest speed you can hand-hold cleanly. For me that’s 1/80 or 1/60 with a stabilized body. Slower if the subject can genuinely hold still.
- Raise ISO until the background reads correctly. Not “acceptable.” Correct. If that’s ISO 4000, it’s ISO 4000. Modern sensors handle it and grain has never ruined a good picture.
- Shoot a frame with no flash and look at it. This is your baseline. If this frame has a mood you like, you’re most of the way there.
What you should be holding now is a moody, slightly underlit shot where the environment sings and the face is murky. That murky face is the only problem left to solve, and it’s a small one.
I underexposed a whole set of dusk frames once because I let the meter drive instead of my own eyes. The histogram said fine. The pictures said mud. Trust the back of the screen and your gut, not the needle.
Adding The Light: Close, Weak, And Off To The Side
Now the actual technique, and it’s almost anticlimactic.
- Start at the lowest power your flash offers. 1/128 on a speedlight. Yes, really. You will move up from there if you must, but start at the bottom.
- Bring the light physically close. Two to three feet from the face, just outside the frame edge. Close light is soft light, and close light at low power beats distant light at high power every time.
- Push it 30 to 45 degrees off the lens axis. Straight-on light flattens the face and announces itself. Off-axis light creates a shadow side, and the shadow side is what makes it look like the night did the lighting.
- Feather the edge of the beam across the face. Aim slightly past your subject so they catch the softer falloff rather than the hot center.
- Fire one frame and compare it to your baseline. If the flash is obvious, you’ve overdone it. Drop power or pull the light back six inches.
The target is a picture where a stranger couldn’t tell you added light at all. They’d just think you found a really good streetlamp. That’s the whole game when lighting night portraits.
Matching Color, Because Nothing Ruins Lighting Night Portraits Faster
You can nail the exposure and still produce something that feels wrong, and nine times out of ten it’s color.
Your flash is roughly daylight balanced. The street is not. Sodium lamps are deeply orange. LED streetlights skew cold and slightly green. Neon is whatever it wants to be. Drop a daylight flash into a sodium-lit street and your subject’s face will read as a different temperature than everything behind them, and the brain clocks that instantly as fake.
- Carry a small gel kit and actually use it. CTO for warm streets, half-CTO for mixed, a CTB if you’re working under cold LED fixtures.
- Set white balance for the background, not the face. Then gel the flash to match what you set. Backwards from instinct, correct in practice.
- Break the rule on purpose sometimes. A slightly cooler subject against a warm orange street can look deliberate and cinematic. Just make it a choice, not an accident.
Colored gels are also where lighting night portraits gets genuinely fun. A magenta rim from behind a subject on a wet street reads as a reflection from a sign that isn’t there. Nobody questions it.
Finding And Using Practical Light Sources
The best light at night is already installed and paid for by the city. Learning to read it is the skill that separates people who shoot at night occasionally from people who build a style around it.
Scout in daylight if you can, but scout at night if you’re serious. The same block is a completely different room after dark. That gorgeous brick wall you loved at 3pm might sit in total blackness at 9pm, and the boring parking lot next to it might have one perfect pool of light.
- Storefront windows: huge, soft, free, and usually the best key light on any commercial street.
- Gas station canopies: enormous overhead softboxes. Unflattering alone, excellent with one small fill from the side.
- Vehicle headlights: hard, directional, and controllable. Ask a friend to pull up and angle the car.
- Wet pavement after rain: the single best light modifier the world gives away for free.
- Signage and neon: colored key light with character baked in.
If you want more on reading available light in difficult conditions, our guide to night photography technique for low-light scenes covers the exposure side in more depth than I’m getting into here.
Practical Gear For Lighting Night Portraits On Location
You need less than the internet tells you. Most of my night kit fits in a shoulder bag.
A single speedlight that reliably goes down to 1/128 power. A lightweight stand, ideally one you can carry with one hand while holding a coffee. A small collapsible softbox or a shoot-through umbrella no wider than about 24 inches, because anything larger becomes a sail the second there’s wind.
A gel kit. A reliable trigger with fresh batteries. A fast prime in the 35mm to 85mm range. That’s the whole list for lighting night portraits at a professional standard.
What I’ve dropped over the years: the big modifiers, the second light, the battery pack for a strobe I never fire above minimum power anyway. Every item you subtract from the bag is an item you don’t have to set up while your subject stands there getting cold.
Continuous LED panels deserve a mention. They’ve gotten genuinely good, and the case for them is real: what you see is what you get, no chimping, no recycle. The trade is output. If you need to overpower anything, a panel won’t do it. For this technique, where you’re deliberately staying weak, a small panel is a completely valid tool.
What Goes Wrong And How To Fix It Fast
Let’s be honest about the failure modes, because you’ll hit all of them.
Motion blur in the background. Your shutter is too slow for the ambient light you’re pulling in, or you’re breathing. Raise ISO a stop and speed up the shutter. Grain beats smear.
Ghosting on the subject. The flash freezes them, then the slow shutter records a faint second image where they moved. Tell them to hold still through the click, not just until it. Or switch to rear-curtain sync so the flash lands at the end of the exposure.
The flash is visible. A hard shadow on the wall behind them, a specular hot spot on the forehead. Power down, move closer, feather harder.
Dead eyes. Off-axis light at low power can leave the eye sockets dark. Lift the light a little less than you think, or add a tiny bounce card at chest level.
Autofocus hunting. This one I fought for years. Use the AF illuminator if the situation allows it, focus on a lit edge like a jawline against a bright background, or have your assistant hold a phone flashlight on the face just for the focus grab.
Building A Signature Style Around Lighting Night Portraits
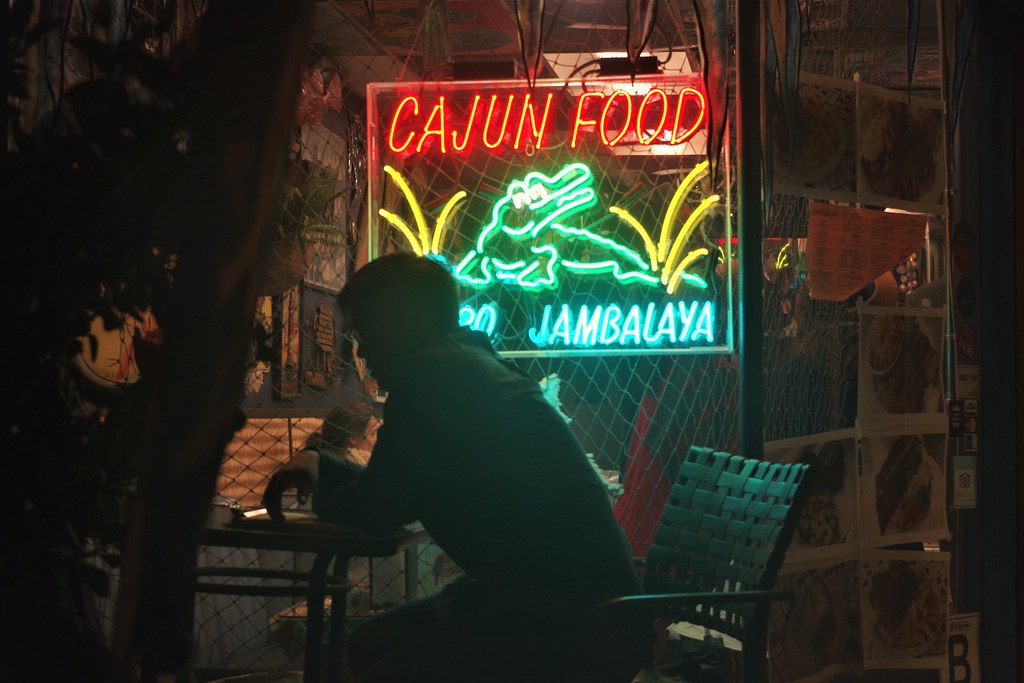
Here’s the part that matters commercially. Anyone can learn the mechanics of lighting night portraits in a weekend. What takes longer is deciding what your night looks like.
Some photographers go deep cinematic: heavy shadow, single hard source, subject barely emerging from black. Some go warm and nostalgic, all sodium glow and lens flare. Some go cold and clinical, blue-hour blues with a clean white face. All three are defensible. Picking one is what turns technique into brand.
I’d argue the night session is the most undersold thing in portrait work right now. Every senior portrait season, every engagement shoot, every headshot refresh defaults to golden hour. Golden hour is beautiful and it’s also completely saturated. If you’re the only person in your market who can confidently offer an evening session, you’re not competing on the same axis as everyone else.
That’s also a practical scheduling win. It’s late September, senior season is winding down and holiday family bookings are about to eat every weekend through December. Evening slots are hours nobody else is selling. The client who can’t leave work at 4pm can absolutely meet you at 8.
If you’re coming at this from a daylight background, our piece on mastering natural light is a useful companion, because the read-the-light instinct transfers directly. And if you want the controlled-environment contrast, studio backdrop work teaches you exactly how much you give up when you trade a real street for a seamless.
A Worked Example, Start To Finish
Say you’ve got a couple, a downtown block with a lit theater marquee, and forty minutes.
Flash off. Shoot the marquee at f/2, 1/60, ISO 3200. Background looks right, faces are dark. Now you know your baseline for lighting night portraits at this location.
Speedlight on a stand, half-CTO gel on the head to match that warm marquee bulb, small softbox, 1/128 power, positioned about two and a half feet from the closer subject and angled in from camera left at roughly 40 degrees.
Fire one. Probably slightly too dark, because the modifier eats a stop. Go to 1/64. Fire again. Now the faces sit maybe a third of a stop brighter than the marquee, which is exactly where you want them.
Then move. Same settings, five different angles relative to the sign, and you’ve got a set that looks like five locations. The whole thing takes twelve minutes and the couple never once stood in a puddle of obvious strobe light.
What To Take From This
- Expose for the background first, always. Flash off, get the ambient right, then solve the face.
- Start at minimum power. 1/128 and work up. Distance is your volume knob, not the power dial.
- Keep the light close and off-axis. Two to three feet, 30 to 45 degrees, feathered across the face.
- Gel to match the street. Set white balance for the background, then match the flash to it.
- Read the practicals before you unpack. Storefronts, headlights, wet pavement. The city already lit the set.
- Judge by the invisibility test. If a stranger can tell you used flash, you used too much.
- Sell the evening slot. Golden hour is crowded. After dark is wide open.
The Last Word
The thing that finally clicked for me about lighting night portraits was realizing that my job after dark isn’t to light a person. It’s to make the light that’s already there work harder, and to nudge one small source in where the city left a gap.
Go shoot a block you already know. Do the baseline frame with no flash. Sit with how it feels before you touch a light. Then add the smallest amount you can get away with and stop the instant it looks intentional.
Lighting night portraits rewards restraint more than any other portrait discipline I’ve worked in. Turn it down, bring it closer, and let the night stay the night.
FAQ
What shutter speed should I use when lighting night portraits?
Start at the slowest speed you can hand-hold cleanly, usually 1/60 to 1/80 with stabilization. Slower brings in more ambient but risks ghosting. Raise ISO before you drop below 1/50.
Do I need a strobe, or will a speedlight work?
A speedlight is better for this technique. You want minimum power, not maximum. A strobe that bottoms out at 1/32 can be too bright to use two feet from a face.
Why do my night portraits look like daytime shots against a black wall?
Your flash is overpowering the ambient, which drags your exposure settings toward the flash and erases the background. Turn the flash down, open up, and raise ISO until the environment reappears.
Which gel should I use on a typical city street?
A CTO or half-CTO for orange sodium lamps, a CTB under cold LED fixtures. Set white balance for the background first, then gel the flash to match that reading.
How do I focus in the dark without hunting?
Target a high-contrast edge like a jawline against a lit background, enable the AF illuminator where it’s appropriate, or have someone hold a phone light on the face just for the focus grab.
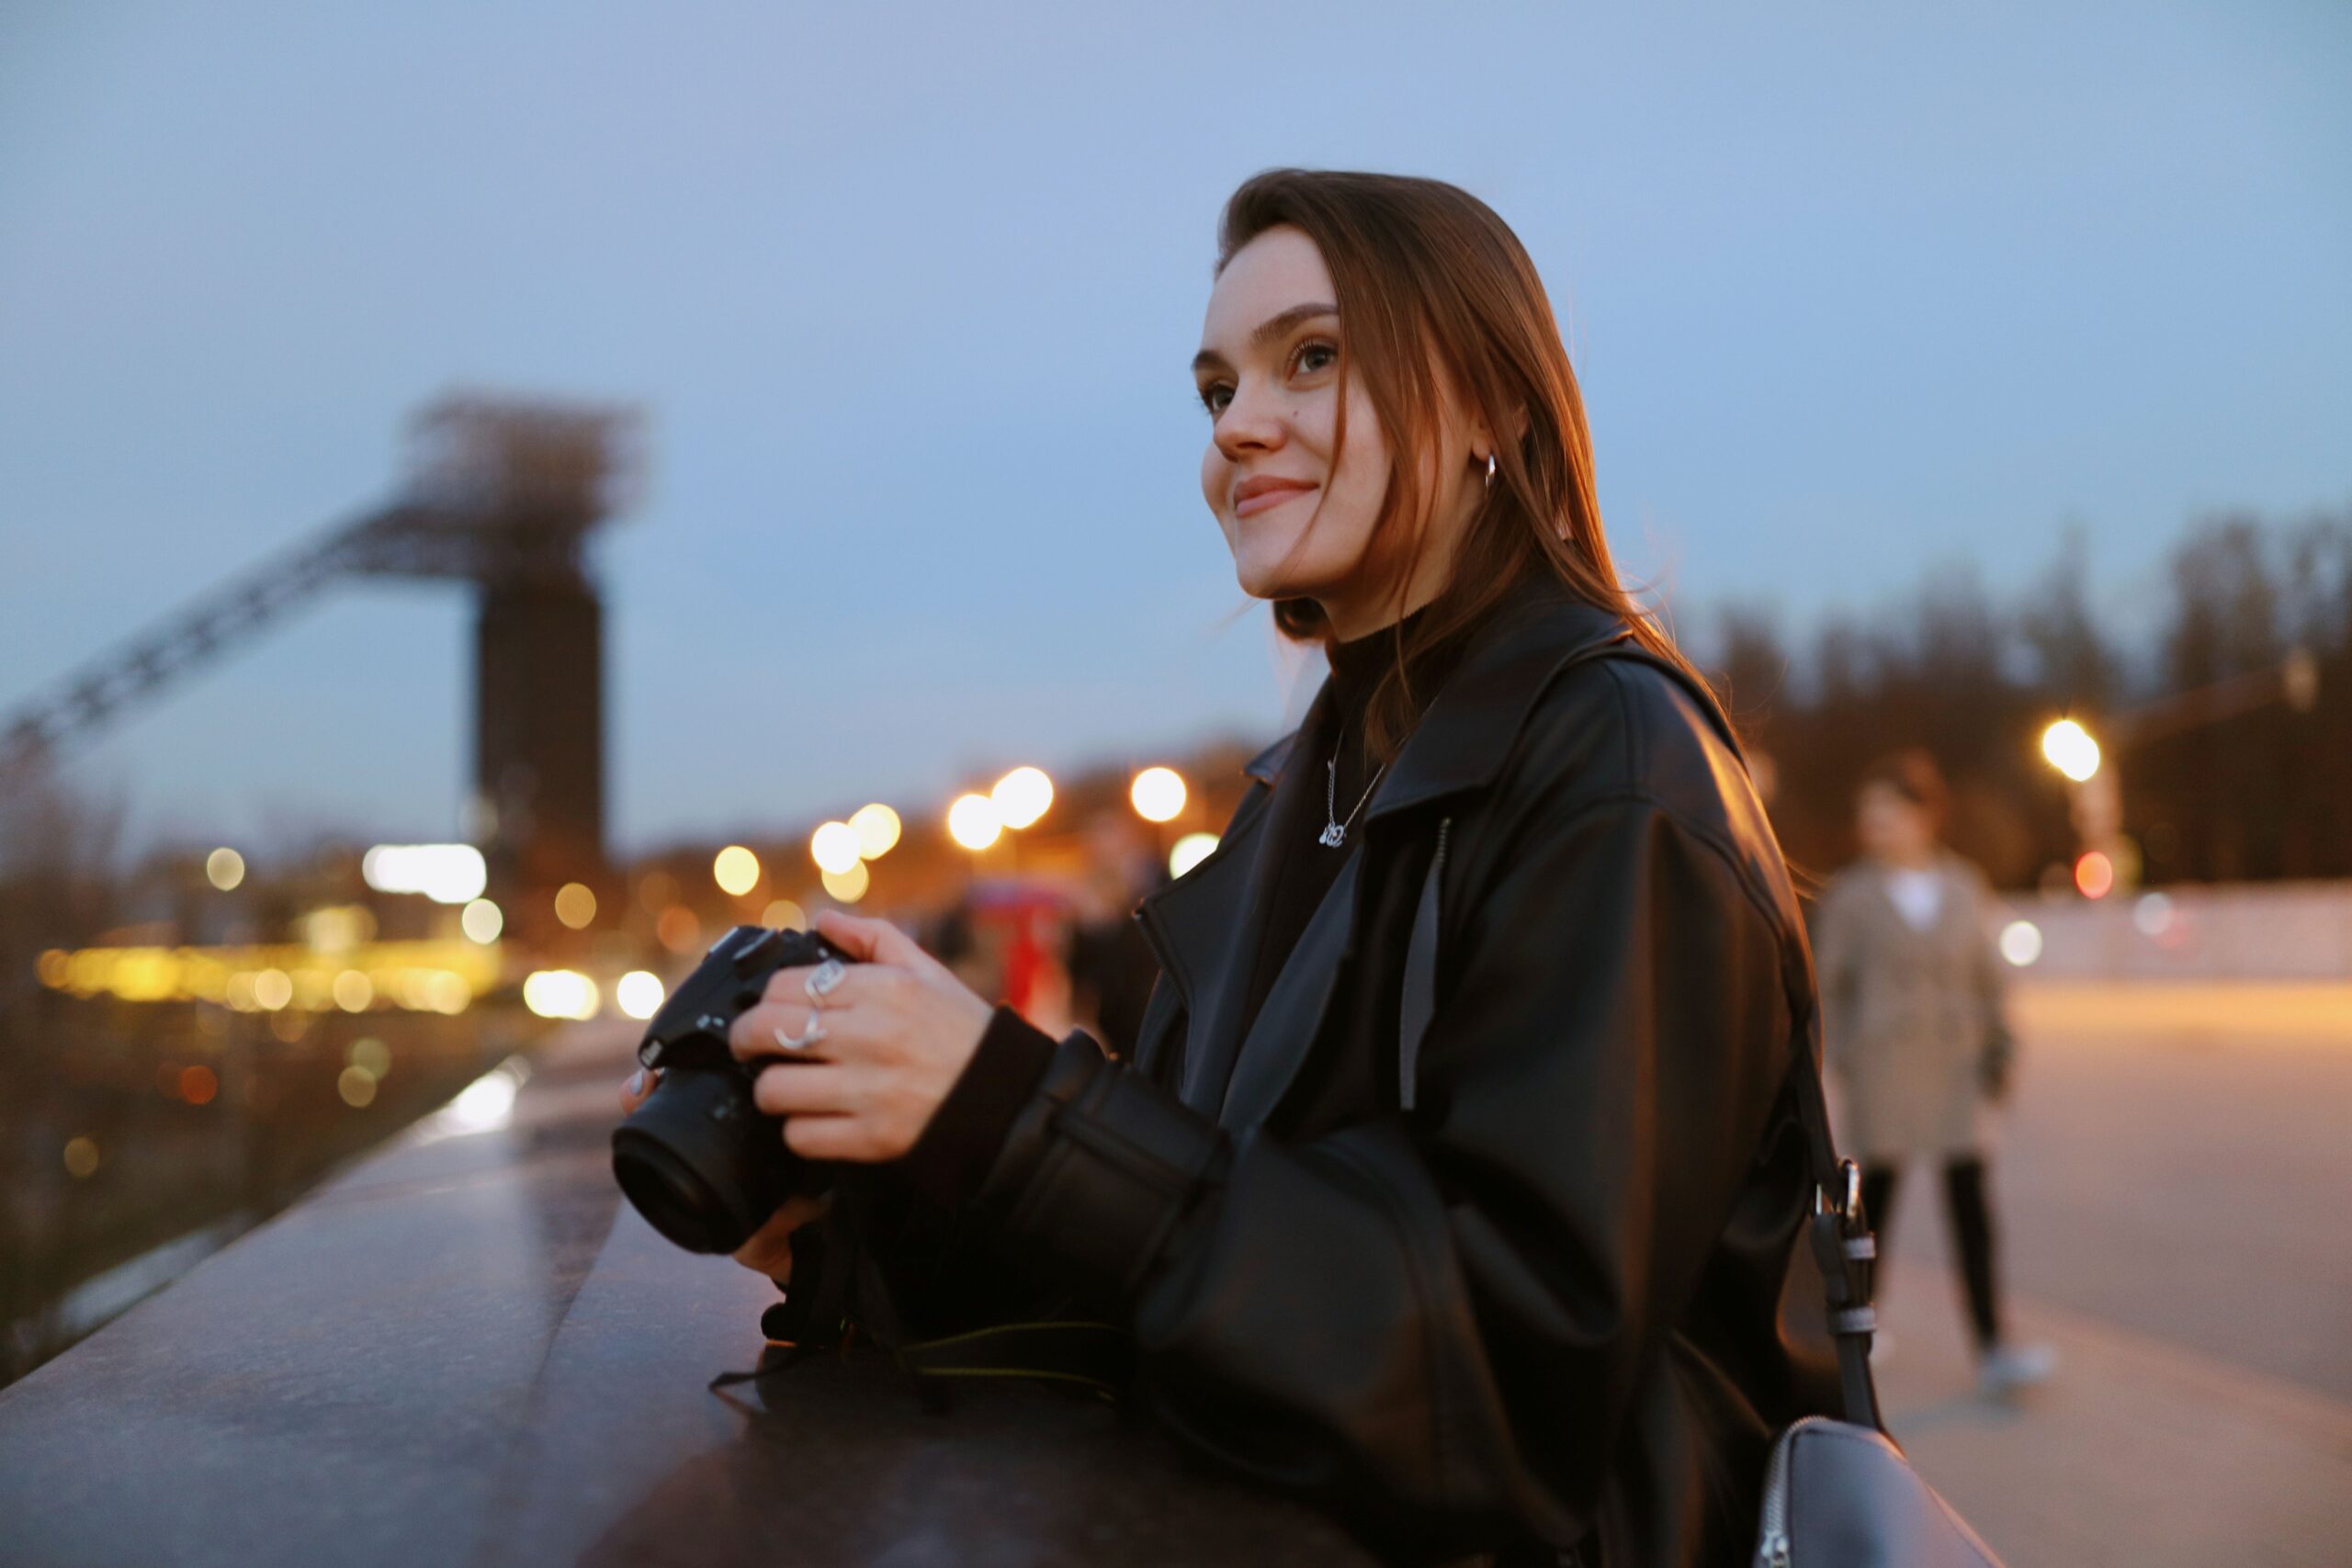
Photo: Darya Grey_Owl