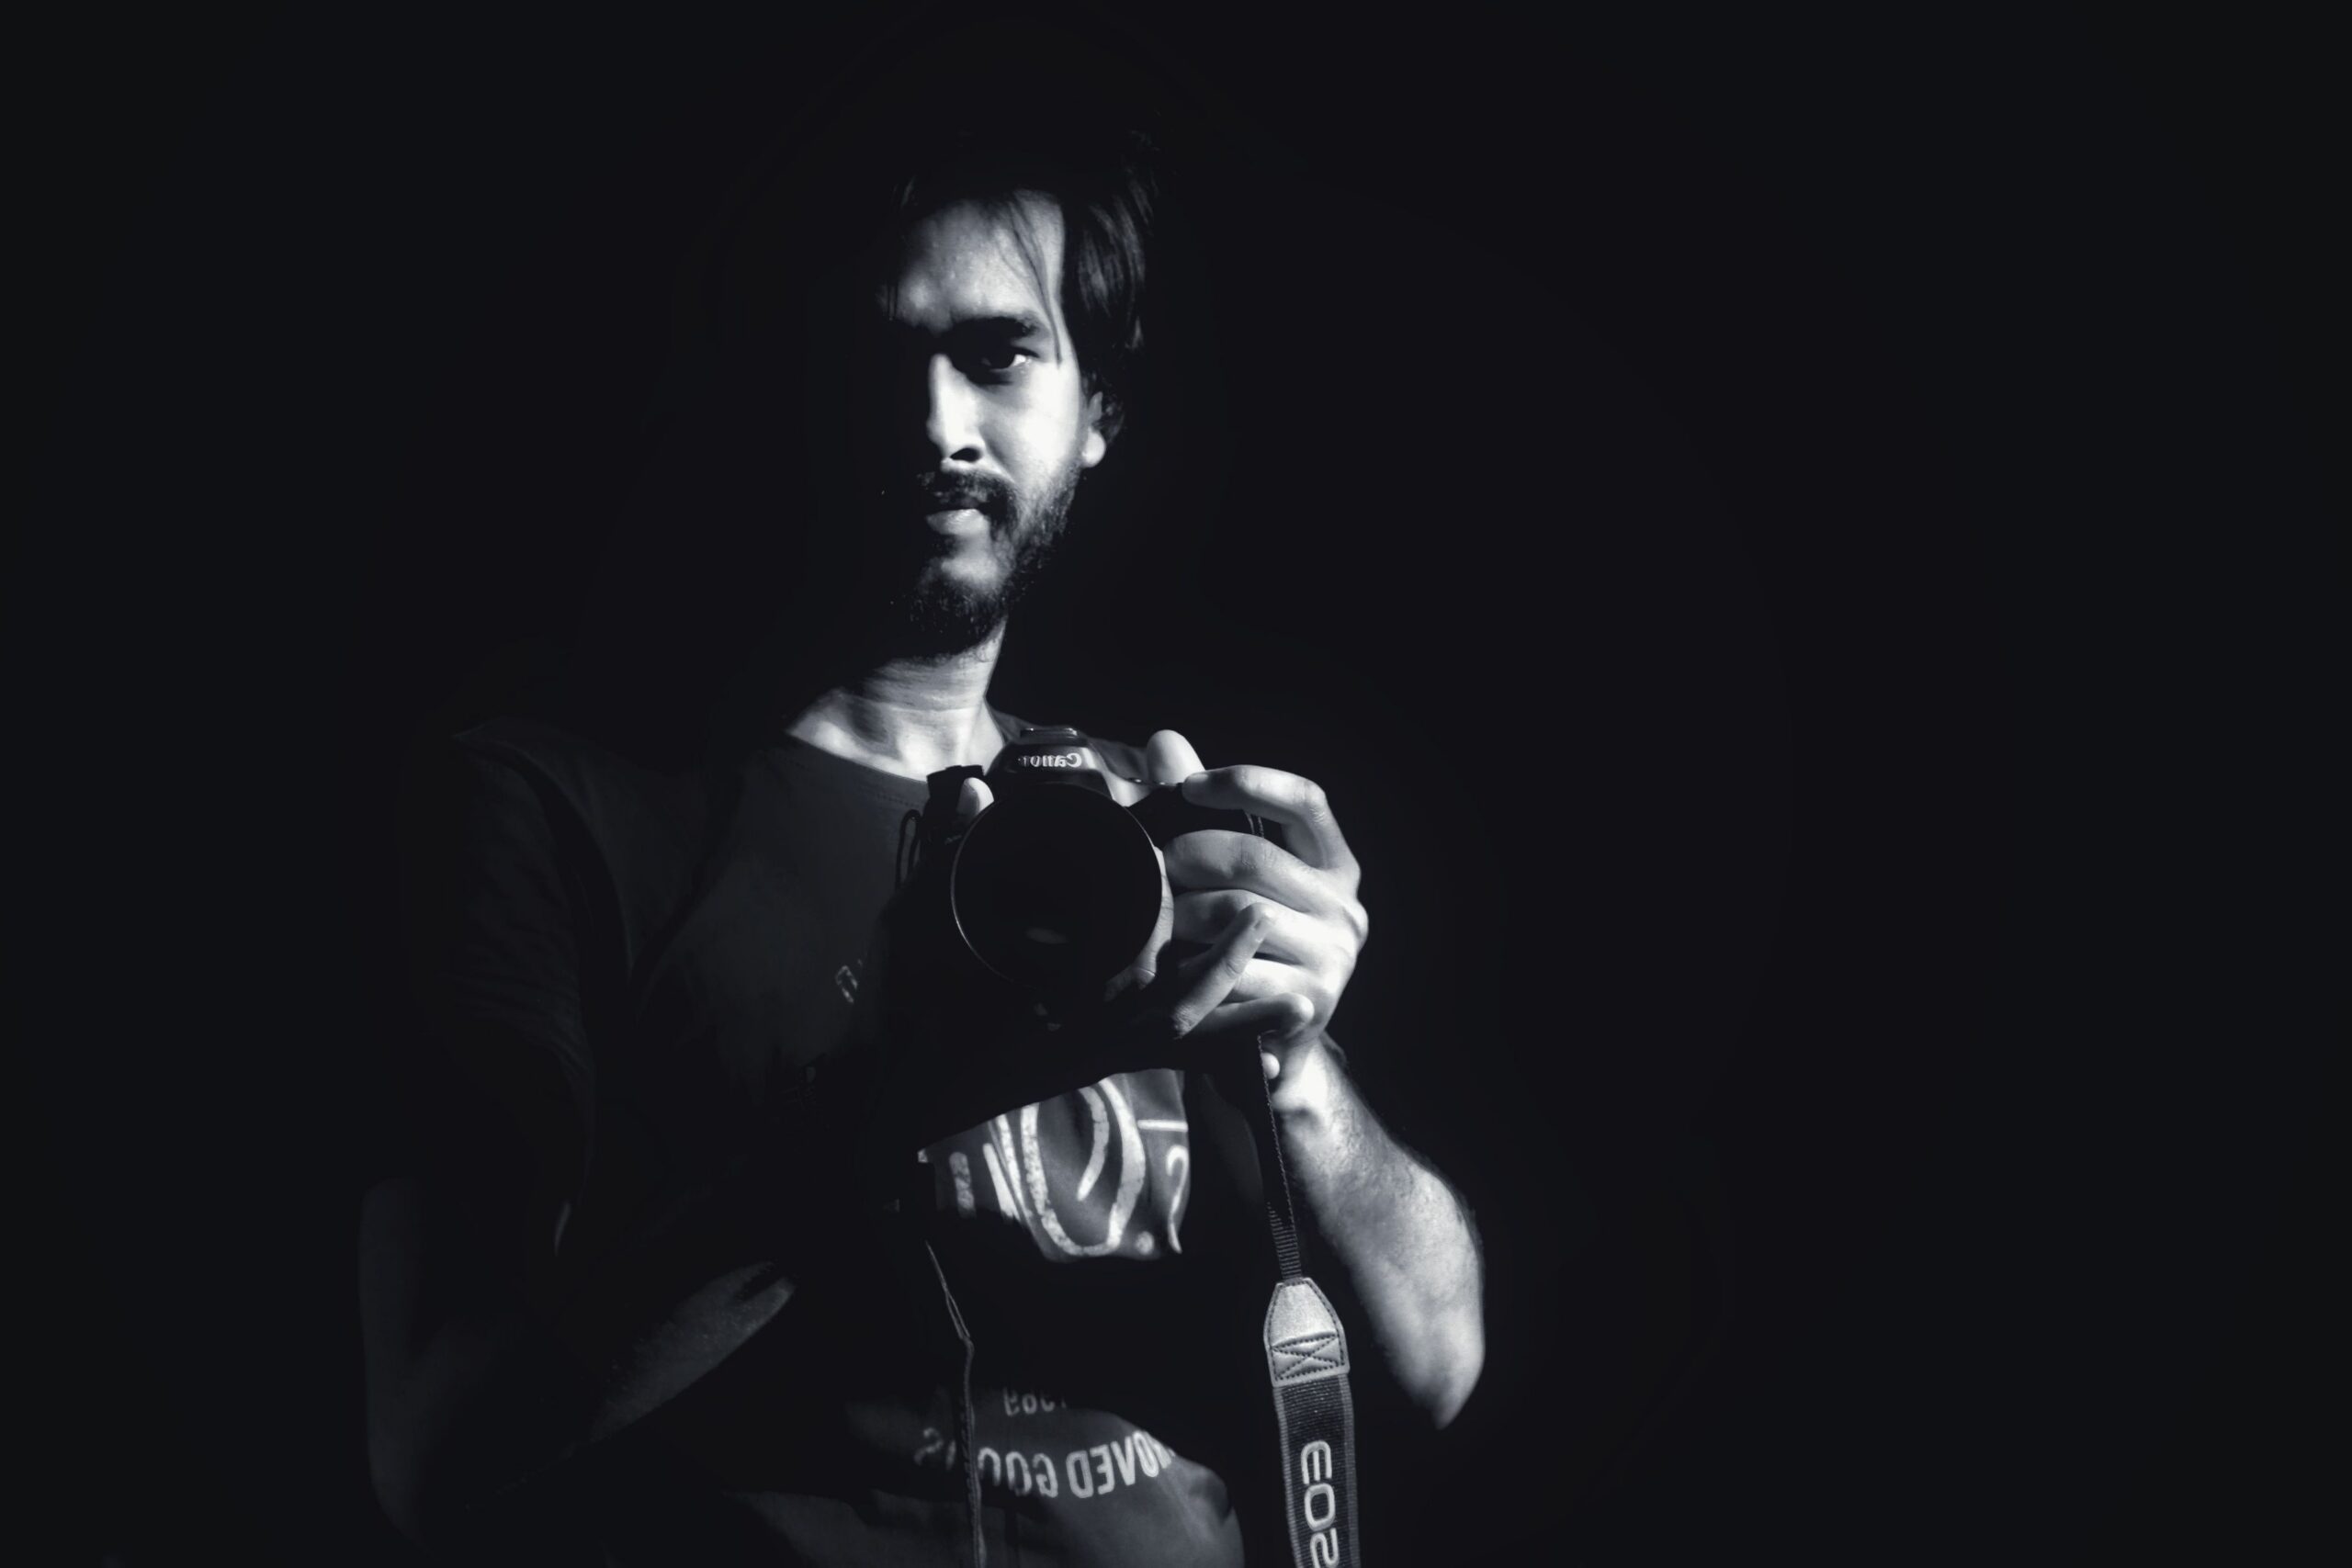
You can build a convincing film noir look at home with two LED panels, a roll of black foamcore, a plant mister, and a set of cheap venetian blinds. The whole kit runs under $300. The hard part is not the gear. It is learning to subtract light instead of adding it.
Picture a spare bedroom at ten at night. Blackout curtain safety-pinned over the window, one LED panel on a C-stand aimed at a woman in a borrowed trench coat, and a strip of blinds dangling from a boom arm that is really just a broom handle gaffer-taped to a light stand. The room smells like the Windex I used on the mirror. The blinds keep swinging. I keep waiting for them to settle.
That was my first real attempt at a film noir look at home, and it was a mess for about ninety minutes. Then the blinds stopped moving, the shadow bars landed across her cheekbone instead of her forehead, and I shot the only frame from that night I still show people.
Here is the thing nobody tells you about noir. It is not a lighting setup. It is a subtraction discipline.
Why the Film Noir Look at Home Is Mostly About Killing Light
Every beginner approaches the film noir look at home the same way: buy a bigger light. Wrong instinct. The 1950s cinematographers who built this language were working with hot, hard, small-source tungsten units and rooms full of black. Their contrast came from the absence around the light, not the light itself.
Your average living room is a bounce box. White ceiling, light walls, a mirror, a glass coffee table. Every one of those surfaces is quietly filling your shadows and flattening the ratio you are trying to build. Fire a single panel into that room and you will get a soft, pleasant, utterly un-noir portrait.
So the first move in any film noir look at home is negative fill. Black foamcore, moving blankets, a black bedsheet taped to the wall opposite your key. Kill the bounce and the same panel suddenly reads dramatically harder.
I ignored this for an embarrassingly long time. I kept raising power on the key, wondering why my shadows looked gray instead of black, and the answer was a beige wall four feet to camera left. Beige walls have ruined more noir attempts than bad gear ever has.
The Shopping List for a Film Noir Look at Home
You do not need a cinema package. The film noir look at home is one of the few genuinely cheap styles left, because the entire aesthetic is built on hard, small, unmodified sources.
- Two bi-color LED panels: One key, one optional rim or practical. Anything in the small-panel class works. You want output control more than raw power.
- A hard modifier or none at all: Bare panel, a grid, or a snoot. Softboxes are the enemy here. Put the softbox away.
- Black foamcore, 2 to 4 sheets: Negative fill and flagging. This is the single most important purchase on the list.
- Cheap venetian blinds: Plastic, 24-inch, from any hardware store. Cut them down and hang them from a stand.
- A plant mister and glycerin: For fake rain on glass. Mix roughly one part glycerin to three parts water so the droplets cling instead of running.
- A sheet of acrylic or an old window frame: Your wet-glass element. Thrift stores and demolition salvage yards both work.
- Gaffer tape and A-clamps: Obvious, but every film noir look at home setup lives or dies on clamps.
Total outlay sits somewhere under $300 if you shop used panels. The blinds are twelve dollars. The glycerin is six. You are spending money on shadow-shaping, not on illumination.
Building the Key: Step by Step
This is the core build. Everything else in a film noir look at home decorates around it.
- Black out the room. Curtains, towels over window gaps, lights off. Ambient light is the enemy of contrast ratios. Work at night if your blackout is imperfect.
- Place your key high and hard to one side. Roughly 45 degrees off-axis horizontally, and high enough that the nose shadow drops toward the corner of the mouth. Think interrogation lamp, not beauty dish.
- Strip the modifier. Bare panel. If your panel has a diffusion sheet clipped on, pull it. Hard edges on the shadow are the entire point of the film noir look at home.
- Set exposure for the highlight, not the face average. Spot meter the lit cheek. Let the shadow side fall where it falls. You are protecting the bright side from clipping and letting everything else go.
- Build the negative fill wall. Black foamcore on the shadow side, as close to the subject as you can get without entering frame. Watch the shadow side deepen in real time. That movement is the whole trick.
- Flag the spill. More foamcore between the key and your background. You want the background lit by choice, not by accident.
- Add a rim only if it earns its place. A second panel at low power behind and opposite the key separates hair from a dark background. Skip it if the silhouette already reads.
That seven-step build is the backbone of every film noir look at home I have shot since. The rest is props.
I will confess a mistake that cost me a whole session. I set the key at eye level because it was flattering, then wondered why nothing looked like Double Indemnity. Flattering and noir are different jobs. Raise the light until the subject looks slightly haunted, then stop.
How Do You Get the Venetian Blind Shadows?
This is the question I get every single time someone sees a film noir look at home portfolio piece. The answer is almost disappointingly simple, and the execution is where people get it wrong.
- Hang the blinds between the key and the subject, not on an actual window. You need to control the distance, and real windows are fixed.
- Move the blinds closer to the light for soft bars, closer to the subject for sharp ones. This is the only variable that matters. Shadow sharpness is a distance relationship, full stop.
- Angle the slats, not the whole unit. Tilting individual slats changes bar thickness and spacing without moving your stand. Micro-adjust here before you move anything heavy.
- Weight the bottom rail. Tape a sandbag or a book to the bottom. Swinging blinds will waste an hour of your life, as I have personally demonstrated.
- Land the bars deliberately. Across the eyes reads menacing. Across the wall behind reads atmospheric. Across the forehead reads like an accident. Choose.
If you cannot source blinds, cut strips in a sheet of black foamcore with a utility knife. Uneven spacing actually looks more cinematic than factory-perfect slats, which is a small mercy for anyone bad at measuring.
Fake Rain and Wet Glass for the Film Noir Look at Home

Wet windows are the second signature of the film noir look at home, and they are shockingly easy to fake. You need a pane of glass or clear acrylic, your glycerin mix, and a willingness to get your floor damp.
Mist the glass from the camera side, place it between lens and subject, and rake your key across it at a sharp angle. The droplets catch that raking light and burn into little specular points. Straight-on light makes them disappear. Angle is everything.
Focus is the trap. Decide early whether you are focusing on the droplets or through them. Shooting wide open at f/1.8 with the glass six inches from your lens turns the water into abstract bokeh blobs, which can be gorgeous or can look like you smeared the front element. Stopping down to f/4 or f/5.6 brings the droplets into play as texture.
Dry the glass between setups with a microfiber cloth and re-mist. Droplets migrate and merge within a couple of minutes, and the pattern you loved in frame one will have run into streaks by frame twenty.
Wardrobe, Set Dressing, and the Cheap Stuff That Sells It
A film noir look at home collapses if the subject is wearing a modern graphic tee. The lighting does maybe 70 percent of the work. Wardrobe and props carry the rest.
- Hard-edged silhouettes: Trench coats, structured suit jackets, fedoras, collared shirts. Shapes that cast their own shadows.
- Smoke or haze: An incense stick off-frame, or a cheap handheld hazer. A single visible light beam transforms a film noir look at home from a portrait into a scene.
- Practicals in frame: A desk lamp, a neon sign, a bare bulb. Even unlit, they signal period.
- Hard props: Rotary phone, whiskey glass, manila folder, cigarette (unlit is fine, nobody can tell).
- Textured surfaces: Brick, wood paneling, frosted glass. Flat drywall is the least noir surface on earth.
Most of this comes from thrift stores for the price of a lunch. The trench coat is the only item worth hunting for properly, because a bad trench reads as costume instead of character.
Grading the Film Noir Look at Home in Post

You shoot the film noir look at home in color and convert, always. Shooting in-camera monochrome throws away the channel data that makes a good conversion sing.
In the black-and-white mix, pull the red and orange channels down to deepen skin and lift the contrast across the face. Push blues down hard to blacken a sky or a painted wall. That single panel does more for a film noir look at home than any curve adjustment.
Then the curve. An S-curve with the black point lifted slightly, maybe to 8 or 10 out of 255, mimics the toe of real film stock and stops the shadows reading as digital-dead. Crush them to pure zero and the image looks cheap.
Add grain. Not a little. Period noir was shot on fast stock pushed in the lab, and the texture is part of the vocabulary. If you want to understand how modern productions build period texture deliberately, our breakdown of cinematic look analysis for working shooters covers the logic behind these choices on larger productions.
Resist the urge to sharpen aggressively. Noir softness in the highlight rolloff is a feature. Over-sharpening a film noir look at home makes it read as a filter rather than a lighting decision, and readers can tell instantly.
Can You Sell a Film Noir Look at Home as a Session Package?
Yes, and this is where the technique stops being a hobby and starts paying for the foamcore. Heading into the slower winter booking months, a distinctive studio offering fills calendar gaps that standard headshots will not.
Price it as a specialty session, not a discount headshot. You are selling art direction, a built set, and wardrobe guidance. Three to five finished images, one costume change, a ninety-minute window. That structure is honest about your time and keeps a film noir look at home from becoming an unlimited-frames marathon.
The markets that actually book this: actors who need dramatic range in a portfolio, musicians building album art, couples who want something other than golden-hour fields, and small businesses in bars, barbershops, and tattoo studios where the aesthetic matches the brand.
One warning from experience. I undercharged my first two film noir look at home sessions because the setup felt simple to me. It is not simple to the client. They are paying for the fact that you already know where the blinds go.
Send a wardrobe guide before the session. Three bullet points and two reference images prevent the slow disaster of a client arriving in athleisure, which I have also personally demonstrated.
Troubleshooting the Film Noir Look at Home
Shadows look gray instead of black? Your negative fill is too far away or your room is bouncing. Move the black closer and check what is behind camera.
Blind bars look mushy? The blinds are too close to the light. Slide them toward the subject and the edges will crisp up immediately.
Faces reading as flat despite a hard key? Your key is probably too close to the lens axis. Swing it further off-axis until the shadow side genuinely disappears into dark.
Droplets invisible on the glass? Your light is not raking steeply enough. Move the key further to the side and lower, until it skims the surface.
Whole image looking muddy? Check your exposure target. A film noir look at home needs the highlight pinned near the top of the histogram with a huge empty gap below it. If the histogram is a lump in the middle, you metered for the average and lost the ratio.
What to Take From This
- Subtract before you add: Black foamcore does more for a film noir look at home than a second light ever will.
- One hard key, off-axis and high: Bare panel, no softbox, nose shadow dropping toward the mouth corner.
- Blinds between light and subject: Closer to the light for soft bars, closer to the subject for sharp ones. Weight the bottom.
- Glycerin at 1:3 with water: Raking light across the glass, dry and re-mist every few minutes.
- Expose for the highlight: Spot meter the lit cheek and let the shadow side go.
- Convert from color, lift the black point: Red and orange channels down, grain up, sharpening restrained.
- Charge for art direction: A film noir look at home package is a specialty session, not a cheap headshot.
The Last Word
The reason this style has survived seventy years is that it respects darkness as a compositional element. Most modern portrait work treats shadow as a problem to be solved. Noir treats it as the subject.
Build the kit over a weekend. Shoot it badly a few times. Pay attention to where the beige walls are. The film noir look at home rewards patience with shadow placement far more than it rewards expensive gear, and that makes it one of the few genuinely accessible cinematic styles left for working photographers who want something distinctive in their book before the winter slow season arrives.
FAQ
How many lights do I need for a film noir look at home?
One is enough. A single hard LED panel with black negative fill on the opposite side produces authentic high-contrast noir. A second panel as a rim light is optional and only helps when your background is very dark.
Why do my blind shadows look blurry instead of sharp?
The blinds sit too close to your light source. Shadow edge sharpness depends on the distance between the blocking object and the subject. Slide the blinds toward your subject and the bars will crisp up.
What mixture creates convincing fake rain droplets on glass?
Roughly one part glycerin to three parts water in a plant mister. Glycerin thickens the solution so droplets cling to vertical glass instead of running down immediately, buying you several minutes of usable shooting time.
Should I shoot in black and white mode in camera?
No. Shoot color and convert in post. Color files retain channel data that lets you darken skin tones through the red and orange sliders, which is how you build facial contrast without touching exposure.
What should clients wear for a noir portrait session?
Structured garments with hard silhouettes: trench coats, suit jackets, collared shirts, fedoras. Avoid graphic prints, athleisure, and anything with modern branding. Send a short wardrobe guide with two reference images before the shoot.
Photo: Mustak Jaman