
You can shape light in Lightroom after the fact, and you should, but only after you understand what you were actually chasing in-camera. Masking, radial gradients, and local dodging rebuild the light you meant to make. They can’t invent light that was never there.
Ballroom in October, maybe 9pm, and the uplighting the venue rented is a color I can only describe as radioactive grape. The couple is dancing. The grandmother is crying. The light is terrible and I cannot fix it in the moment without killing the ambience that made the room feel like anything at all.
So I shot it. Bounced a little off the ceiling, kept my ISO honest, and told myself what every working shooter eventually tells themselves: I’ll handle it later.
Later came. Later always comes. And learning to shape light in Lightroom is the skill that turned “later” from a panic word into a plan.
That Fstoppers piece from the end of September got me thinking about this again, because it frames post-capture light shaping as a craft rather than a rescue mission. That’s the right frame. Let’s build it out.
Why Shape Light in Lightroom at All?
Here’s the uncomfortable part. Most of us learned to shape light in Lightroom as a cover-up. The flash didn’t fire, the sun went behind a cloud, the client moved two feet left into the ugliest patch of the room. Dodge, burn, pray.
That’s a legitimate use. It’s just not the interesting one.
The interesting use is intentional. You decide, before you press the shutter, that you’ll capture clean information and shape light in Lightroom deliberately, the way a painter blocks in tone. Not fixing. Composing.
The distinction matters because it changes what you shoot. If you plan to shape light in Lightroom, you expose for the highlights you want to keep and you give yourself shadow detail to lift. If you’re just hoping to repair things later, you shoot carelessly and then discover that the dress is clipped to paper white and nothing on earth brings it back.
Information is the raw material. You cannot shape light in Lightroom that your sensor never recorded.
When to Fix It In-Camera Instead
Let me be blunt about this, because the “fix it in post” crowd has done real damage to a generation of shooters.
If you can move the subject, move the subject. If you can bounce a flash, bounce the flash. If you can wait eleven minutes for the sun to clear the building, wait. Every one of those costs you seconds on location and saves you minutes per frame at the desk, multiplied by six hundred frames.
Shape light in Lightroom when the situation genuinely won’t allow a physical solution. Ceremony lighting you’re not permitted to touch. Documentary moments you can’t direct. Available-light work where adding a strobe would kill the thing you came for.
I burned an entire Sunday once re-lighting a set of corporate headshots because I’d been too polite to ask the office manager to turn off the overhead fluorescents. Eight hours of masking. A thirty-second conversation would have saved all of it. That’s the lesson, and I only learned it the expensive way.
Step One: Read the Light You Already Have
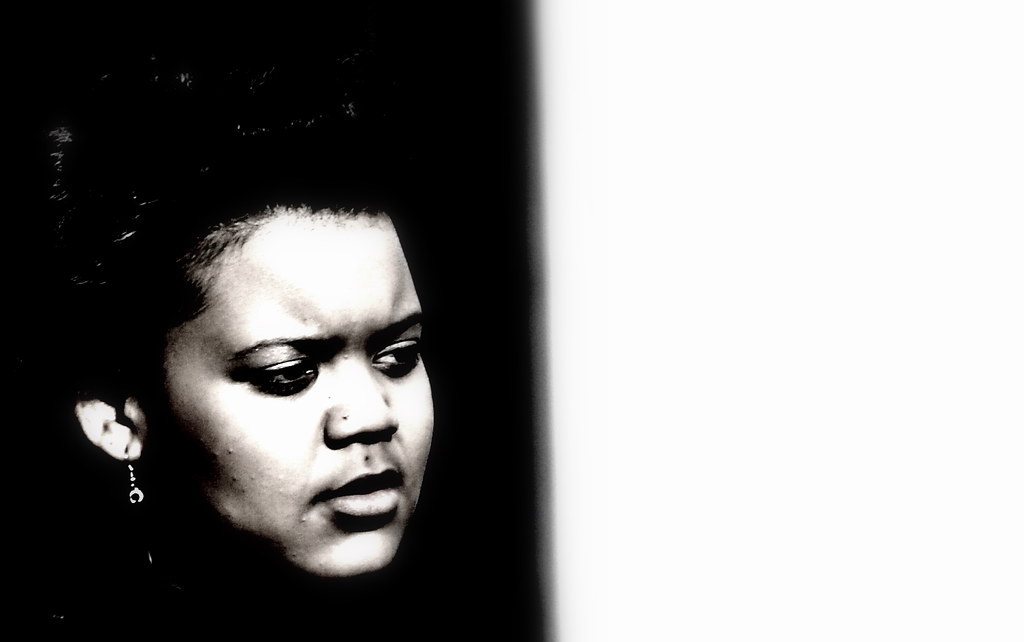
Before you touch a slider, look at the frame and name the light. Out loud if you have to. Where is it coming from, how hard is it, what color is it, and what is it doing to the subject’s face?
- Find the key. Identify the dominant source and its direction. Everything you do afterward either supports that direction or fights it, and fighting it is how edits start looking fake.
- Find the falloff. Does the light drop off fast (small, close source) or slow (big, distant source)? When you shape light in Lightroom you are mostly editing falloff, not brightness.
- Find the color split. Tungsten key, daylight fill? Grape uplighting versus warm skin? Note it now, because local white balance is the most underused tool in the panel.
- Find what’s already broken. Clipped highlights, crushed blacks, blown windows. These are your hard limits. Check them before you spend forty minutes on an edit that was never going to work.
This read takes ninety seconds. Skipping it is why so many attempts to shape light in Lightroom end up looking like someone smeared the image with a thumb.
Step Two: Set Your Global Baseline First
Nobody wants to hear this, but you cannot shape light in Lightroom on a bad global foundation. Local adjustments compound whatever’s wrong underneath.
- Set white balance for the subject, not the room. Skin tone wins. You’ll handle the background separately later.
- Recover highlights before you lift shadows. Highlight recovery is finite; find your ceiling early so you know what you’re working with.
- Set black point deliberately. A true black somewhere in the frame gives the eye a reference. Without it, every local brightening reads as haze.
- Leave contrast alone for now. Global contrast is a blunt instrument. You’re about to build contrast locally, which is the whole point.
- Do not touch Clarity or Dehaze globally. Both are local tools pretending to be global ones.
Think of this as setting your exposure on a seamless before you place a single light. You shape light in Lightroom on top of a neutral, honest base, not on top of a look you’ve already committed to.
Step Three: Build the Key with a Radial Gradient

Now the actual work. The radial gradient is your primary tool when you shape light in Lightroom, because a radial mask with heavy feathering behaves almost exactly like a real light source with falloff.
- Place the radial where your real key was. If the window was camera-left, your radial goes camera-left. Reinforce physics; don’t contradict it.
- Oversize it and feather it to 80-100. Small, tight radials look like spotlights from a bad school play. Big and soft looks like a window.
- Raise Exposure by a tenth of a stop at a time. I mean it. +0.15 is often enough. If you’re reaching for +1.0, something earlier went wrong.
- Add a touch of warmth inside the mask. Real light sources have color. A +3 to +8 temperature shift inside the key sells it more than brightness does.
- Add a second radial as a weak fill on the opposite side. Lift it half as much as the key. This is your reflector.
What you’re doing here is building a lighting diagram in reverse. That reframing alone changed my edits more than any preset pack ever did. When you shape light in Lightroom, you’re not pushing pixels; you’re placing lights.
Step Four: Subtract Before You Add
The move that separates a convincing edit from an obvious one is subtraction. Amateurs brighten. Working editors darken.
Take a linear gradient from the top of the frame and pull exposure down a quarter stop. Take another from the bottom edge. Suddenly the middle of your image glows, and you never touched the middle at all.
Darkening is also safer. Lifted shadows go noisy and muddy; pulled-down midtones almost never do. So when you shape light in Lightroom, treat subtraction as the default and addition as the exception.
On that grape-uplit reception I mentioned, the fix wasn’t brightening the couple. It was dropping everything behind them by a third of a stop and desaturating the purple with a color-range mask. The couple looked lit. I hadn’t lit them.
Step Five: Use the Right Mask for the Right Job

Lightroom’s masking panel has gotten genuinely good, and most photographers use maybe a third of it. Here’s how I actually decide when I shape light in Lightroom.
- Subject and Background masks: for separation. Darken the background a touch, add the faintest clarity to the subject. Ten seconds, enormous payoff.
- Sky mask: for landscape and outdoor portraits. Recover the sky, then warm the subject separately so they don’t look pasted in.
- Luminance range: for shaping existing falloff rather than inventing new falloff. This is the subtle one. Target the midtones only and you can deepen shadows without touching skin.
- Color range: for killing a bad ambient cast in one region. The reception uplighting fix. Essential at events.
- Brush: last resort, lowest flow, for the things a mask can’t understand. Catchlights. A stray hot spot on a forehead.
- Intersect: the one most people ignore. Subject intersected with luminance range lets you target only the shadow side of a face. That’s precision you can’t get any other way.
Intersecting masks is where you stop repairing and genuinely shape light in Lightroom. It took me an embarrassingly long time to use it, and I’d quietly assumed for about a year that it was just for compositing people out of backgrounds. Wrong.
Step Six: Shape Light in Lightroom Without Overcooking It
Every editor I know has an overcooked phase. Mine lasted most of a year and I still wince at those galleries.
Three checks keep it honest. First, toggle the edit off and on at 100 percent zoom. If the “before” looks like a different photograph rather than a worse version of the same one, back off. Second, check the mask overlay for halos, especially along hair and shoulders. Halos are the tell that reads as “edited” to everyone, including clients who can’t explain why.
Third, walk away for ten minutes. Come back. If your first reaction is “whoa,” it’s too much. Good light shaping is invisible; the viewer should feel the mood and never notice the method.
Most of the ways people wreck an image at this stage overlap with the broader editing habits I covered in Lightroom Mistakes That Undercut Your Photos, and the overlap isn’t a coincidence. Heavy-handed local work is just a global mistake with a mask on it.
Step Seven: Make It Repeatable Across a Gallery
This is the part tutorials skip, and it’s the part that actually matters when you shoot for a living.
You cannot hand-shape eight hundred frames. So after you shape light in Lightroom on your hero image, select the adjustments that are scene-dependent rather than frame-dependent and sync them. Global baseline syncs beautifully. Radial positions do not.
My workflow: build the look on one frame, sync only the global settings across the scene, then do a fast second pass adding one radial key per delivered image. Thirty seconds a frame instead of six minutes. The copy-paste function for individual masks saves the rest.
And be ruthless about which images deserve it. Not every frame needs you to shape light in Lightroom. The detail shot of the rings does not. The portrait the client will print at 24 inches absolutely does.
How Do You Know When to Shape Light in Lightroom Versus Reshoot?
Sometimes the honest answer is that the file is dead. Learning to call it fast is a professional skill.
My rule: if the highlight you need is clipped across all three channels, or the shadow you need to lift is more than three stops down on a high-ISO file, stop. You will not shape light in Lightroom into something that survives a print. You will produce a gray, noisy approximation that costs you two hours.
If it’s a client deliverable and the shoot is repeatable, reshoot and eat the cost. If it isn’t repeatable, convert to black and white, lean into the grain, and deliver something intentional rather than something apologetic. Nobody has ever complained about a moody monochrome. People absolutely complain about muddy color.
What to Take From This
- Capture for it: protect highlights, keep shadows recoverable, and you give yourself room to shape light in Lightroom later.
- Fix in-camera when you can: moving the subject beats forty minutes of masking, every time.
- Read before you slide: name the key, the falloff, the color split, and the limits.
- Global first, local second: local work compounds whatever is broken underneath it.
- Reinforce real direction: put your radial where the actual light was.
- Subtract before you add: darkening the surroundings is safer and more convincing than brightening the subject.
- Use intersect masks: subject plus luminance range is the precision tool most people never open.
- Sync globals, not radials: that’s how you shape light in Lightroom across a full gallery without losing a weekend.
- Know when it’s dead: clipped is clipped. Go monochrome or reshoot.
The Part Nobody Says Out Loud
Learning to shape light in Lightroom made me a better shooter, not a lazier one. That surprised me.
Once you’ve spent a hundred hours building keys and fills with radial gradients, you start seeing light as something constructed rather than something that just happens to you. You walk into a venue and clock the falloff, the color split, the direction, before you’ve taken the camera out of the bag. The desk work trains the eye.
The Fstoppers tutorial that prompted this piece makes a version of the same argument, and it’s worth reading alongside this one for the step-by-step mechanics: How to Shape Light in Lightroom After You’ve Taken the Shot.
Heading into the slow stretch after this fall’s senior and wedding work winds down, this is the skill worth drilling. Pull ten old frames you gave up on in 2026, and try to shape light in Lightroom on each one. You’ll learn more about lighting from that afternoon than from a month of gear videos, and you’ll walk into next May’s season seeing rooms differently.
FAQ
Does shaping light in post mean I can be sloppier on location?
No. The opposite. You need cleaner exposure and protected highlights to shape light in Lightroom convincingly. Careless capture produces clipped data, and no local adjustment recovers information the sensor never recorded.
What’s the single most useful tool for this?
The radial gradient with heavy feathering. Placed where the real key light was and raised a fraction of a stop, it mimics a genuine source with natural falloff better than brushing ever will.
Why do my edits look fake?
Usually halos along edges, or local brightening that contradicts the actual light direction in the scene. Check your mask overlay at 100 percent zoom, and always reinforce the physical source rather than inventing a new one.
Can I apply this across a whole wedding gallery?
Sync the global baseline across each scene, then add one radial key per delivered image in a quick second pass. Roughly thirty seconds a frame. Reserve deeper work for hero images only.
When should I give up and convert to black and white?
When highlights are clipped across all three channels, or shadows need more than three stops of lift on a high-ISO file. Monochrome reads as intentional; muddy, noisy color reads as a mistake.
Photo: Jakub Zerdzicki