
To photograph a galaxy you need a tracking mount, a fast lens or telescope, and dozens of stacked exposures. The gear matters less than site selection, focus discipline, and the patience to shoot the same frame for two hours straight without touching it.
The Night I Learned Focus Is Everything
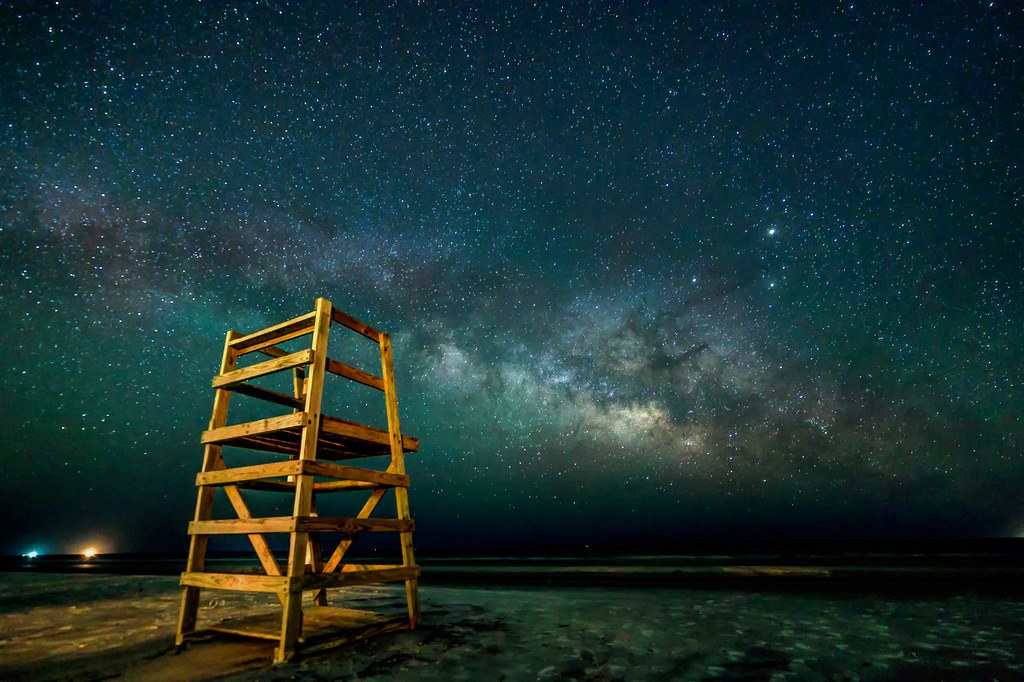
Three in the morning. Forty-one degrees, which sounds mild until you’ve been standing still in it for four hours. My fingers had gone that particular kind of numb where you can still move them but you can’t feel what they’re touching. I’d driven ninety minutes to get away from streetlights, set everything up in the dark, and shot ninety frames.
All of them soft.
Not catastrophically soft. Just enough that every star had a faint halo instead of a hard point. I’d focused using the rear screen at 10x magnification on what I thought was a bright star and was actually, I’m fairly sure, an airplane. That’s the part nobody tells you when you decide to photograph a galaxy: the failure modes are quiet. You don’t know you’ve blown it until you’re home, warm, and pulling files onto a monitor.
Astrophotography punishes assumptions. If you shoot weddings or portraits or product work, you’ve built a whole set of instincts around light you can see and control. Out here, none of them help. This piece walks through what it actually takes to photograph a galaxy, framed the way a working shooter thinks: decisions, tradeoffs, and where the process breaks.
What Do You Actually Need to Photograph a Galaxy?
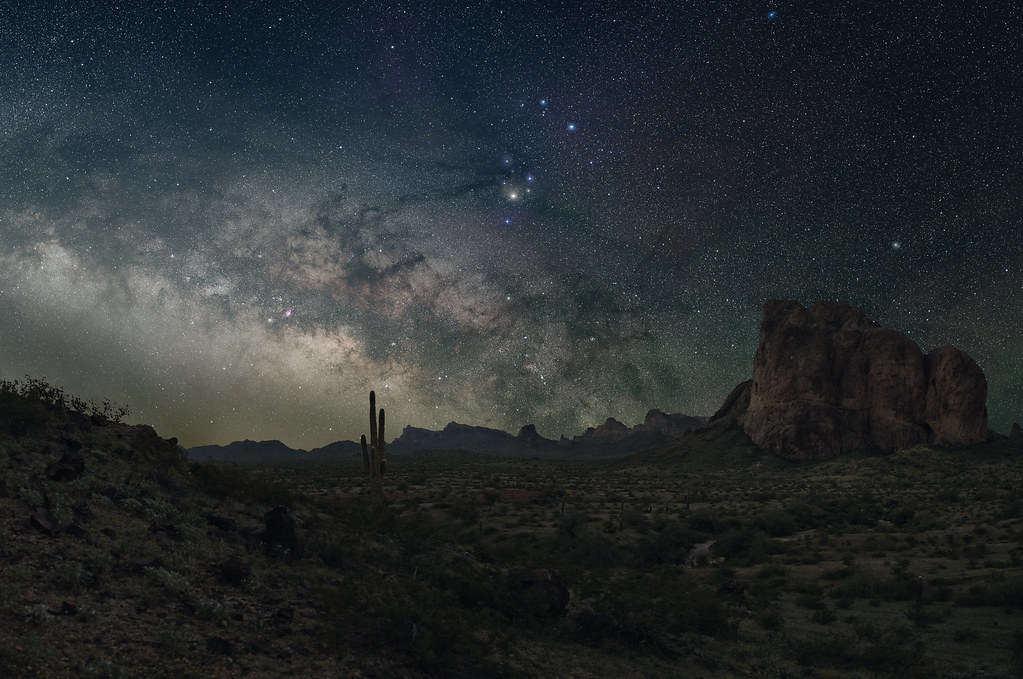
Fstoppers ran a good breakdown in August covering what it actually takes to photograph a galaxy from scratch, and the honest summary is that the equipment list is shorter than most people fear and the skill list is longer than most people expect.
Here’s the stack you need before you can photograph a galaxy at all:
- A camera with manual control and clean high-ISO output. Almost any modern mirrorless or DSLR body qualifies. Full frame helps. It is not required.
- A fast lens or a small telescope. Something in the f/2 to f/4 range. Focal length depends entirely on your target, which we’ll get to.
- A tracking mount. This is the piece that separates a Milky Way landscape from an actual galaxy image. Non-negotiable.
- A sturdy tripod. Sturdier than you think. A tracker plus a telephoto puts real load on the head.
- Stacking software. Free options exist and they work.
- Power. Batteries die faster in cold air. Bring three times what you think you need.
That’s it. That’s the entry ticket. Everything else on this list is technique, and technique is where the actual difficulty lives.
Step One: Pick the Target Before You Pick the Gear
This is the step people skip, and skipping it is why so many first attempts to photograph a galaxy come back as gray smudges.
- Decide what you’re shooting. The Andromeda Galaxy is the usual starting point because it’s large in the sky and reasonably bright. The Triangulum Galaxy is nearby and much fainter. Others require serious focal length and serious dark skies.
- Match focal length to angular size. Andromeda is wide enough that a 135mm or 200mm lens frames it beautifully on full frame. Chasing a smaller galaxy with a 200mm gets you a dot.
- Check what’s actually up. Use a planetarium app to confirm your target clears the horizon during your shooting window. Objects low in the sky sit behind more atmosphere and more haze.
- Check the moon. A gibbous moon will wash out faint structure completely. Shoot within a few days of new moon or shoot after the moon sets.
I’ve driven out on a beautiful clear night with the wrong lens on the body and realized it forty minutes into setup. That’s not a gear failure. That’s a planning failure, and it’s the single most common way an attempt to photograph a galaxy dies before the first frame.
Step Two: Find Dark Sky and Commit to It

Light pollution is the tax on every photon you’re trying to collect. You can fight it with narrowband filters and aggressive processing, but the cheapest fix is distance.
- Use a light pollution map. Find the nearest genuinely dark zone. For most people in populated areas that’s a one to three hour drive.
- Scout in daylight if you can. You want level ground, a clear view toward your target’s path, and no security light thirty yards away that a landowner turns on at midnight.
- Check the horizon direction. A city forty miles north still throws a glow. If your target rises in the north, that matters.
- Confirm access. Gates get locked at sunset. Ask me how I know.
Working photographers already understand location scouting. You do it for portraits. You do it for weddings. Apply the same rigor when you photograph a galaxy and half the problems disappear.
Elevation helps too, when you can get it. Less atmosphere, usually less haze, often less humidity. But a mediocre dark site you can reach reliably beats a perfect one you attempt twice a year.
Step Three: Polar Align the Tracker Properly
A star tracker rotates your camera at the same rate the sky appears to move. Without it, a 30-second exposure at 200mm gives you streaks. With it, you can run three, five, ten minutes on a single frame and the stars stay round.
Alignment is the whole game:
- Level the tripod first. Not roughly. Actually level. Every downstream adjustment assumes it.
- Set the mount’s latitude to your location. Most trackers have a scale on the wedge.
- Sight Polaris through the polar scope (northern hemisphere) and place it in the correct position on the reticle for your date and time. Apps calculate this for you.
- Verify with a test exposure. Shoot two minutes at your working focal length. Zoom in on the corners. Round stars mean you’re aligned. Short dashes mean you’re not.
- Rebalance after mounting the camera. Adding a telephoto shifts the center of mass and can nudge the whole rig.
Bad alignment is insidious because it looks fine at 60 seconds and falls apart at 240. Spend the extra ten minutes. When you photograph a galaxy, the difference between usable and unusable data is often just this step.
Step Four: Nail Focus, Then Don’t Touch It
My airplane story lives here. Focus is the failure mode that kills entire sessions and gives you nothing to salvage.
- Use live view at maximum magnification on a genuinely bright star. Vega, Deneb, Capella. Something unmistakable and steady.
- Rack through focus slowly until the star is at its smallest, tightest point. Go past it, come back, go past it again. Find the middle.
- Consider a Bahtinov mask. It’s a cheap plastic grid that produces a diffraction pattern; when the center spike is perfectly centered, you’re in focus. It removes the guesswork entirely.
- Tape the focus ring. Gaffer tape. Do it every time.
- Recheck after two hours. Temperature drops shift focus, especially on lenses with a lot of glass.
That last point cost me a session. Started at eleven degrees warmer than I finished. The first hour was sharp, the last hour drifted, and I didn’t catch it because I never looked. When you photograph a galaxy across a long night, treat focus as something you monitor, not something you set.
Step Five: Build the Exposure Plan
Here’s where astrophotography diverges hardest from everything else you shoot. You’re not making one exposure. You’re collecting signal.
The math is straightforward: total integration time is what produces a clean image. Sixty frames at two minutes gives you two hours of light. That two hours is what pulls faint spiral structure out of the noise floor.
Working settings for a first attempt to photograph a galaxy at around 200mm:
| Setting | Starting Point |
|---|---|
| Aperture | Wide open, or stopped down one third if corners are soft |
| ISO | 800 to 1600 on most modern sensors |
| Sub-exposure length | 90 to 180 seconds |
| Frame count | 40 minimum, 80 or more if you have the night |
| File format | RAW, always |
Longer subs collect more per frame but risk tracking drift and satellite trails ruining a bigger chunk of data. Shorter subs are safer and you just shoot more of them. There is no universally correct answer; there’s only what your mount can hold.
Run an intervalometer with a two or three second gap between frames. Then walk away. Genuinely walk away. Every time you touch the rig you risk bumping it.
Step Six: Shoot Your Calibration Frames
These are the frames nobody wants to shoot and everybody regrets skipping. They let stacking software subtract sensor noise and lens vignetting from your real data.
- Darks: Same exposure length, same ISO, same temperature, lens cap on. Twenty of them.
- Flats: Even white light across the front of the lens, focus untouched, aperture untouched. A tablet screen or the dawn sky works. Twenty frames.
- Bias: Fastest shutter your camera has, lens cap on, same ISO. Fifty frames, takes a minute.
Twenty extra minutes at the end of a five-hour night. I skipped them for my first three sessions and spent hours in post fighting gradients I’d created myself. If you’re going to photograph a galaxy properly, calibration frames are not optional overhead.
Step Seven: Stack and Stretch
Stacking software aligns every frame and averages them together. Random noise cancels. Real signal reinforces. That’s the entire principle behind why you photograph a galaxy with eighty frames instead of one.
- Load lights, darks, flats, and bias into your stacking application. Free tools handle this competently.
- Let it register and integrate. This can take an hour depending on frame count and machine.
- Expect the output to look terrible. A stacked linear file is a nearly black frame with a faint smudge. This is correct.
- Stretch the histogram. Curves, levels, or a dedicated stretch function. Pull the faint data up into visible range gradually.
- Handle gradients and color balance after stretching, not before.
- Reduce noise last, and less than you think you need to.
The stretch is where the image appears. It’s genuinely one of the better feelings in this craft, watching structure emerge from what looked like an empty file. That moment is why people keep going back out to photograph a galaxy despite the cold and the driving and the failures.
Where This Fits in a Working Photographer’s Life
Nobody’s paying you to photograph a galaxy. Let’s be direct about that. This is not a service line you’re adding.
But it rebuilds skills that paid work erodes. It forces manual focus discipline. It forces you to think in terms of signal versus noise, which changes how you evaluate high-ISO files forever. It teaches patience with a process that cannot be rushed, and if you shoot events for a living, patience is a muscle that atrophies fast.
There’s also the thing where you stand in a field at three in the morning and remember you liked cameras before you liked invoices. If you’re newer to the technical side generally, our complete beginner’s guide to photography covers the fundamentals this builds on.
September through November is prime season in the northern hemisphere for Andromeda, and we’re in it right now. Clear nights, target high overhead, temperatures not yet punishing. If you’ve been meaning to try this, the window is open.
What to Take From This
- Plan the target first. Focal length follows the object, not the other way around.
- Drive to dark sky. No filter beats distance from streetlights.
- Polar align carefully, then verify with a long test frame and check the corners.
- Focus on a bright star at maximum magnification, tape the ring, recheck when the temperature drops.
- Collect two hours of total integration minimum. Many frames, not one heroic exposure.
- Shoot darks, flats, and bias. Twenty minutes that saves hours in post.
- Stack, then stretch slowly. The linear file always looks broken. It isn’t.
The Honest Conclusion
Your first attempt will probably fail. Mine did. So did my second, for a completely different reason, and the third only half worked because clouds rolled in at hour two.
That’s the deal. To photograph a galaxy is to accept a failure rate that would be unacceptable on any paid job, and to keep going anyway because the process itself teaches you things client work never will. Book a clear night, drive somewhere dark, and go photograph a galaxy badly. Then do it again.
FAQ
Can I photograph a galaxy without a tracking mount?
Not really. Untracked exposures at telephoto lengths are limited to a few seconds before stars trail, which is not enough signal. You can capture the Milky Way untracked, but individual galaxies need tracking.
What focal length should I use to photograph a galaxy?
For Andromeda, 135mm to 300mm on full frame frames it well. Smaller, fainter galaxies need 500mm or more, which usually means a telescope rather than a camera lens.
How many exposures do I need?
Aim for at least two hours of total integration. That could be forty frames at three minutes or eighty at ninety seconds. More frames always produce a cleaner result after stacking.
Does a full frame sensor matter?
It helps with noise and field of view, but crop sensors work fine. Sky darkness, tracking accuracy, and total integration time affect your result far more than sensor size does.
Why does my stacked file look completely black?
That’s normal. Stacked output is linear data with the signal compressed near the bottom of the histogram. Stretching with curves or levels reveals the galaxy structure hidden in those values.
Photo: Rohit Narayanan