Main light placement is the single decision that determines whether a portrait reads as warm, severe, tired, or heroic. Everything else is support. Move the key light twenty degrees and you have changed the subject’s character, not just their shadows.
It’s a Tuesday in late October, and the studio smells like the dust burning off a modeling lamp that’s been on for forty minutes. The subject is a 58-year-old general contractor who has never been photographed professionally in his life. He is sitting very straight, hands on his knees, and he looks like he’s waiting for a dentist.
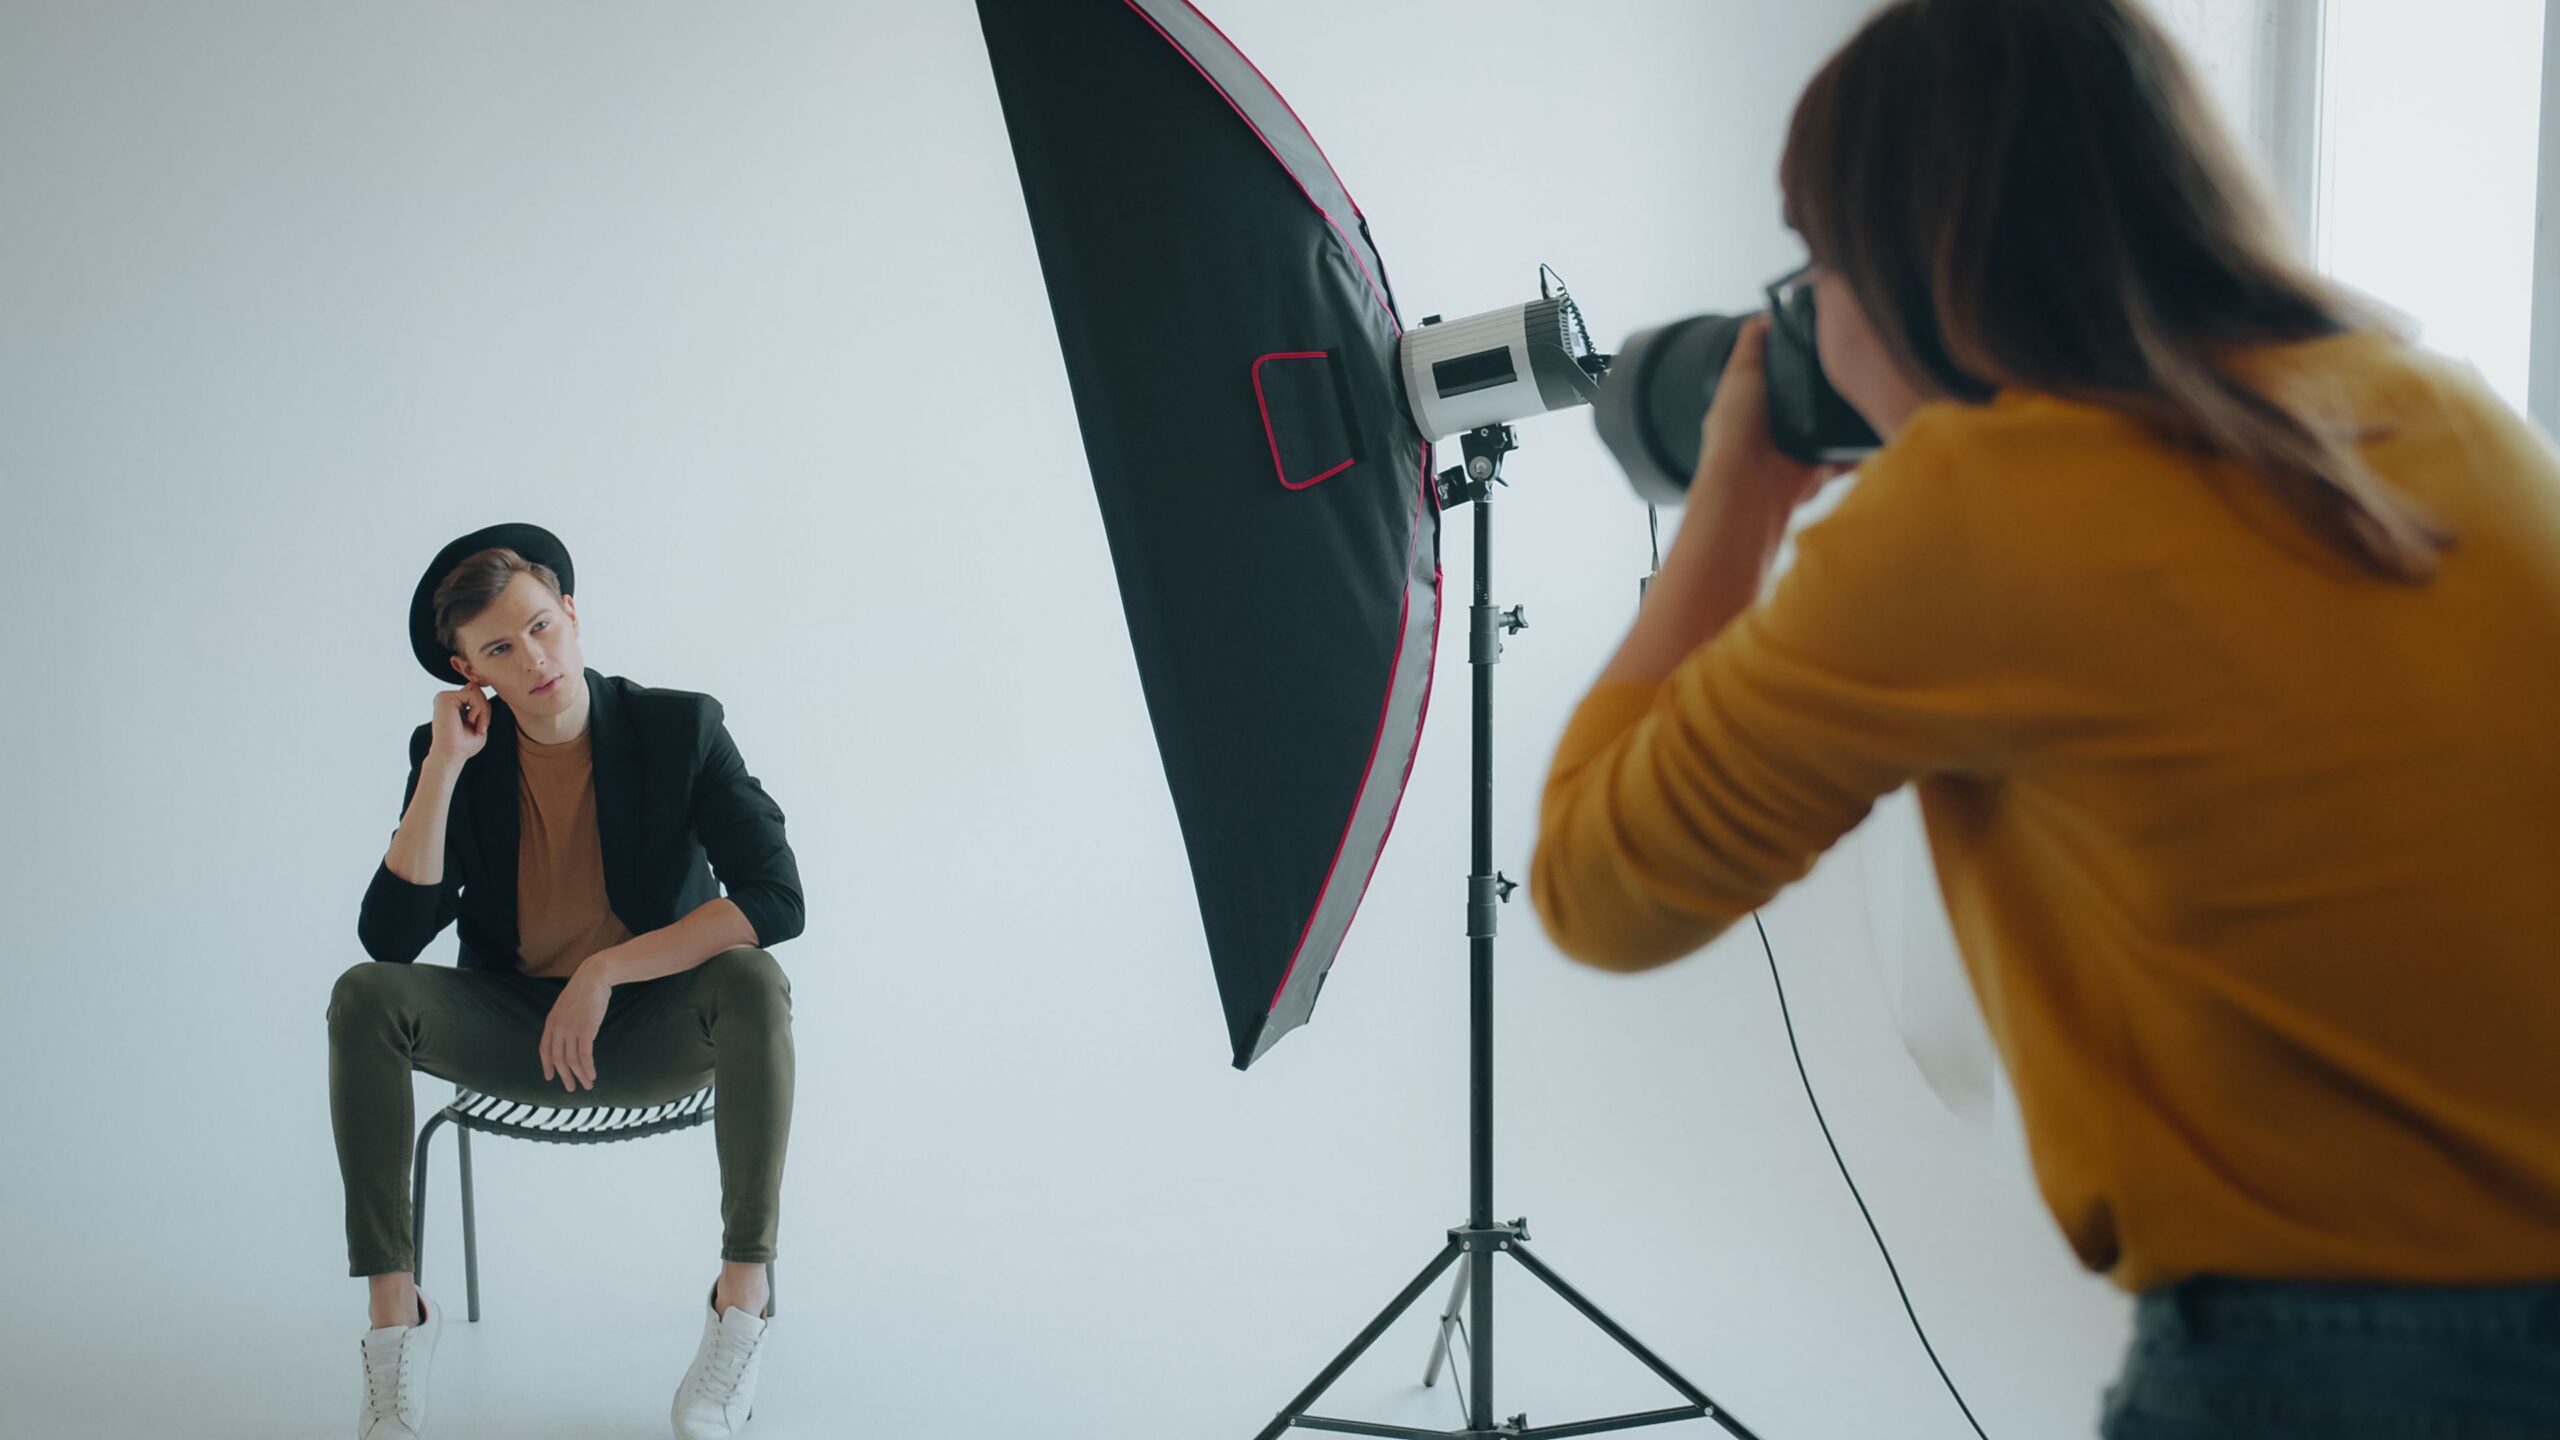
I have a softbox on a boom at roughly 45 degrees, up and camera left, because that is where it was when the last client left. That’s not a choice. That’s furniture.
And this is the thing nobody tells you in the first five years: the difference between a competent portrait and one that makes somebody’s daughter cry at a funeral twenty years later is almost always main light placement. Not the modifier. Not the camera. Not the retouch. Where you put the light, relative to the face and relative to the lens.
So I moved it. Dropped it, swung it around closer to the axis, let it come in lower and flatter. His jaw unclenched. He looked like a man you’d hire. That took eleven seconds and cost nothing, and it was worth more than every piece of gear in the room.
This article is about treating main light placement as a storytelling decision rather than a diagram you memorized off a chart. It’s long on purpose. Light position is the deepest well in portraiture and most of us are drinking from the top inch of it.
Why Main Light Placement Beats Every Other Lighting Decision
Here’s a test I run on myself when I’m getting lazy. Take any portrait you admire. Cover the catchlight with your thumb. Can you still tell where the key light was? If yes, that’s main light placement doing the work. If the whole image collapses into mush, the light was probably parked at the default and the photo was carried by the subject.
Modifiers get all the marketing. Octaboxes, parabolics, gridded strips, the whole catalog. But a 36-inch softbox placed thoughtfully will outperform a seven-foot parabolic placed thoughtlessly every single time. The modifier controls the quality of the transition between light and shadow. Main light placement controls where the shadows land, and shadows are where faces live.
Think about it structurally. The three things main light placement decides:
- Which planes of the face are lit: forehead, cheekbone, jaw, the bridge of the nose, the hollow under the eye. Each one you light is a plane you’re emphasizing.
- Where the nose shadow falls: the classic patterns are literally defined by this, and your subject’s face shape determines whether that shadow flatters or sabotages.
- How much of the face sits in shadow: the ratio of lit to unlit area is the emotional dial. More shadow reads as guarded, serious, interior. Less reads as open, accessible, commercial.
Nothing else in your kit touches all three. That’s why main light placement comes first in the sequence and everything else gets built around it.
I’ll confess the obvious: for about three years I built every portrait backwards. I’d set the modifier I wanted to use that day, place it where I always placed it, then try to fix the result with fill and hair light and a reflector held at an awkward angle by an unpaid friend. I was solving problems I’d created myself. Getting main light placement right first eliminated maybe 60 percent of the fixes.
How Do You Choose Main Light Placement for a Specific Face?
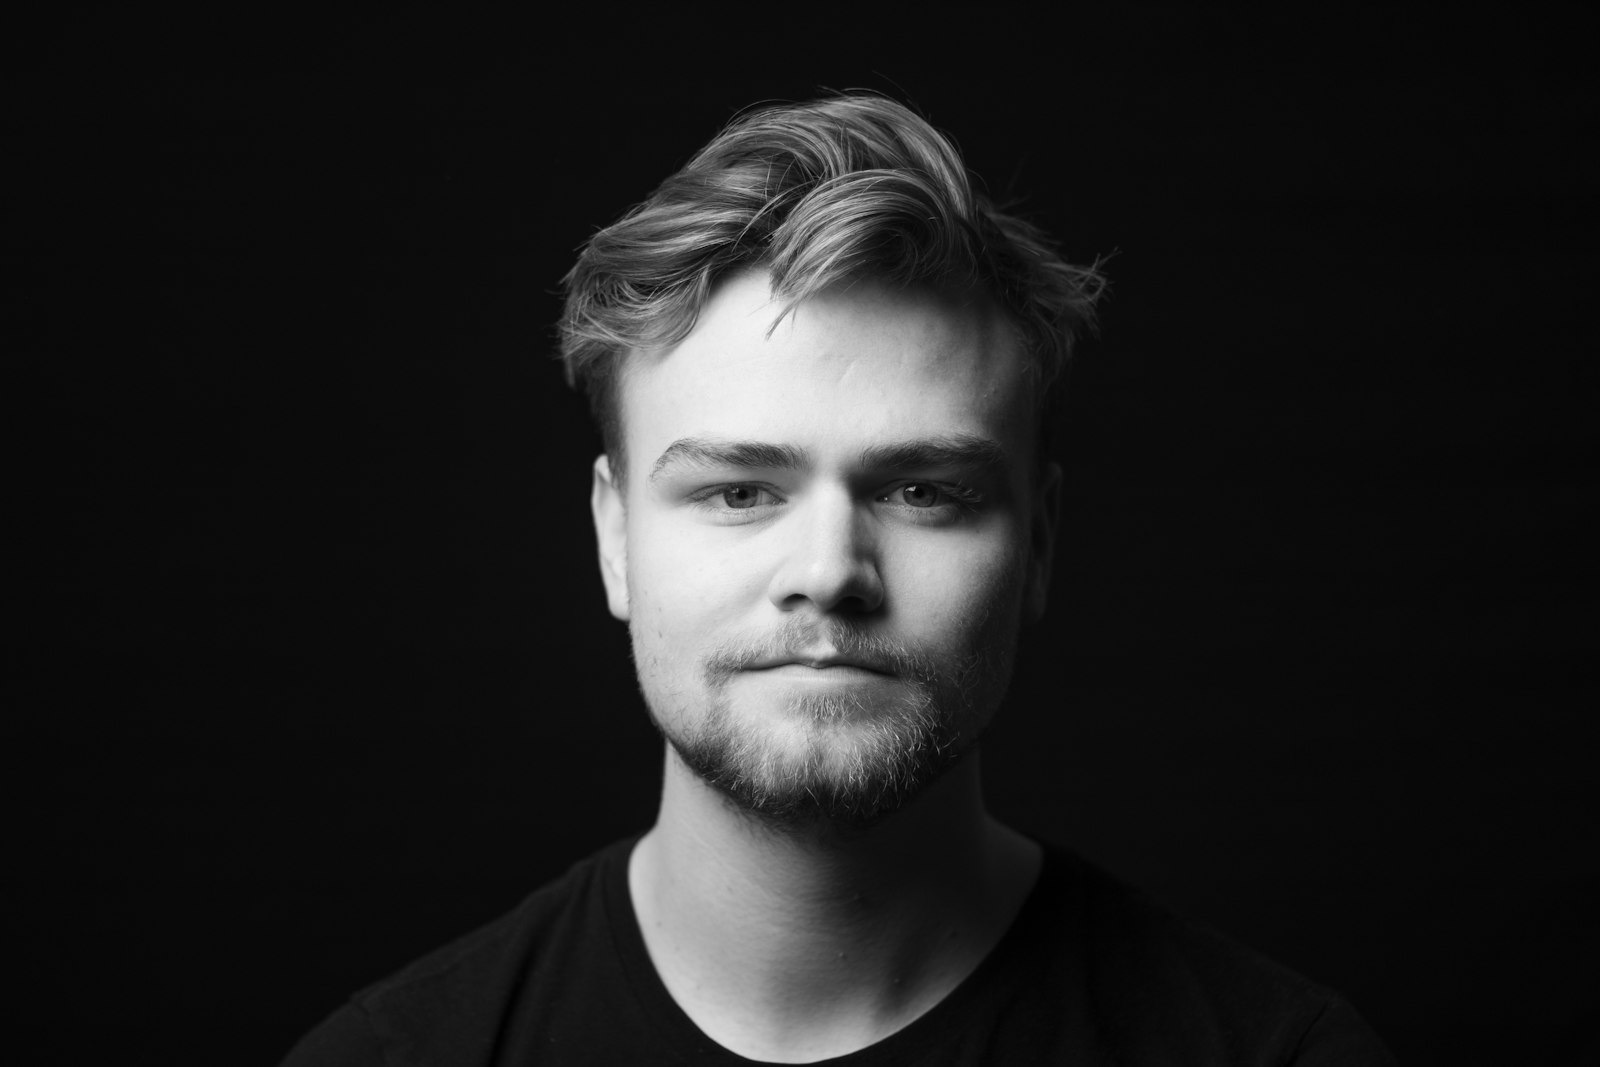
Start with the face in front of you, not the chart in your head. Have the subject sit in position, turn your modeling lamp on, and walk the light around them in a slow arc while you watch. Thirty seconds. That’s the whole technique.
What you’re looking for as you move:
Bone structure. A subject with strong cheekbones can take a higher, further-around main light placement because the shadow under the cheek has something to define. A rounder face gets lost in that same position. The shadow pools in the wrong place and reads as weight rather than structure.
Eye depth. Deep-set eyes are the single most common reason a textbook main light placement fails. Put a light at 45 up and 45 around on deep-set eyes and you get two dark caves. Lower the light. Bring it closer to the lens axis. The catchlight needs to get in there, and that means a main light placement that respects the brow ridge instead of fighting it.
Nose length and shape. The nose shadow is a tyrant. A long nose plus an aggressive main light placement gives you a shadow running into the lip, which is almost never what you want. Narrow the angle. Bring the light more toward the camera.
Skin texture and age. A main light placement that rakes across the skin at a sharp angle will find every pore, every line, every bit of texture. Sometimes that’s exactly right. On a portrait of a stonemason, that texture is the biography. On a corporate headshot for a VP who’s self-conscious about their skin, that same main light placement is a betrayal of trust.
I keep a mental shortlist of six positions I know work, and I audition them in order. That’s not formulaic, because the audition is the point. The formula would be picking one and never looking. If you want a deeper technical foundation on the named patterns themselves, our breakdown of four classic portrait lighting patterns every working shooter should master maps the geometry those positions produce.
The Three Axes of Main Light Placement Nobody Draws on the Diagram
Lighting diagrams are drawn as overhead views. That’s a two-dimensional representation of a three-dimensional decision, and it’s why so many people struggle to translate a diagram into a result. Main light placement has three axes, not one.
Horizontal angle. How far around the subject the light sits, measured from the lens axis. Zero degrees is on-axis. Ninety degrees is pure profile light. This is the axis every diagram shows.
Vertical height. How high above the subject’s eyeline the light sits. This is the axis diagrams ignore and the one that changes mood most dramatically. The same horizontal main light placement at eye level versus at a steep downward angle produces two completely different human beings.
Distance. How far the light is from the subject. This controls falloff, relative source size, and the speed of the shadow transition. A main light placement at three feet and a main light placement at twelve feet with the same angles are not the same light, even with identical exposure.
Most photographers I know have a locked vertical and a locked distance, and they only ever vary the horizontal. That’s one-third of the available control. Unlocking the other two axes roughly tripled the range of what I could do with a single head.
| Main Light Placement Variable | What It Controls | Emotional Register |
|---|---|---|
| Horizontal angle (0-90 degrees) | Nose shadow, lit-to-shadow ratio | Open and accessible to guarded and dimensional |
| Vertical height (eye level to steep) | Eye socket shadow, jaw definition | Warm and equal to authoritative or ominous |
| Distance from subject | Falloff speed, transition softness | Intimate and contained to clinical and even |
| Below eye level | Inverted shadow logic | Unsettling, theatrical, rarely flattering |
Main Light Placement as a Story Decision
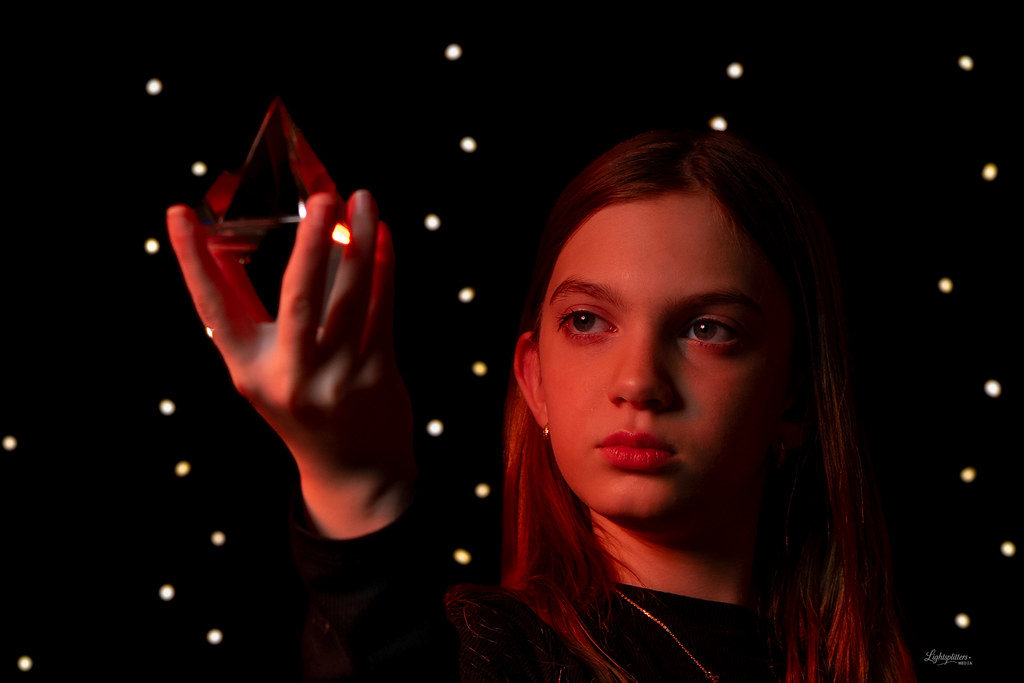
This is where the craft gets interesting, and where most gear-focused coverage stops entirely.
Ask yourself what the portrait is for before you touch a stand. A LinkedIn headshot for someone pivoting into executive leadership and an album cover for a folk musician who writes about grief are not the same job, and they should not share a main light placement.
Authority. Slightly higher main light placement, moderate horizontal angle, enough shadow on the far side of the face to create dimension without hiding anything. The subject should look like they’re being seen clearly and are fine with it. Nothing ominous, nothing coy.
Warmth and approachability. Lower main light placement, closer to the lens axis, generous fill. You’re minimizing the shadow story entirely because shadow reads as something withheld. Family portraits, pediatricians, real estate agents, anyone whose job is to be trusted on sight.
Interiority. Main light placement pushed well around, often past 70 degrees, light falling off hard into the far side. Half the face is a question. This is editorial territory, musician territory, anyone whose public persona involves depth rather than accessibility.
Severity or menace. High main light placement with the vertical axis pushed hard, eyes dropping into shadow. Use rarely and on purpose. It’s a strong flavor and it photographs as a judgment on the subject.
Vulnerability. Soft, large source, main light placement at or just below eye level, wrapping. Nothing to hide behind because there are barely any shadows to hide in.
I shot a set of headshots for a small nonprofit’s leadership page a while back and lit every single person identically, because that’s what consistency means on a team page, right? Wrong. The executive director, who is genuinely one of the warmest people I’ve met, came out looking like a hedge fund manager. The main light placement I’d chosen was too high and too far around for her face and her job. I reshot her alone, dropped the light, pulled it toward the lens, and the photo finally looked like the person I’d just spent an hour talking to.
The lesson stuck. Consistency across a team page should mean consistent feeling, not consistent coordinates. Main light placement is per-face, always.
Working Through a Real Studio Session Sequence
Here’s the actual order I work in now, because sequence matters as much as the positions themselves.
- Talk first, no gear. Five minutes minimum. What’s the photo for, who sees it, what does the subject want to feel when they look at it. You cannot choose main light placement without this.
- Seat them and kill everything but the modeling lamp. Darkness makes you honest about what the light is doing.
- Walk the arc. Move the key through the horizontal range while watching the face. Note where it gets good.
- Vary height at the best horizontal. Raise and lower the stand through maybe eighteen inches of travel. The sweet spot is narrower than people assume.
- Set distance last. Pull back for even and clinical, push in for intimate and fast-falloff. This locks your main light placement.
- Only now consider fill. Fill is a response to the shadow your main light placement created, not a prerequisite.
- Hair, rim, and background after that. These are seasoning. They do not fix a bad key.
Step six is the one people get backwards. If you’re reaching for fill immediately, the shadow from your main light placement was wrong in the first place and you’re patching rather than solving. Try moving the key before you add a second head. More often than not, you’ll find you didn’t need the second head at all.
What the Gear Market Tells Us About Main Light Placement Habits
Here’s an observation that doesn’t require a chart to be useful: the used lighting market moves overwhelmingly in modifiers and in monolights, and comparatively little in the boring infrastructure that actually makes main light placement flexible.
Stands. Booms. Counterweights. Decent casters. Sandbags. If you browse used lighting listings across eBay, KEH, or GearFocus, you’ll see the same pattern: everyone is buying the glamorous thing and nobody is buying the thing that lets them put the glamorous thing where it belongs.
I’m as guilty as anyone. I owned four modifiers before I owned a single boom arm, which meant every main light placement I could achieve was a placement a straight stand allowed. That’s a drastically reduced vocabulary and I didn’t even know it was reduced.
The practical upgrade path for main light placement flexibility, in order of actual impact:
- A real boom arm with a proper counterweight. Unlocks overhead and front-axis positions that a vertical stand physically cannot reach without putting a leg in your frame.
- A C-stand instead of a light stand. The gobo arm geometry means you can offset the head from the base, which is the entire ballgame for tight studios.
- Wheels. If repositioning the key takes effort, you will stop doing it. Friction is the enemy of intentional main light placement.
- A second, cheaper head. Not for two-light setups necessarily, but so you can leave one main light placement built while testing another.
Note that none of these change the light itself. They change what main light placement is available to you, which is the actual constraint for most working photographers in small rooms. For a broader take on building capability without overspending, our guide to beauty photography on a budget covers the same philosophy applied to high-key work.
Main Light Placement in Small Spaces
Most of us are not working in a 2,000-square-foot studio. We’re working in a converted garage, a spare bedroom, or a corner of a living room where the ceiling is eight feet and there’s a radiator in exactly the wrong spot.
Small rooms compress main light placement in two specific ways. First, your distance axis is truncated, so you lose the ability to create fast falloff or even clinical coverage at the extremes. Second, bounce from nearby walls fills your shadows whether you want it or not, which flattens the effect of any main light placement you choose.
Fixes that actually work:
Negative fill is mandatory, not optional. A black flag or even a cheap foam board on the shadow side restores the contrast your main light placement was supposed to create. In a small room this isn’t a styling choice, it’s basic restoration of control.
Grid the key. A 30- or 40-degree grid keeps spill off the walls, which means your main light placement behaves more like it would in a big dark space.
Go smaller and closer. A smaller modifier placed tight to the subject gives you the soft transition of a big source with the falloff of a near one. It’s often the only way to get dramatic main light placement to read in a bright white room.
Shoot tighter. Head-and-shoulders crops are more forgiving of compressed main light placement than three-quarter or full length, where falloff across the body gives the game away.
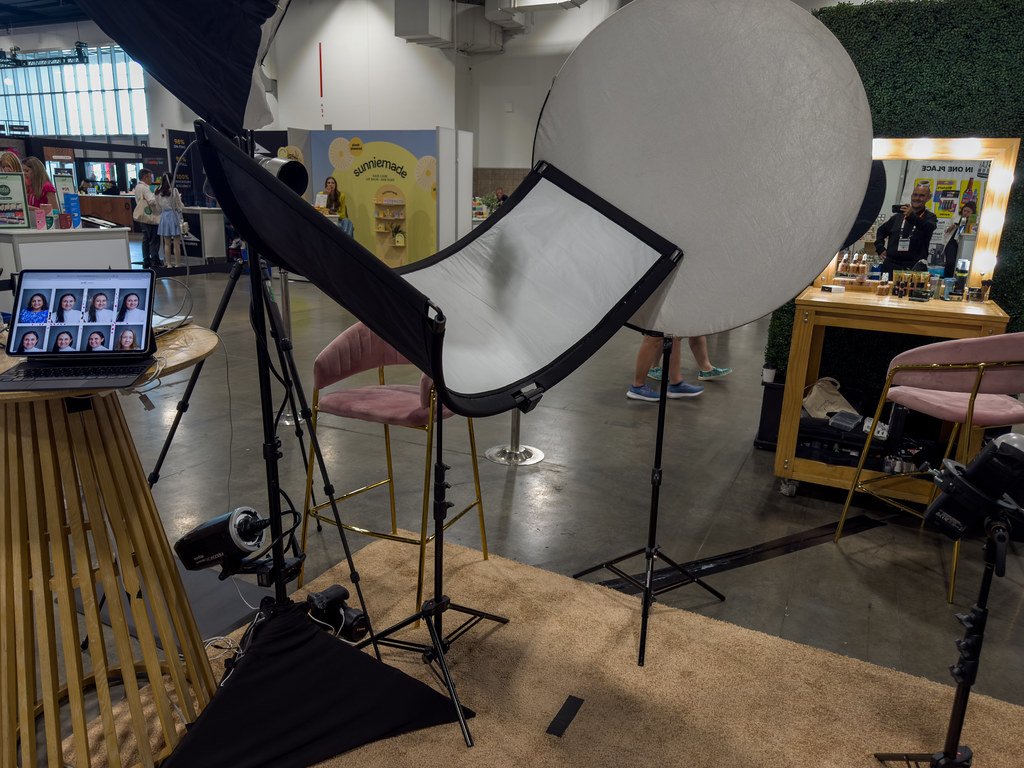
The background matters here too, since spill from your key is landing on it whether you planned for that or not. Our piece on pro photography backdrops gets into how surface and distance interact with the key.
Translating Natural Light Instincts Into Main Light Placement
If you came up shooting available light, you already have better main light placement instincts than you think. You’ve just been moving the subject instead of the light.
Every time you’ve turned someone toward a window, backed them off a doorway, or asked them to step under an awning, you were making a main light placement decision. The only difference in the studio is that the source moves and the subject sits still.
The translation is worth doing deliberately. Think of three window situations you know produce good results, and reverse-engineer the geometry. A north-facing window at mid-morning with the subject turned three-quarters toward it is roughly a 45-degree horizontal, slightly above eye level, large source at medium distance. That’s a main light placement you can build with a strobe in ninety seconds.
Doing this honestly also exposes how narrow most natural light work actually is. Windows are at fixed heights. Overcast light comes from above. You’ve probably never made a portrait with a light below the eyeline because nature rarely offers one. The studio’s gift is the main light placement that doesn’t exist outdoors. Use it. The natural light fundamentals transfer directly, but don’t let them cap your range once you’re indoors.
Common Main Light Placement Mistakes and How to Fix Them
The light is too far away. Beginners park the key at six or eight feet because that’s how the diagram looked. Closer is almost always better: softer transitions, more control over falloff, more flattering wrap. Move it in until it’s just outside frame.
The light is too high. The 45-degree-up convention came from a specific era and a specific aesthetic. For most modern portraiture, a lower main light placement reads better. If your subject’s eye sockets are dark, you’re too high. Full stop.
The angle never changes between subjects. I did this for years. The same main light placement across eight people in a session produces one good photo and seven acceptable ones. Thirty seconds of adjustment per subject is the cheapest quality upgrade available.
Fixing shadow problems with fill instead of position. Already covered, but it bears repeating because it’s the most common one. Fill is a tool for controlling ratio, not for repairing a bad main light placement.
Ignoring the subject’s glasses. Glasses turn main light placement into a geometry problem with a hard constraint. Raising the light and bringing it slightly further around usually kills the reflection. Having the subject tip their chin down a half-inch does the rest.
Forgetting the body. A main light placement that flatters a face can do odd things to shoulders and hands. Check the whole frame, not the head.
For a useful external reference on how directional light interacts with form, the Metropolitan Museum of Art collection is an underrated lighting education: centuries of painters solved main light placement before cameras existed, and the Baroque galleries in particular are a masterclass in what a single raking source does to a face.
What to Take From This
- Main light placement comes first. Before modifier choice, before fill, before anything. It’s the decision everything else reacts to.
- Work three axes, not one. Horizontal angle, vertical height, and distance. Most photographers only vary the first.
- Audition, don’t assume. Thirty seconds of walking the modeling lamp around the subject beats any diagram.
- Match main light placement to purpose. Authority, warmth, interiority, and vulnerability each live at different coordinates.
- Buy stands before modifiers. Booms and C-stands expand what main light placement is physically available to you.
- In small rooms, negative fill is required. Bounce will flatten your main light placement unless you flag it.
- If the eyes are dark, lower the light. The single most reliable diagnostic in portrait work.
Conclusion
The contractor from the top of this piece bought three prints. His wife emailed afterward to say it was the first photo of him she’d liked in a decade. Nothing about that outcome involved an expensive light or a clever modifier. It was eleven seconds of main light placement, made on purpose instead of by accident.
That’s the whole argument. Treat main light placement as the storytelling decision it actually is, and your portraits stop being competent and start being specific. Specific is what people pay for and what they keep.
Go into your next session with no setup pre-built. Seat the subject, kill the lights, and walk the key around their face until something true shows up. The main light placement you land on will almost never be the one you would have defaulted to, and that gap is where the good work lives.
FAQ
What is the best main light placement for portraits?
There is no universal best. A starting point of roughly 30 to 45 degrees horizontally and slightly above eye level works for many faces, but deep-set eyes, long noses, and round faces all require adjustment from that baseline.
How high should the main light be?
Low enough that catchlights appear clearly in both eyes. If the eye sockets fall into shadow, the main light placement is too high. Most modern portrait work sits lower than the classic 45-degree convention suggests.
Does main light placement matter more than the modifier?
Yes. The modifier controls shadow transition quality, but main light placement controls where shadows fall and which facial planes get lit. A well-placed small softbox outperforms a poorly placed large one consistently.
How do I adjust main light placement for subjects wearing glasses?
Raise the light slightly and push it further around horizontally until the reflection clears the lens. Having the subject tip their chin down marginally usually eliminates any remaining glare without changing the lighting pattern.
Can I get good main light placement in a small room?
Photo: Vitaly Gariev