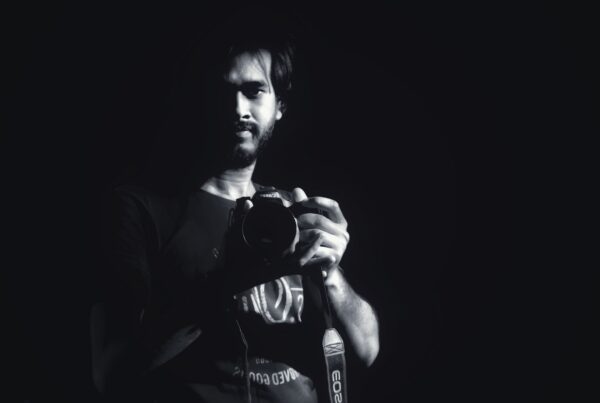

To shoot portraits in motion, drop your shutter to 1/15 to 1/60 for intentional blur or push past 1/500 to freeze it, then light with continuous sources or slow-sync flash so the movement reads as expression rather than error. The technique is directed, not accidental.
Senior season is here, and I spent most of last week in a high school parking lot at 7pm with a kid who would not stop apologizing for fidgeting. Hands in pockets, hands out of pockets, chin up, chin down. Every frame technically fine. Every frame dead. The light was gorgeous, that low August gold that makes everyone look like they moisturize.
And I was making the most boring pictures of my career.
So I told her to walk toward me and keep talking about her dog. I dropped to 1/30. Third frame, her hair swung across her face and her hands blurred into soft ghosts and her eyes stayed sharp because she was looking right at me. That was the picture. That was the one her mom cried at.
That’s what shooting portraits in motion actually is: a set of deliberate technical choices that let a body move inside the frame without the image falling apart. Not luck. Not a burst-mode prayer. Settings, light, and direction working together.
What Are Portraits in Motion, Exactly?
Let’s define the thing before we build it. Portraits in motion are images where movement is visible and intentional, either frozen at a peak or smeared into blur, and where that movement carries the subject’s personality more than a pose ever could.
There are two families here, and they demand opposite settings:
- Frozen motion: hair mid-flip, fabric mid-swing, a jump caught at apex. Fast shutter, more light, crisp everything.
- Rendered motion: intentional blur that shows the path a body took through time. Slow shutter, controlled light, one anchor point kept sharp.
Most photographers only ever shoot the first kind, and usually by accident. The second kind is where portraits in motion stop looking like sports photography and start looking like art direction.
Here’s the uncomfortable part. I spent about three years thinking blur was a failure state. I’d cull every soft frame without looking at it. I threw away some of the best work I’ve ever made because I was grading my own pictures on a sharpness rubric nobody outside a lens review cares about.
Step One: Pick Your Shutter Before You Pick Anything Else
- Decide which family you’re shooting. Frozen or rendered. You cannot chase both in the same setup, and trying is how sessions fall apart. Commit for the next ten minutes, then switch deliberately.
- For frozen portraits in motion, start at 1/500. That handles walking, hair flips, and skirt swings. Jumps and hard turns want 1/1000. Anything faster is usually you overpaying in ISO for motion nobody can perceive.
- For rendered portraits in motion, start at 1/30. This is the sweet spot where a hand smears but a face stays readable. Go to 1/15 for heavier abstraction. Go to 1/8 and you’re making a different genre entirely, which is fine if you mean it.
- Set shutter first, then solve exposure around it. Aperture and ISO are now your servants. This is backwards from how most of us learned portraiture, where aperture is king and shutter is whatever the camera decides.
- Shoot manual, not shutter priority. Auto-aperture will hunt as your subject moves and your depth of field will change frame to frame. Lock it.
One thing that took me embarrassingly long to internalize: at 1/30 outdoors on a bright day, you will run out of aperture. Base ISO, f/16, still blown. You need a neutral density filter. A 3-stop and a 6-stop screw-on ND live in my bag permanently now, and they cost less than a decent lunch out.
Step Two: Anchor One Thing Sharp

Rendered blur only works if the viewer’s eye has somewhere to land. Total mush reads as a mistake. One sharp anchor and the rest of the smear reads as motion.
- Pick the anchor consciously. Usually the eyes. Sometimes a still hand, a piece of jewelry, a guitar headstock.
- Direct the subject to keep the anchor still. “Move your arms, move your hair, keep your face pointed at my lens.” Say it exactly that plainly. People are remarkably good at isolating one body part when you ask them to.
- Use single-point autofocus on the anchor, not face detect. Face detect on a moving, blurring subject will drift to whatever is currently most face-shaped, and at 1/30 that means the whole frame is soft.
- Brace yourself, not just the camera. Elbows tucked, back foot planted, exhale as you release. Your own handshake at 1/30 adds blur you didn’t choose.
- Shoot in bursts of five to eight. Not fifty. Bursts of five let you review and adjust; bursts of fifty are how you end up with 1,400 frames and no plan.
I want to be honest about hit rate here, because gear blogs never are. Rendered portraits in motion at 1/30 give me maybe two keepers out of thirty frames. Frozen work runs closer to one in six. If someone tells you they nail it every time, they’re either lying or shooting at 1/2000 and calling it art.
Step Three: Light Portraits in Motion With Continuous Sources First
Strobes are wonderful and they will fight you on this. A flash duration of 1/1000 or shorter freezes everything whether you asked it to or not, which means your beautiful 1/30 shutter is doing nothing except gathering ambient soup.
Continuous light gives you honest control. What you see is what the sensor records, blur and all. That’s why so much of the current interest in portraits in motion is coming out of the video-adjacent world, where everyone already owns LED panels.
- Start with one large soft source, close. A 2×3 panel or a bounced LED at three feet. Big and near means soft falloff, which flatters a moving subject whose distance to the light keeps changing.
- Feather the source rather than pulling it back. Turning the light so the subject sits in its edge keeps softness while cutting intensity. Pulling it back to control exposure makes it harder and less forgiving.
- Add a hard rim from behind. A bare bulb or unmodified LED behind the subject carves a bright edge that stays legible even when the interior of the body is blurred. This single trick saves more rendered frames than anything else I do.
- Kill your overheads. Mixed color temperature across a blurred face is unfixable in post. Ask me how I know.
If you’re still building your lighting foundation, get the fundamentals down before you start bending them. Our breakdown of four classic portrait lighting patterns every working shooter should master is the prerequisite reading. Portraits in motion are a variation on those patterns, not a replacement for them.
Step Four: How Do You Use Flash for Portraits in Motion Without Freezing Everything?
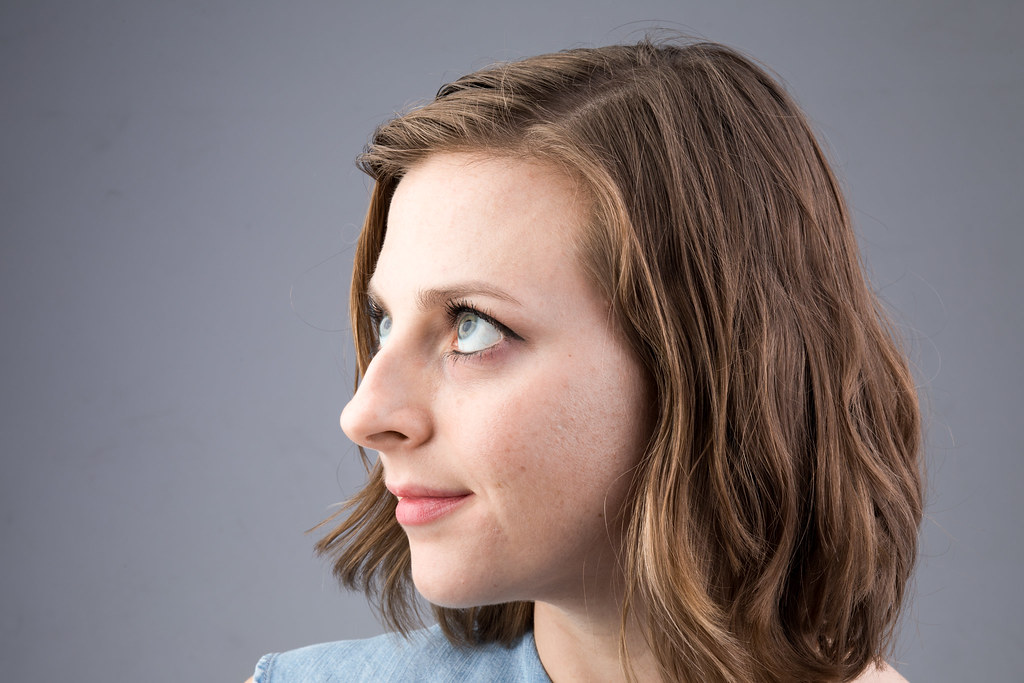
Slow-sync. That’s the answer, and it’s the single most underused setting on most photographers’ bodies.
- Set your camera to rear-curtain sync. The flash fires at the end of the exposure instead of the beginning, so the blur trails behind the subject rather than leading it. Motion trailing forward looks wrong to human eyes; trailing behind reads as speed.
- Set shutter to 1/15 or 1/30. This is your ambient exposure. Meter it so the background sits about one to two stops under.
- Dial flash power down to fill, not key. You want it to crisp the subject, not overpower the ambient smear. Start two stops below a full-power reading and climb.
- Direct movement across the frame, not toward it. Lateral motion produces the cleanest trails. Motion straight at the lens compresses into a mess.
- Try dragging even further, to 1/8. With a strobe pinning the subject, portraits in motion at 1/8 can hold a startlingly sharp face inside a completely liquid frame.
Second confession: I shot an entire engagement session on front-curtain sync before I understood the difference, and every trail ran the wrong direction. The clients loved them. I still can’t look at them.
Manufacturers document their own sync behavior better than most third-party guides do, and it varies more than you’d expect between bodies. Check the actual specification for your camera at Canon or your own maker’s site before a paid shoot rather than during it.
Step Five: Direct the Human, Not the Pose
All the settings in the world won’t save a subject who’s holding their breath waiting for you to say “perfect.” Portraits in motion require a completely different verbal approach.
- Give tasks, not positions. “Walk to that tree and turn around when you get there” beats “put your weight on your back leg.” Tasks produce natural movement; positions produce statues.
- Ask questions mid-frame. A person answering a real question forgets their face. That’s the whole game.
- Name the blur out loud. Tell them you’re intentionally shooting motion, that soft frames are the plan. Otherwise they’ll see your back-of-camera preview and assume you’re failing.
- Repeat the good movement four or five times. The first pass is rehearsal. Passes three through five are where the looseness shows up.
- Work in short bursts with real breaks. Movement is physically tiring, especially in August heat. A winded subject looks winded.
There’s a broader point here about differentiation, and it’s the reason portraits in motion are worth learning at all right now. Everyone with a mirrorless body can make a clean, sharp, well-lit static portrait. That’s table stakes. If you want work that doesn’t dissolve into the feed, read our take on how to shoot portraits that don’t look like everyone else’s alongside this one.
Step Six: Culling and Editing Portraits in Motion

Your normal cull will destroy this work. A sharpness-first pass throws out every frame that matters.
- Cull at fit-to-screen, not 100%. Pixel-peeping a rendered frame tells you nothing about whether it works. Judge the whole image at viewing size.
- Ask “is the anchor sharp?” not “is the frame sharp?” If the eyes hold and the smear has direction, keep it.
- Reject frames where the blur has no vector. Directionless mush is genuinely a mistake. Blur that clearly traveled from A to B is not.
- Go easy on clarity and texture sliders. They crunch the transition between sharp anchor and soft surround, and the result looks like a bad HDR from 2011.
- Add grain deliberately. Grain unifies a frame with mixed sharpness. It tells the viewer the softness is a look, not a limitation.
Deliver them mixed, too. A gallery of nothing but portraits in motion is exhausting. I aim for roughly one in six, sprinkled through the set, so the movement frames land as punctuation.
What to Take From This
- Choose frozen or rendered first. 1/500 and up to freeze; 1/30 and down to render.
- Set shutter before aperture. Everything else serves the motion decision.
- Carry NDs. Slow shutters outdoors are impossible without them.
- Anchor one element sharp. Usually the eyes, held on single-point AF.
- Prefer continuous light for full control of blur, and add a hard rim from behind.
- Use rear-curtain slow sync when you want flash, so trails fall behind the subject.
- Direct tasks, not poses, and tell the subject the blur is intentional.
- Cull at screen size and judge the anchor, not the frame.
- Deliver about one in six so movement frames read as punctuation.
Where This Fits in a Working Business
Practical note, since it’s late August and senior and engagement bookings are stacking up. Portraits in motion are a differentiator you can charge for, but only if clients see them before the shoot. Put three or four on your booking page.
Sell them as a component, not a whole session. “We’ll do the classic set, and then twenty minutes of movement work.” That framing gets a yes almost every time, because you’ve protected the safe pictures the client’s mother wants while carving out room for the pictures you want.
Then practice on yourself in the off months. January and February are dead, and rendered motion is a technique you cannot learn on a paying job. I ran the same 1/30 walk-toward-camera setup on a tripod with a self-timer probably sixty times one slow winter before I trusted it with a client.
The gear question comes up constantly and it’s mostly a non-issue. Any body with manual mode and any lens with decent close-focus performance will shoot portraits in motion. In-body stabilization helps at 1/15 and below, and that’s genuinely useful, but it’s a convenience rather than a requirement. Used bodies from three or four years ago do this beautifully, and you’ll see them listed across everything from eBay to GearFocus at prices that make a dedicated practice camera easy to justify.
Stop grading your own portraits on sharpness alone. Learn to make portraits in motion on purpose, direct the human instead of the pose, and you’ll start making frames that clients screenshot instead of scroll past.
FAQ
What shutter speed is best for portraits in motion?
Use 1/500 or faster to freeze movement cleanly. Use 1/30 for intentional blur that keeps a face readable. Drop to 1/15 or 1/8 for heavier abstraction, ideally with flash pinning the subject.
Why do my portraits in motion look like mistakes instead of art?
Almost always because nothing in the frame is sharp. Blur needs an anchor. Lock single-point autofocus on the eyes and direct the subject to keep their face still while limbs and hair move.
Can I shoot portraits in motion with flash?
Yes, using rear-curtain slow sync. Set a slow shutter for ambient blur, then dial flash to fill power. The flash crisps the subject while trails fall behind them, which reads as speed.
Do I need a fast lens for portraits in motion?
No. Slow-shutter work often needs a narrower aperture and a neutral density filter, not a wider one. For frozen work, more light matters more than maximum aperture on the lens itself.
How many motion frames should I deliver in a client gallery?
Roughly one in six. Movement frames work as punctuation between clean, static images. A full gallery of blur reads as exhausting and makes clients question whether you had technical trouble.
Photo: Vitaly Gariev