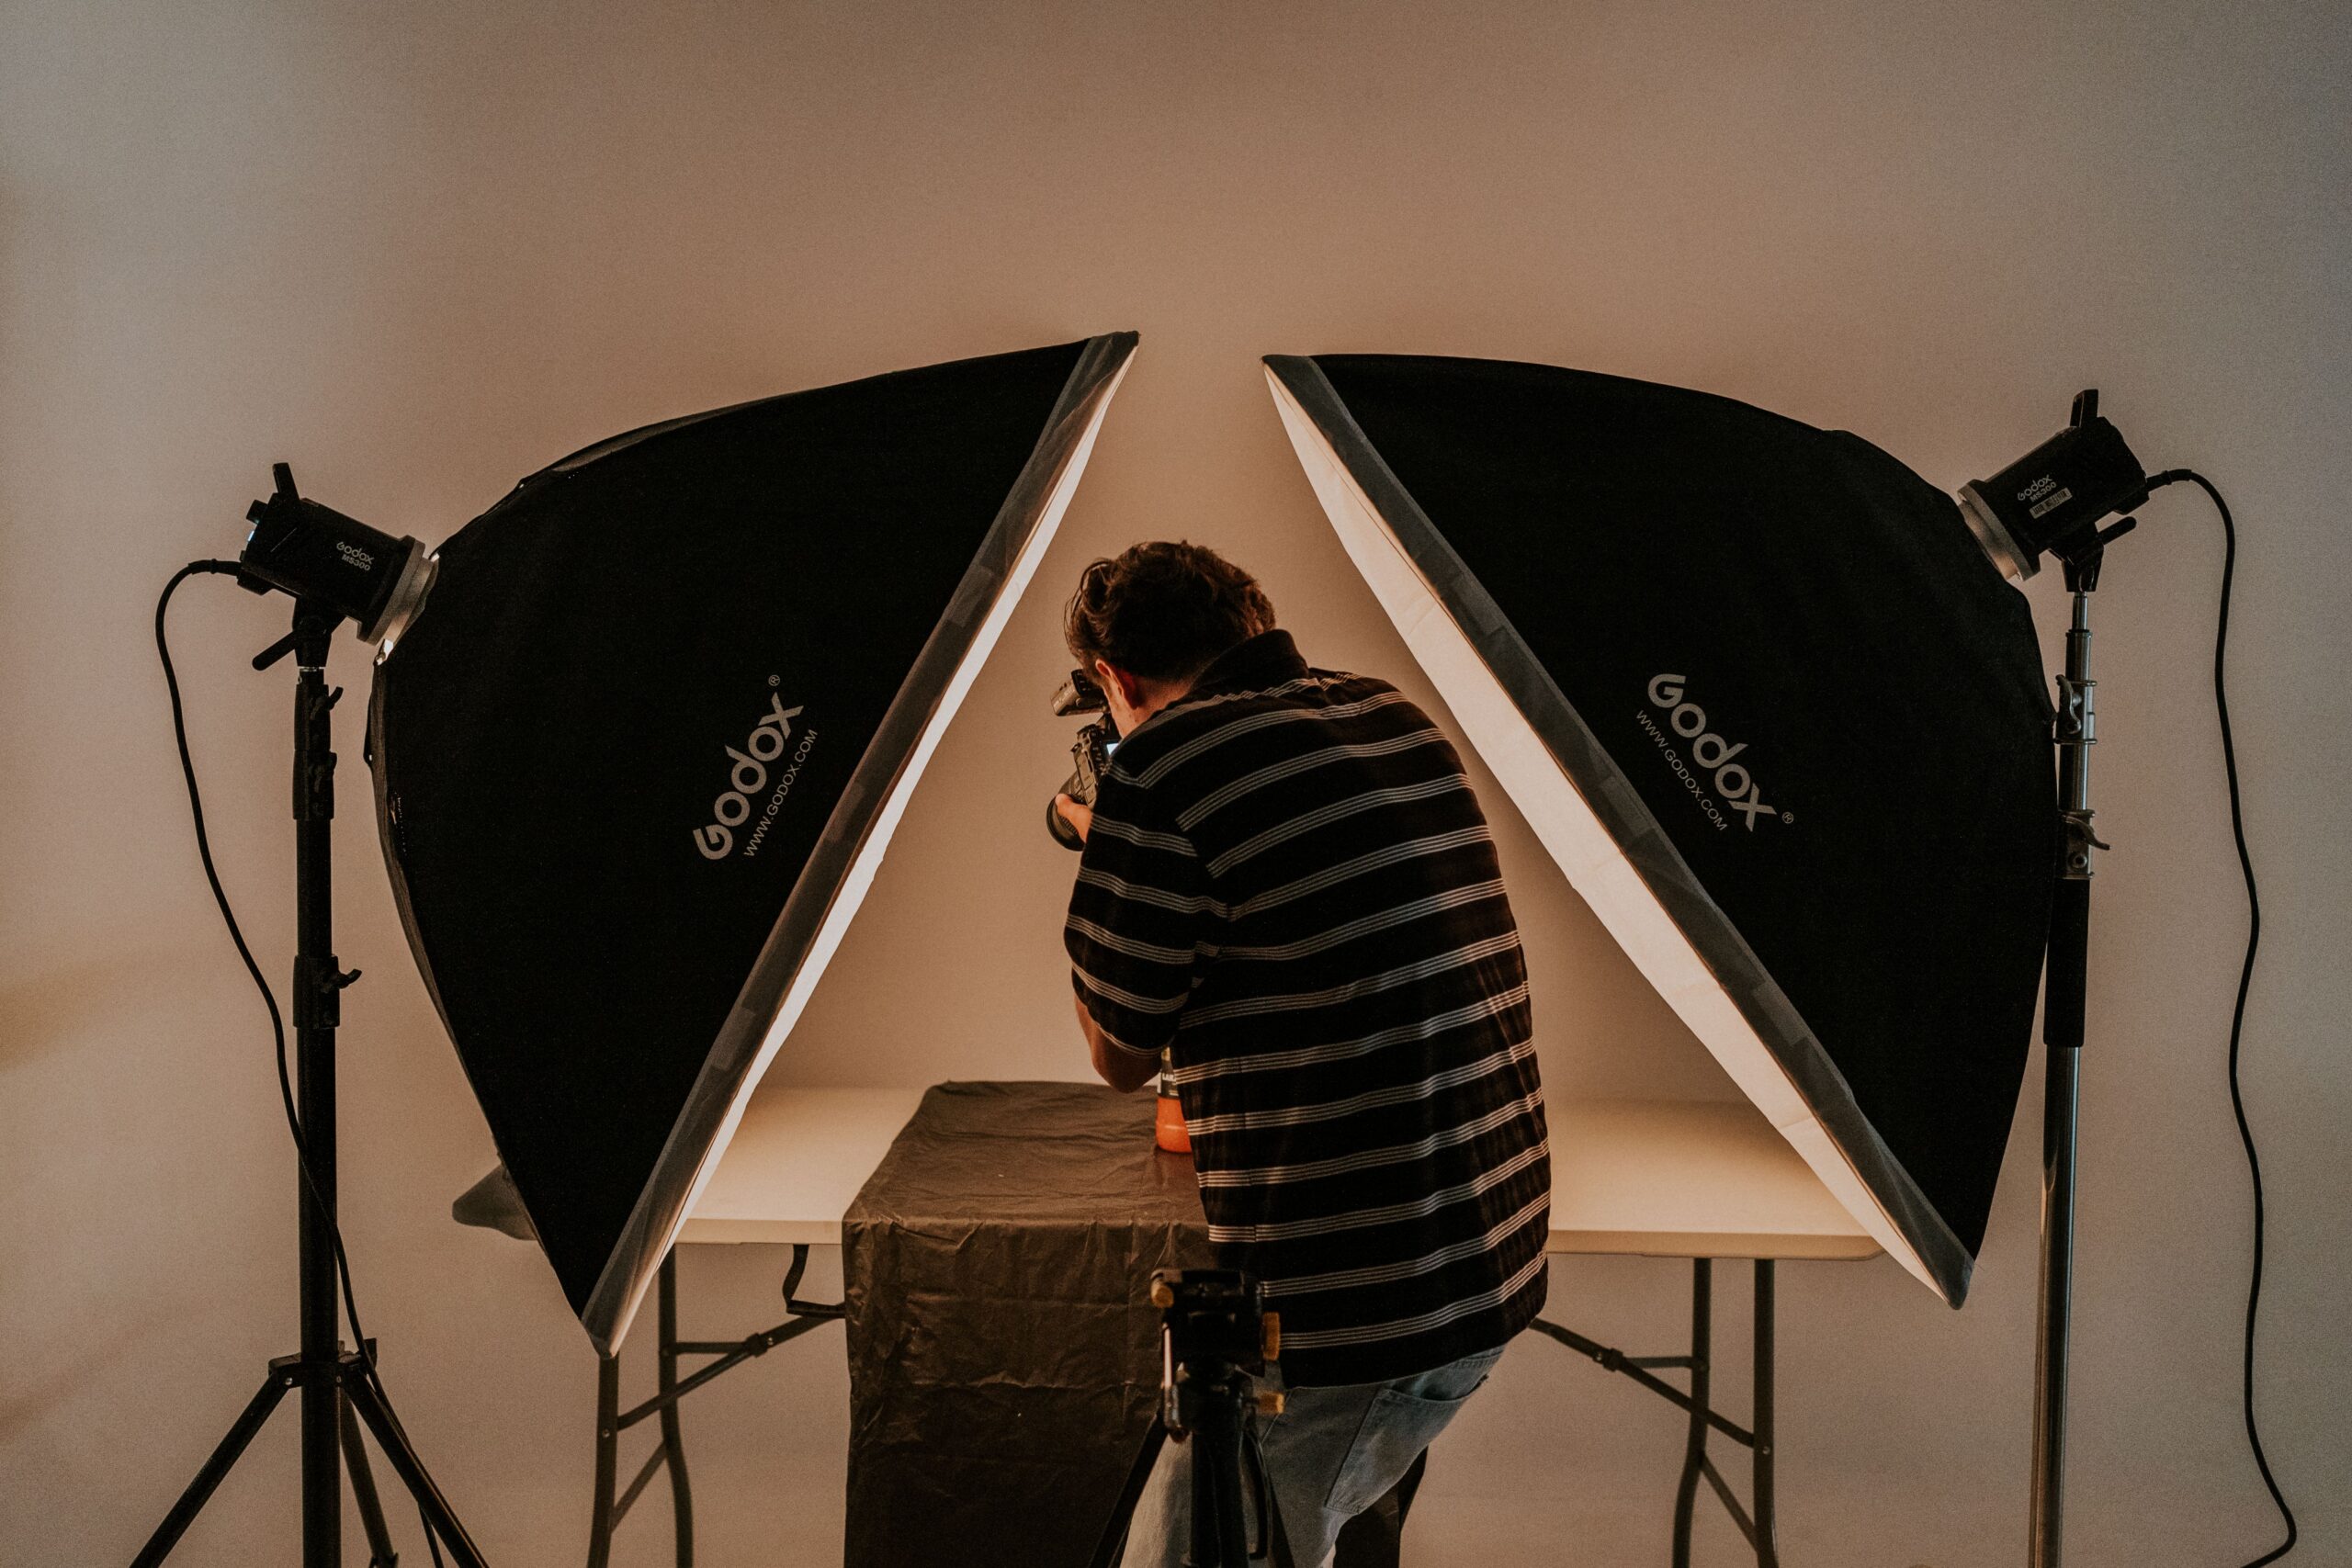
To create softbox mask rim lighting, place a rigid black mask panel over a strip box positioned behind your subject, cut a shape smaller than their silhouette, and let the spill wrap the edges while the center stays void black. One light, one modifier, no background needed.
Basement studio, late August, air conditioning fighting a losing battle against three hot lights. I had a dancer on the mark, a client watching from a folding chair, and a background that refused to go black no matter what I did to it. Every frame came back muddy grey. Not black. Grey. The kind of grey that says “this person shot in a room.”
I killed two of the three lights out of frustration. Moved the last one behind her. Threw a piece of black foamcore against the front of the softbox because I didn’t know what else to do with it.
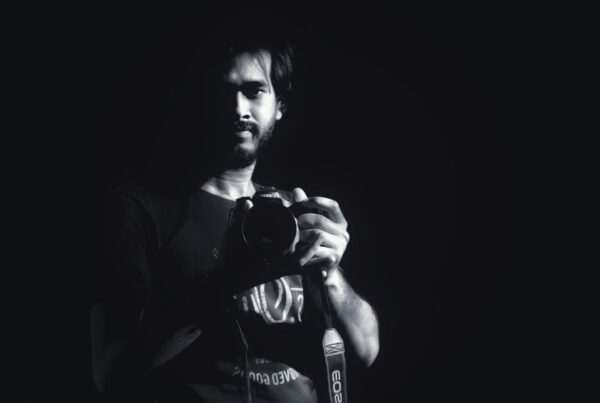
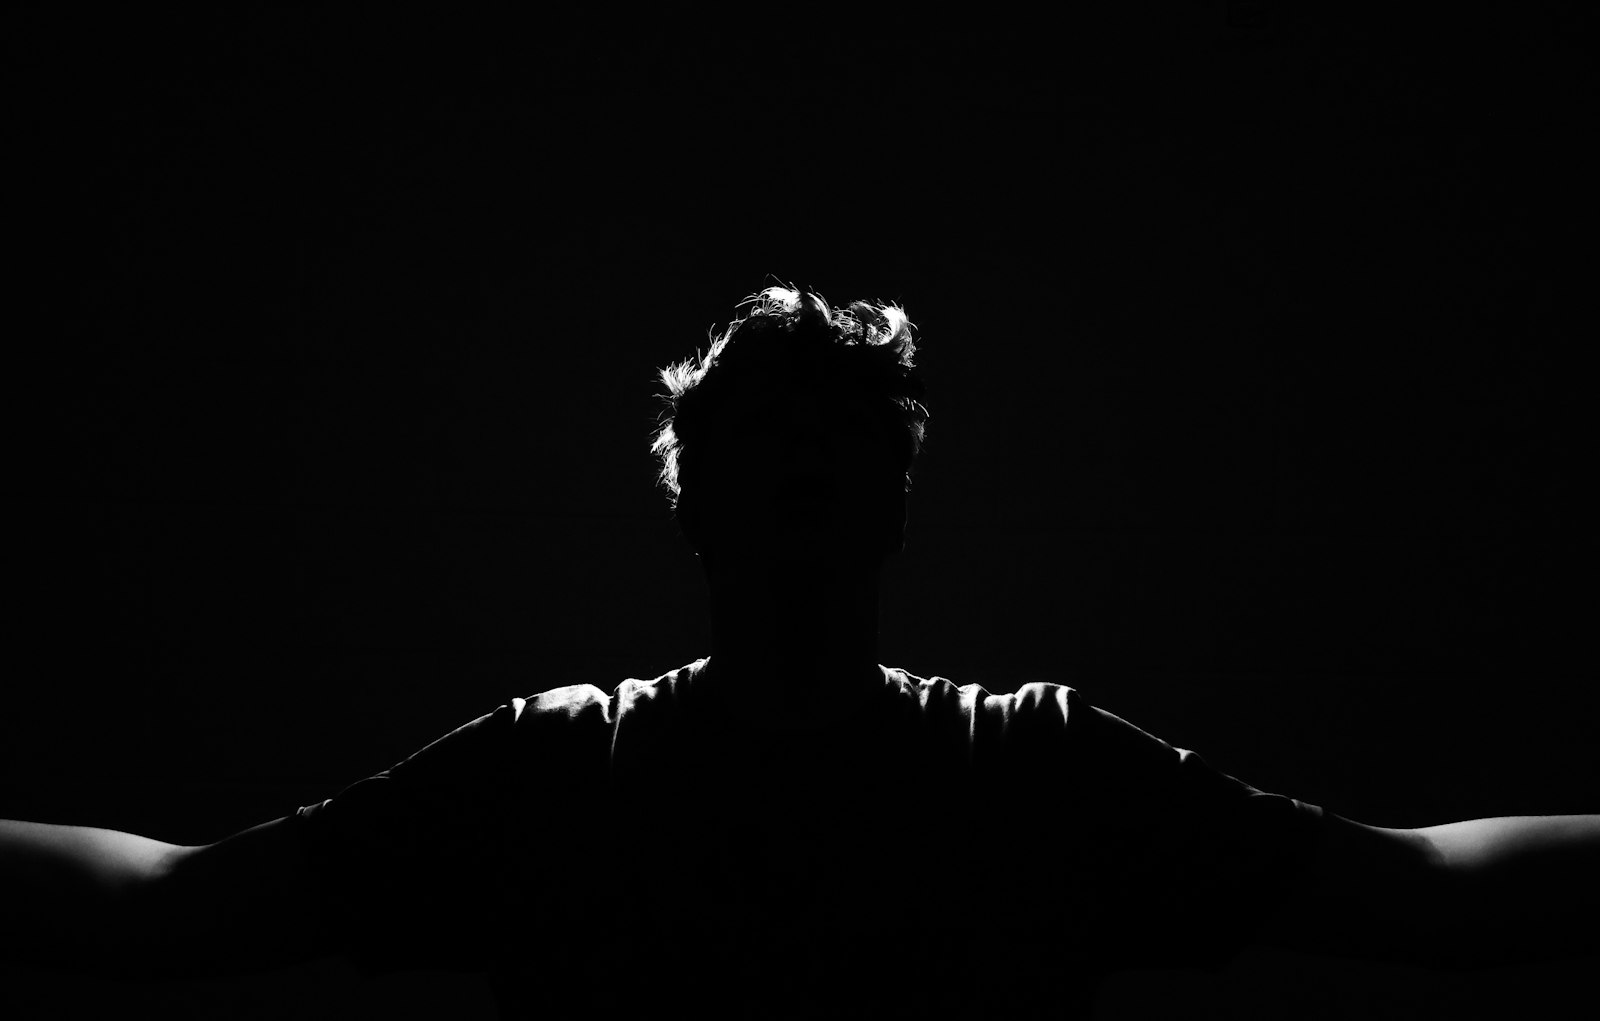
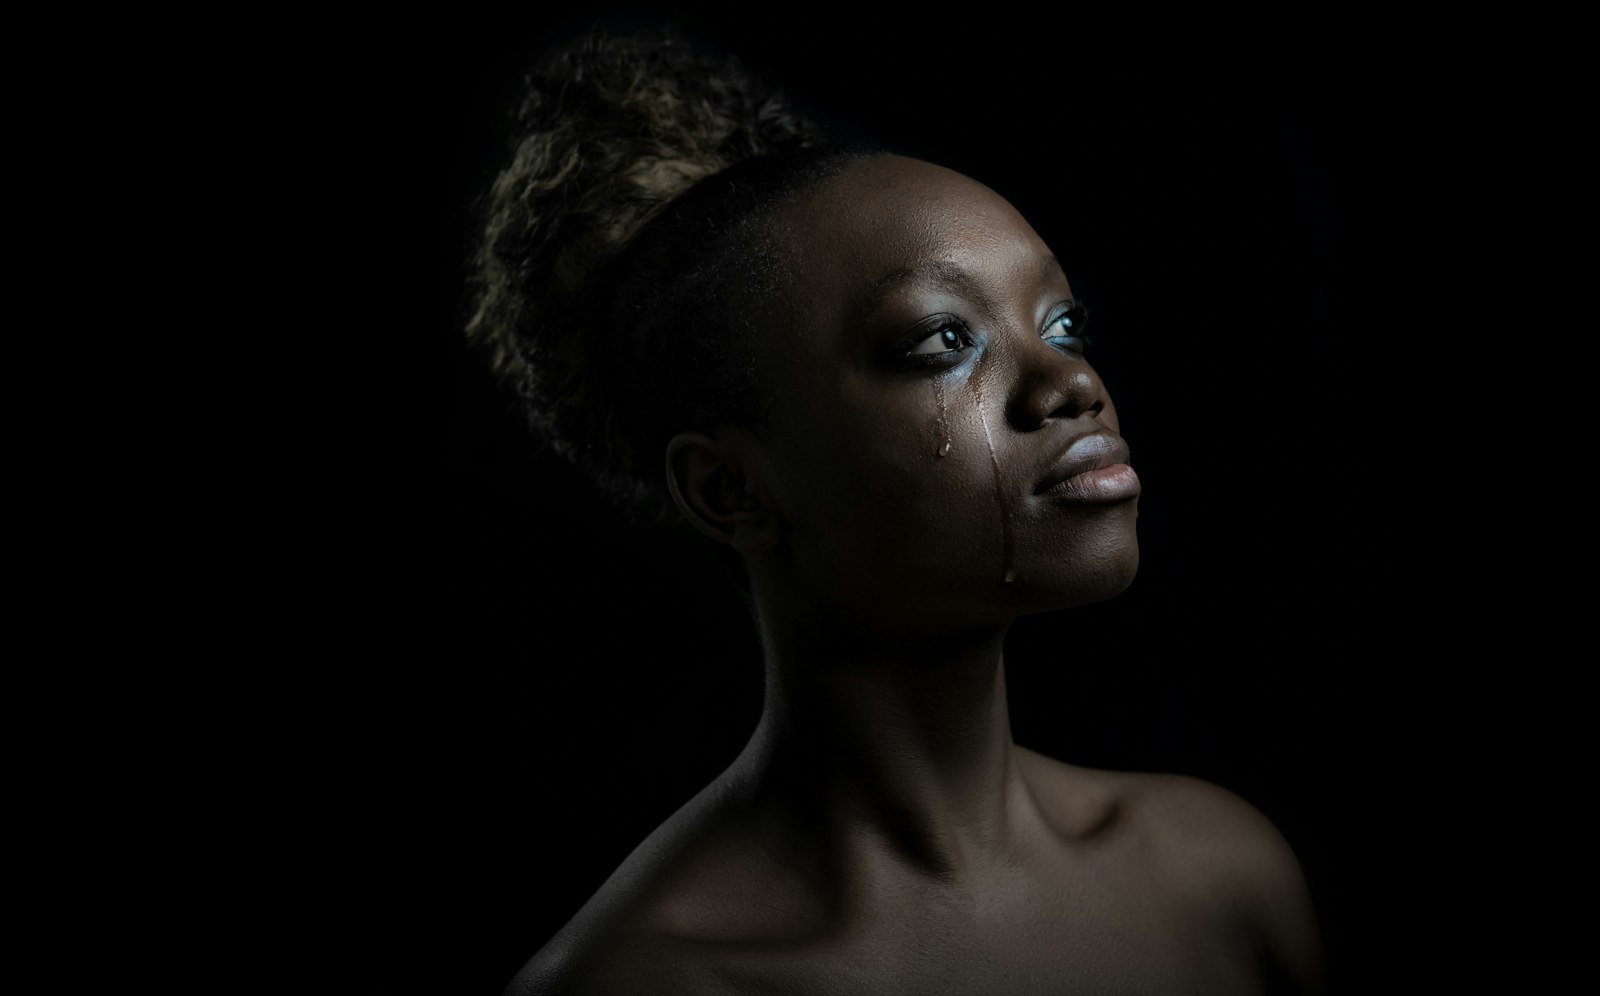
And there it was. Her shoulders lit like chrome, her face in shadow, and behind her: nothing. Actual nothing.
That accident is the whole technique. This is how softbox mask rim lighting works, and why it’s quietly become one of the most useful single-light setups a working photographer can carry.
What Is Softbox Mask Rim Lighting, Exactly?
Strip the jargon away and softbox mask rim lighting is one idea: you block the middle of a light source and keep the edges.
A normal softbox behind your subject throws light everywhere. Some of it hits their shoulders, which is what you want. The rest floods past them into the lens and the room behind them, which is what turns your black into grey. Lens flare, veiling glare, bounced spill off the ceiling. All of it lifts the shadows.
Softbox mask rim lighting solves that by putting a rigid opaque panel where the diffusion normally sits, then cutting an opening in that panel. The opening is deliberately smaller than your subject’s silhouette. Light escapes only through that window, and the subject’s own body eats the direct path to your sensor.
What survives is the wrap. The edge. The rim.
Industry chatter this year has centered on purpose-built modifiers that ship as diffusion replacements for exactly this job, which is why the term is suddenly everywhere. But the physics predate the product by about eighty years. Hollywood called it a cookie. Theater calls it a gobo. Your version is a piece of black board with a hole in it.
Why Working Photographers Should Care About This Setup
Because it collapses a three-light problem into a one-light solution, and one-light solutions are what actually get used on paid jobs.
Here’s the honest math. A traditional black-background portrait needs distance: subject well off the backdrop, backdrop unlit, flags controlling spill. That’s a 20-foot room minimum, plus a 10-foot backdrop, plus stands. I’ve turned down location work because a hotel conference room couldn’t give me the depth.
Softbox mask rim lighting doesn’t need the room. The void isn’t a background, it’s the absence of light reaching the sensor. You can shoot it two feet from a white wall if your mask is doing its job.
The other reason: it looks expensive. Editorial dance, athlete portraits, musician press shots, fitness branding, beauty work with a hard graphic edge. Clients read that rim as production value. They’re paying for the look, not the gear count, and softbox mask rim lighting delivers the look on a single stand.
I’ve also had it save a session outright. Cramped office, drop ceiling, terrible paint. Nothing about that room wanted to be in a photograph. So I made the room disappear.
The Gear You Actually Need
Modest list. That’s the point.
- One strobe or strong LED: Any monolight from the last fifteen years works. Speedlights work too with more patience.
- A strip box or small-to-medium softbox: Strips are ideal because the shape already resembles a standing human. A 12×36 or 14×48 is a sweet spot.
- Rigid black mask material: Black foamcore, Coroplast, blackwrap over a frame, or a purpose-made mask panel. Must be genuinely opaque. Hold it to a window; if you see glow, it leaks.
- Gaffer tape and a utility knife: For cutting and mounting the mask.
- Optional but transformative: a flag or two. Small black panels near the lens to kill residual glare.
Cost-wise, this is the least expensive dramatic lighting look in the business. The strip box does the heavy lifting, and strip boxes turn over constantly in used-gear channels. Prices swing wildly by brand and mount, so you’ll see the same size listed at very different money across eBay, Facebook groups, and GearFocus depending on condition and whether the speedring is included. Buy the speedring that matches your strobe or the deal isn’t a deal.
If budget is the constraint driving this whole experiment, our guide to beauty photography on a budget covers the modifier-first mindset that makes softbox mask rim lighting practical without a full studio kit.
How To Build Softbox Mask Rim Lighting, Step By Step
- Kill every other light in the room. All of it. Overheads, monitors, window light. Softbox mask rim lighting lives or dies on ambient control, and you cannot judge your void with a modeling lamp burning.
- Set the strip box directly behind your subject’s position, aimed at the camera. Not at the subject. At you. This feels wrong the first time. Do it anyway.
- Raise it so the vertical center of the box sits roughly at your subject’s sternum. Higher gives you more shoulder and hair; lower gives you more waist and hip. Start at sternum and adjust after the first test.
- Remove the front diffusion panel. Set it aside. You are replacing it, not supplementing it.
- Cut your mask. Trace a shape into the black board that’s narrower and shorter than your subject’s silhouette from camera position. A vertical rectangle or rounded oval works for standing figures. Start smaller than you think you need.
- Mount the mask flush to the front of the box. Gaffer the perimeter completely. Any gap at the edges is a light leak, and light leaks are what turn your black into grey.
- Position your subject so their body fully covers the opening from your lens’s point of view. This is the alignment step, and it’s the one people rush. Look through the viewfinder, not from beside the camera.
- Set exposure for the rim, not the face. Base ISO, f/5.6 to f/8, sync speed. Fire, chimp, adjust power until the shoulder edge is bright but not clipped.
- Check your corners. Any glow at frame edges means spill is escaping past the mask. Add flags on either side of the lens, or shrink the opening.
- Only then add fill. A weak reflector or a heavily feathered second source. Softbox mask rim lighting reads strongest when the face stays two to three stops under the rim.
Dialing In The Look: Shape, Distance, Power
Three variables, and they interact more than you’d expect.
Mask shape controls where the light wraps. A tall narrow slot gives you a clean vertical edge down both arms. A wide short slot lights shoulders and hair while leaving the legs dark. Cutting a subtly irregular edge produces a rim that varies in brightness along its length, which looks more organic and less like a product shot.
Subject-to-light distance controls rim width. Closer to the box means a broader, softer band of light on the edges. Further away tightens it into a hard filament outline. Six inches of movement is visible in the frame. This is the fastest adjustment you have during a session.
Power controls how much the rim blooms. Under-power it and the effect vanishes. Over-power it and the light spreads past the silhouette and blows out the void. Softbox mask rim lighting has a narrower power window than most setups, which is why I bracket three frames at different outputs before committing.
Confession: I spent an entire afternoon convinced my mask material was wrong when the real problem was that I’d set the strobe two stops hot. Everything past the subject’s outline was blooming. The material was fine. I was the problem.
Where Softbox Mask Rim Lighting Goes Wrong
Five failure modes, in order of how often I see them.
Grey instead of black. Almost always a leak. Check mask perimeter, check the box’s own seams, check whether the modeling lamp is still on. Then check whether your lens is flaring: a deep hood fixes more of this than people expect.
Halo instead of rim. Opening is too large relative to the silhouette. Cut a smaller one, or move the subject closer to the box so their body covers more of it.
Subject reads as a cutout. No fill at all, and the rim is doing 100% of the work. Add a whisper of frontal light. Softbox mask rim lighting should suggest a face, not delete one.
Rim on one side only. Subject isn’t centered on the opening. Look through the camera and have them step laterally an inch at a time.
Hot spot dead center. You’re seeing the opening directly. Your subject isn’t covering it. Same fix: alignment through the lens.
Second confession: I once shot a full set of softbox mask rim lighting frames with the strip box’s front diffusion still tucked behind the mask. Every image had this vague grey wash I couldn’t explain. Found the panel in the box during teardown. Twenty minutes of my life, gone.
Making It Work On Location
Studio is easy. Location is where this technique earns its keep, and where the mask has to be smarter.
Rigid foamcore doesn’t travel. Cut your mask from black Coroplast instead and it survives a car trunk. Or build a collapsible version: a lightweight frame with blackwrap stretched over it, held with clips. Mine lives flat in the same bag as my backdrop stands.
Ambient is the real location enemy. Softbox mask rim lighting needs your ambient exposure to be effectively zero, which means shooting at sync speed with the aperture closed enough to kill room light. In a bright office at f/8 and 1/200, you’re usually fine. Near a west-facing window at 5pm in September, you are not. Schedule around it or bring something to cover the glass.
Ceiling height matters more than floor space. Low drop ceilings bounce your spill straight back down onto the subject and lift the void. If you’re stuck under one, tilt the box slightly downward and flag above it.
For a broader read on judging and shaping the light you’re given before you start adding to it, our piece on mastering natural light is a useful companion, because the eye you develop there is the same eye that spots a leak in a mask.
Editing Softbox Mask Rim Lighting Files
Light touch. That’s the whole philosophy.
Get your black point right first. Not crushed, just right. Softbox mask rim lighting files tend to land with a slight lift in the darkest zone from residual glare, and pulling that down two or three points cleans the void without touching the subject.
Resist the urge to brighten the face in post. The tonal separation between rim and face is the entire aesthetic. Every time I’ve lifted shadows on these files to “help” a client see the eyes, I’ve made the frame worse.
Do check your rim for clipping. Blown highlights on a shoulder edge read as digital, not dramatic. If the rim is clipped in more than a hairline, the fix is a power adjustment on the next session, not a slider.
Colour: rim light picks up whatever your box interior is coated with. Silver interiors skew cool, white skews neutral, gold skews warm. Note which one you own so your grade starts from a known place.
What To Take From This
- One light, behind the subject, aimed at the lens. That’s the foundation of softbox mask rim lighting.
- Replace diffusion with opaque mask, don’t add mask on top of it. Pull the front panel out.
- Cut the opening smaller than the silhouette. Undersize it and grow if needed.
- Kill all ambient light. Sync speed, f/5.6 to f/8, base ISO.
- Align through the viewfinder, not from beside the camera. This fixes most single-side rims and centre hot spots.
- Expose for the rim; let the face fall two to three stops under.
- Flag the lens. A hood plus two small black panels solves most grey-void problems.
- Coroplast for travel, foamcore for studio. Both need fully taped perimeters.
Fall is a good moment to learn this. Senior portrait season is winding down, holiday family bookings haven’t landed yet, and there’s a two-week window in most working photographers’ calendars where you can afford to spend an afternoon cutting black board and firing test frames into a dark room. That’s what I’d do with the time.
The thing I keep coming back to about softbox mask rim lighting is that it doesn’t reward money. It rewards patience with alignment and ruthlessness about leaks. A shooter with a used strip box and a taped sheet of Coroplast will beat someone with a full three-light kit who hasn’t figured out where the spill is going. That’s a rare kind of technique, and it’s worth owning.
FAQ
Can I do softbox mask rim lighting with a speedlight?
Yes. Mount it in a small softbox with a speedring adapter and expect to shoot near full power. Recycle times will slow your pace, so plan fewer frames per pose.
Why is my background grey instead of black?
Light is reaching your sensor from somewhere. Check the mask perimeter for gaps, the softbox seams for leaks, your modeling lamp, and lens flare. Add a deep hood and side flags.
What mask shape should I cut first?
A vertical rectangle roughly two-thirds your subject’s torso width and half their height. It’s forgiving, it reads clean on standing figures, and it’s easy to enlarge if the rim is too thin.
Do I need a second light for the face?
Not always. A white reflector below the chin often provides enough fill. Add a real second source only when the client needs facial detail, and feather it hard.
Does this work for group shots?
Poorly. Softbox mask rim lighting depends on one silhouette covering one opening. Two subjects means light escaping between them. Two masked lights, one per person, is the workaround.
Photo: Amar Preciado