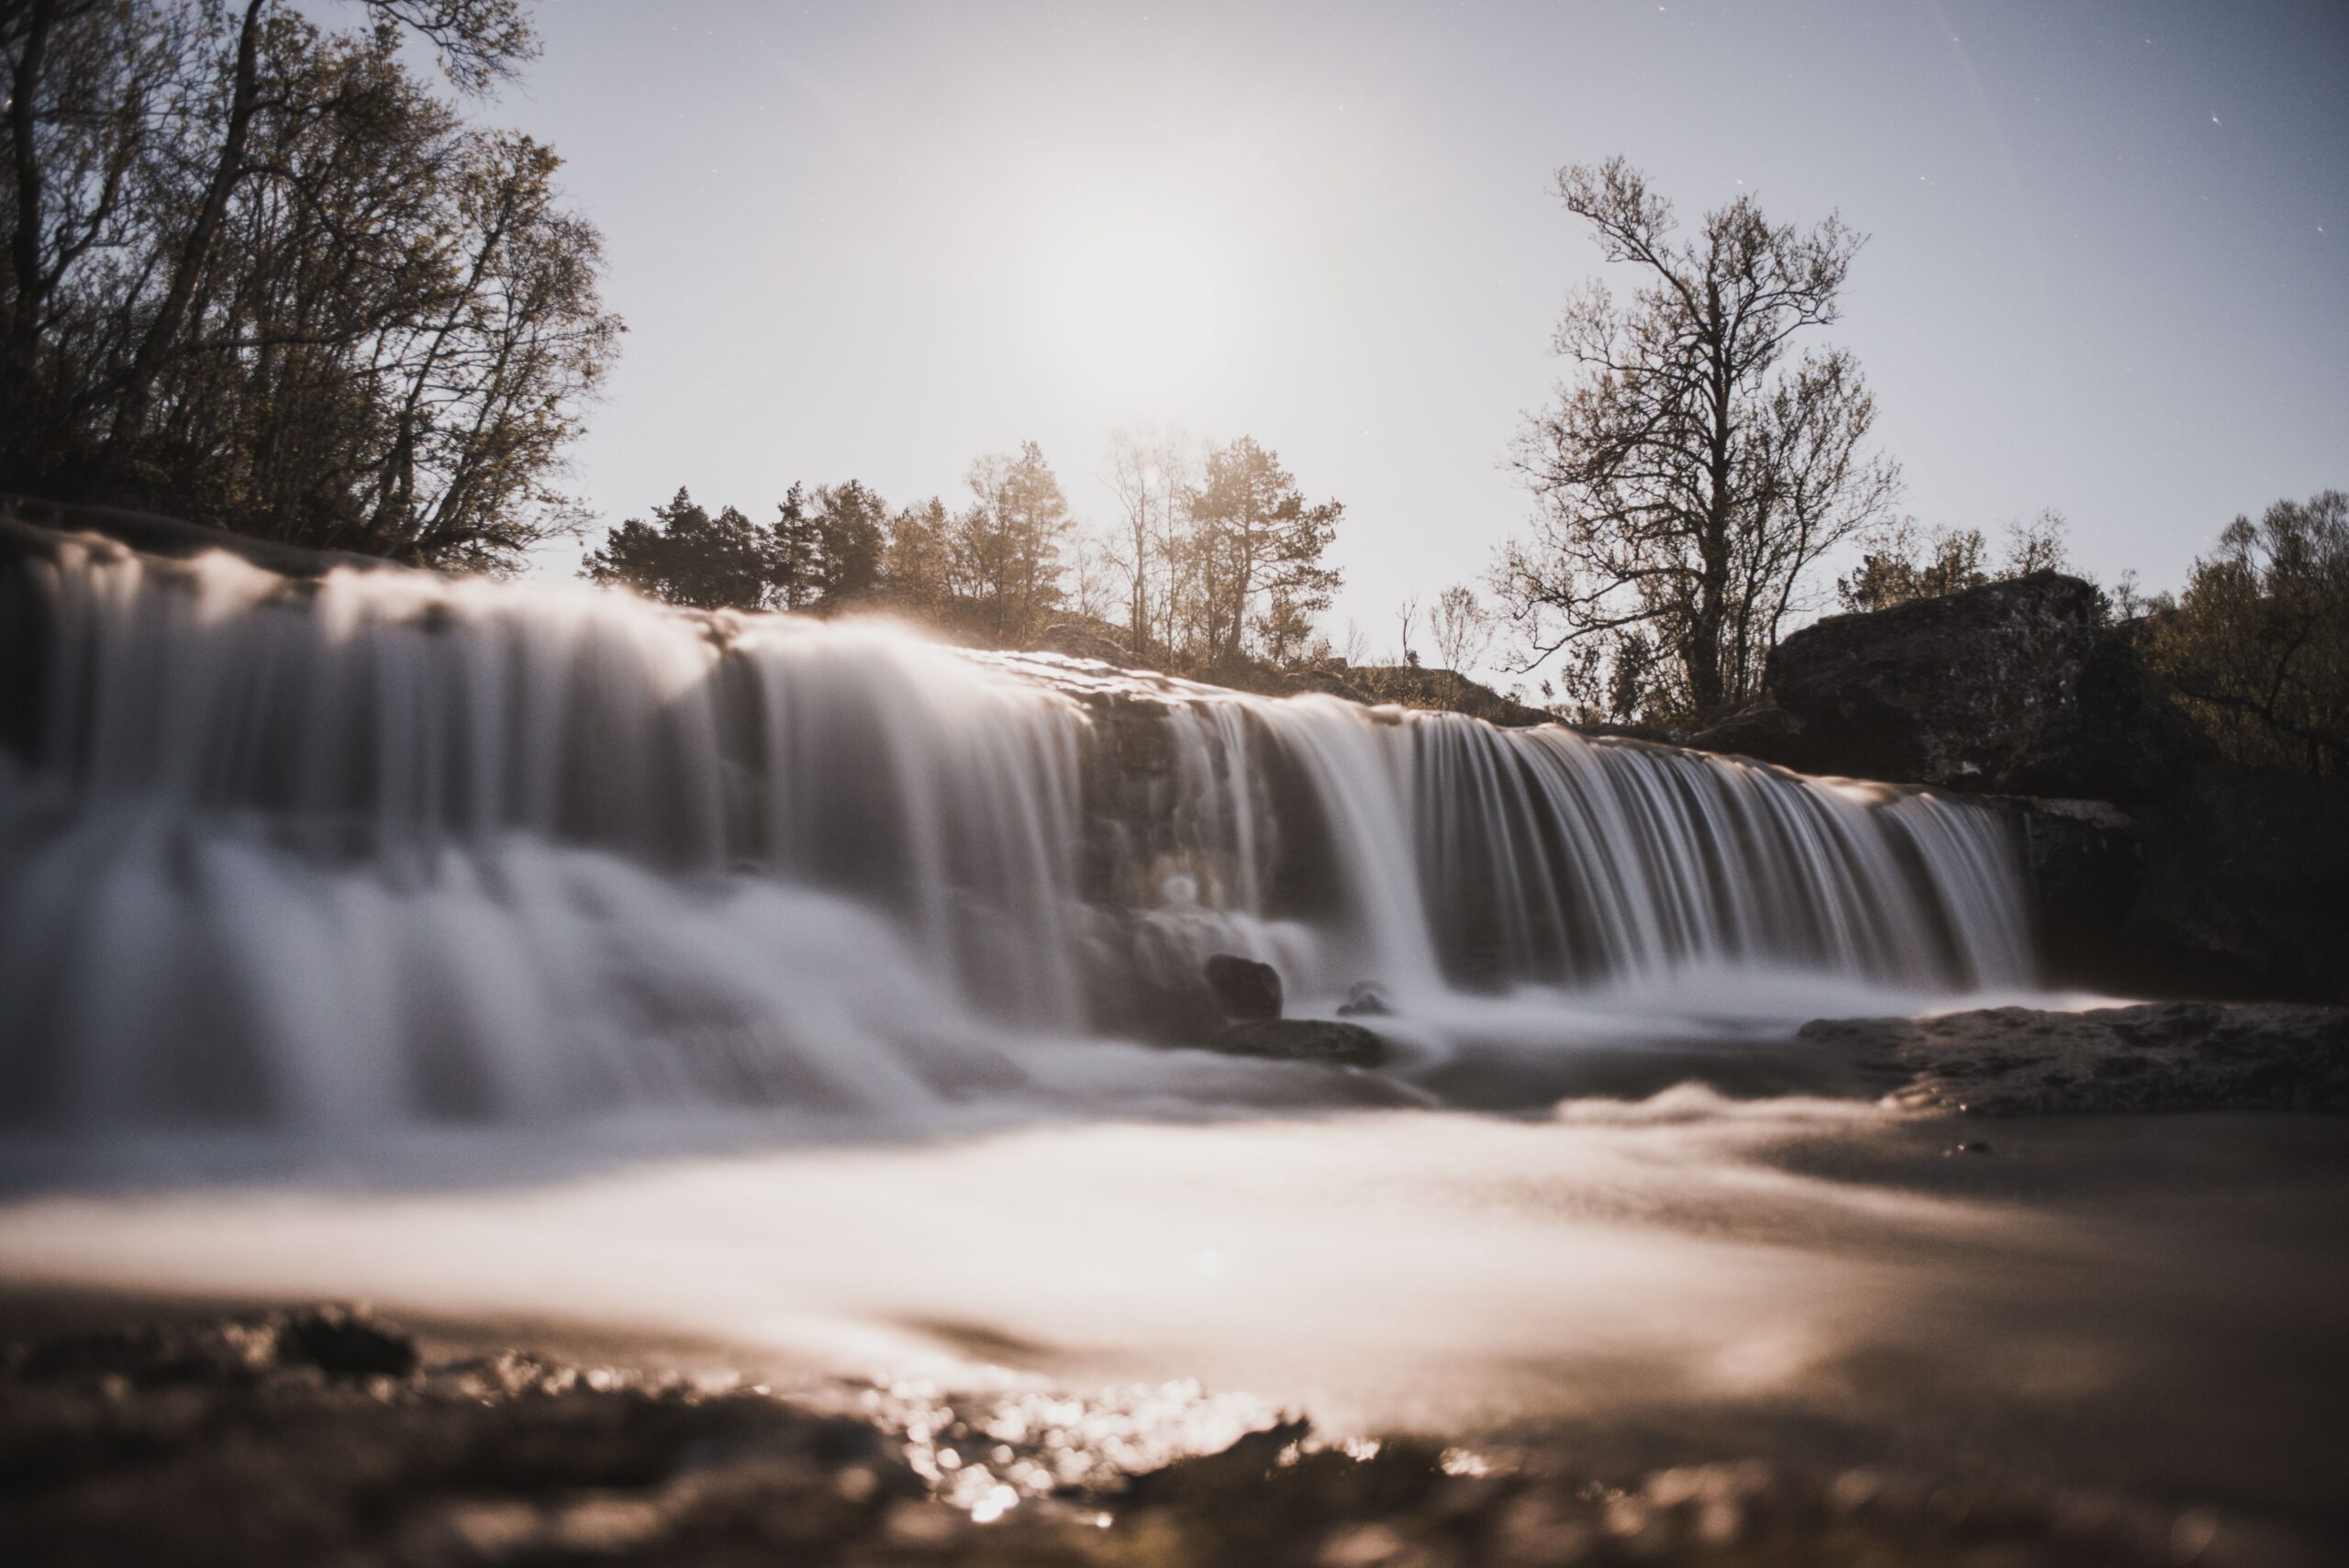
Shooting long exposure waterfalls in daylight requires cutting light dramatically: a 6 to 10 stop ND filter, base ISO, an aperture near f/11, and a tripod. That combination turns a harsh midday cascade into silk while keeping highlights intact and detail alive in the rock.
Eleven in the morning, mid-September, and the creek is lit like an interrogation room. Water hammering over a granite lip maybe twelve feet high, spray coming off it cold enough to make my forearms goosebump, and the sun punching straight through a gap in the canopy onto the whitest part of the falls. Somewhere above me a woodpecker is working a dead trunk. My meter says 1/500 at f/8, ISO 100.
1/500 of a second on a waterfall gives you frozen white gravel. Individual droplets suspended in air like someone paused a video. Technically sharp, emotionally dead.
And this is the whole problem with long exposure waterfalls in daylight. The shot lives in the range of half a second to thirty seconds, and daylight hands you a shutter speed three hundred times too fast. There’s no clever metering trick that fixes it. You have to physically take light away from the sensor.
I spent an embarrassing number of hikes learning that the hard way. Waiting for clouds. Hiking back at dusk with legs already shot. Trying to “fix it in post” with motion blur filters, which looks exactly as bad as it sounds. What follows is the whole system I use now, and the parts of it I still get wrong.
Why Are Long Exposure Waterfalls in Daylight So Hard?
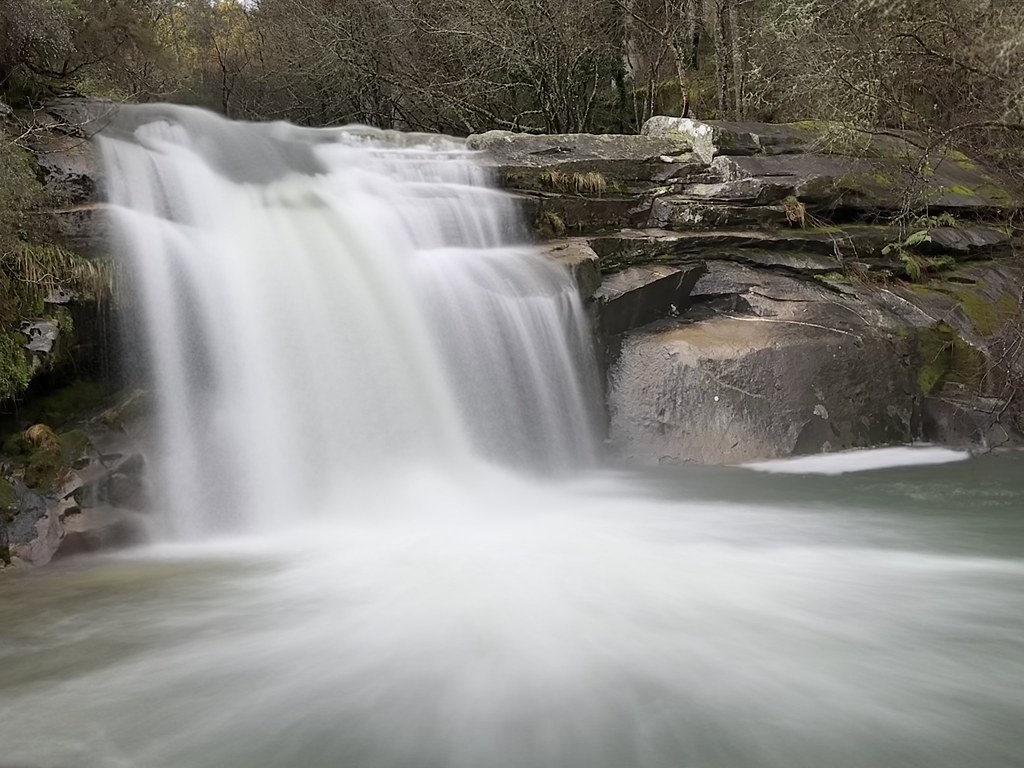
Exposure is three variables and daylight pins all three of them. You want a slow shutter, but ISO is already at its floor. You can stop the aperture down, sure, but past f/16 diffraction starts softening the whole frame, and on a high-resolution body you’ll see it.
Do the arithmetic. From 1/500 at f/8, closing to f/16 buys two stops: 1/125. Still frozen water. To reach one full second you need nine stops of reduction from that starting point. That gap is the entire reason long exposure waterfalls in daylight demand filtration rather than technique alone.
Digital Camera World made the same point in early September, framing filter choice and exposure control as the two decisions that matter. Their piece on why you can’t shoot long-exposure waterfalls in bright daylight without the right approach is worth reading alongside this one.
There’s a second problem nobody warns you about. Bright water against wet dark rock is a brutal dynamic range scenario. The falls are the brightest thing in the frame by several stops, and once you smear them across a second of exposure, every bright pixel accumulates. Long exposure waterfalls in daylight blow highlights faster than you expect.
The ND Filter Strategy for Long Exposure Waterfalls in Daylight
A neutral density filter is just dark glass. It reduces the light hitting your sensor without changing color, which lets you use a shutter speed the ambient light would never allow. Think of it as sunglasses for the camera.
Strengths are labeled confusingly. You’ll see ND8, ND64, ND1000, or 0.9, 1.8, 3.0, or “3-stop,” “6-stop,” “10-stop.” They all describe the same thing from different directions. Learn stops and ignore the rest.
| Filter | Stops Reduced | 1/500 Becomes | Best For |
|---|---|---|---|
| ND8 (0.9) | 3 | 1/60 | Overcast, deep shade, dusk |
| ND64 (1.8) | 6 | 1/8 | Most daylight waterfall work |
| ND1000 (3.0) | 10 | 2 sec | Full sun, open exposed falls |
| ND64 + ND8 | 9 | 1 sec | Stacking when 10 is too much |
If you buy one filter for long exposure waterfalls in daylight, buy the 6-stop. It is the workhorse. In dappled forest light at base ISO and f/11, a 6-stop lands you somewhere between a quarter second and a full second, which is the sweet spot for cascade texture.
The 10-stop is a specialist. It shines on open, unshaded falls at midday, and it forces multi-second exposures that flatten water into fog. Sometimes that’s gorgeous. Often it’s too much, and you lose the individual strands of water that make a cascade read as water.
Filter Quality, Color Cast, and the Mistake I Kept Making
Cheap ND glass has a color cast. Usually magenta or a sickly cyan, and it gets worse the darker the filter. A 10-stop budget filter can throw a shift so strong that white water renders pink and no white balance slider fully rescues it.
Here’s my confession. For about two seasons I shot long exposure waterfalls in daylight through a bargain ten-stop and blamed my raw processing for the muddy greens. It was never the software. I was pushing every frame through tinted glass and then fighting the tint for twenty minutes per image.
Good ND glass costs real money. Brands like Hoya and the usual optical suspects sell filters that hold neutrality well. Buy one good 6-stop instead of three mediocre filters of different strengths.
Two mounting systems, two tradeoffs. Screw-in circular filters are cheap, compact, and vignette-free on most lenses, but each one fits a single thread diameter. Square filters in a holder work across your whole kit via adapter rings, but the holder is bulky and the front element is exposed to spray, which at a waterfall is a constant fight.
My field answer: screw-in for the lens I shoot waterfalls with most, plus a step-up ring for the one other lens I might grab. Simple beats modular when your hands are wet.
How Do You Meter and Focus for Long Exposure Waterfalls in Daylight?
The workflow is meter first, filter second. Always. Dark glass confuses autofocus and can confuse the meter, so do all your thinking before the filter goes on.
- Compose and level the tripod. Get the frame exactly right with clear glass on the lens. Recomposing through a 10-stop is guesswork.
- Autofocus on the rock at the base of the falls, or wherever your primary subject sits, then switch the lens to manual focus and leave it.
- Set base ISO and your working aperture. ISO 100 or whatever your sensor’s native floor is, f/11 as a starting point.
- Meter the unfiltered scene and write down the shutter speed. Actually write it down or say it out loud. You will forget.
- Attach the filter without touching the focus ring. Screw it on slowly. Threads cross-thread easily when you’re rushing.
- Add the filter’s stops to your noted shutter speed. Each stop doubles the time. 1/500 with 6 stops: 1/250, 1/125, 1/60, 1/30, 1/15, 1/8.
- Dial that in, fire, and check the histogram. Not the rear screen brightness. The histogram.
Past thirty seconds you’ll need bulb mode and a timer, which is rare for long exposure waterfalls in daylight but common at dawn. Most modern bodies handle a metered exposure straight through a 6-stop without drama; 10-stops are where the meter starts lying to you.
Highlight alerts earn their keep here. Turn on blinkies. White water is the first thing to clip, and a clipped cascade is unrecoverable no matter how good your raw file is.
Shutter Speed Is a Creative Choice, Not a Correct Answer
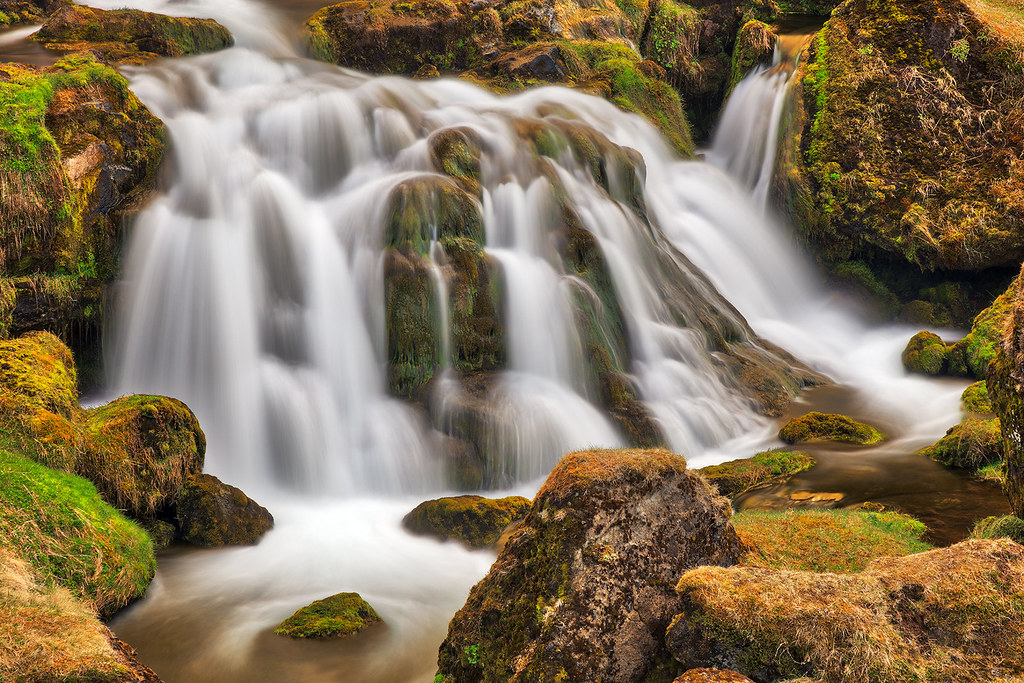
This is where most guides fail you. They give a number. There is no number. Duration is the aesthetic decision at the heart of long exposure waterfalls in daylight, and it changes with the volume, drop height, and speed of the water in front of you.
- 1/15 to 1/4 second: Motion with structure. You keep visible strands and defined edges. Best for high-volume, fast-dropping falls where full smoothing would just make a white blob.
- 1/2 to 2 seconds: The classic silk. Water reads as continuous flow, rocks stay sharp, foam patterns at the base become graphic swirls. My default range.
- 4 to 15 seconds: Full abstraction. Water becomes mist and fog. Wonderful on thin, trickling falls that look weak at shorter durations.
- 20 seconds and up: Diminishing returns on the water, rising risk everywhere else. Foliage moves. Clouds streak. Your tripod drifts.
Thin, low-volume falls need longer exposures to look substantial. Thundering high-volume falls need shorter ones to keep any character at all. Shoot a bracket of durations at every location. Two seconds, one second, half a second, quarter second. Decide at home on a real monitor.
I have walked away from more than one waterfall convinced I had the shot, only to find I’d shot eight frames at a single shutter speed and none of them were the right one. Bracket duration the way you’d bracket exposure.
Polarizers: The Filter That Matters More Than Your ND
Here’s an unpopular opinion. A circular polarizer contributes more to the quality of long exposure waterfalls in daylight than the ND does. The ND makes the shot possible. The polarizer makes it good.
Wet rock is a mirror. Wet leaves are mirrors. Every surface around a waterfall is throwing specular white glare back at your lens, which is why unpolarized waterfall shots look washed out and low-contrast even when exposure is perfect. Rotate a polarizer and the glare drops away. Rock goes from pale grey to deep saturated brown. Moss turns genuinely green.
Bonus: a CPL eats roughly 1.5 to 2 stops on its own. Stack it under your 6-stop and you’re effectively at 8 stops without buying another filter.
Watch the stack height, though. A CPL plus an ND plus a wide-angle lens is how you discover mechanical vignetting in the corners. On anything wider than 20mm, check the frame corners at your working aperture before you commit to a long sequence.
Composition: What Long Exposure Waterfalls in Daylight Actually Need
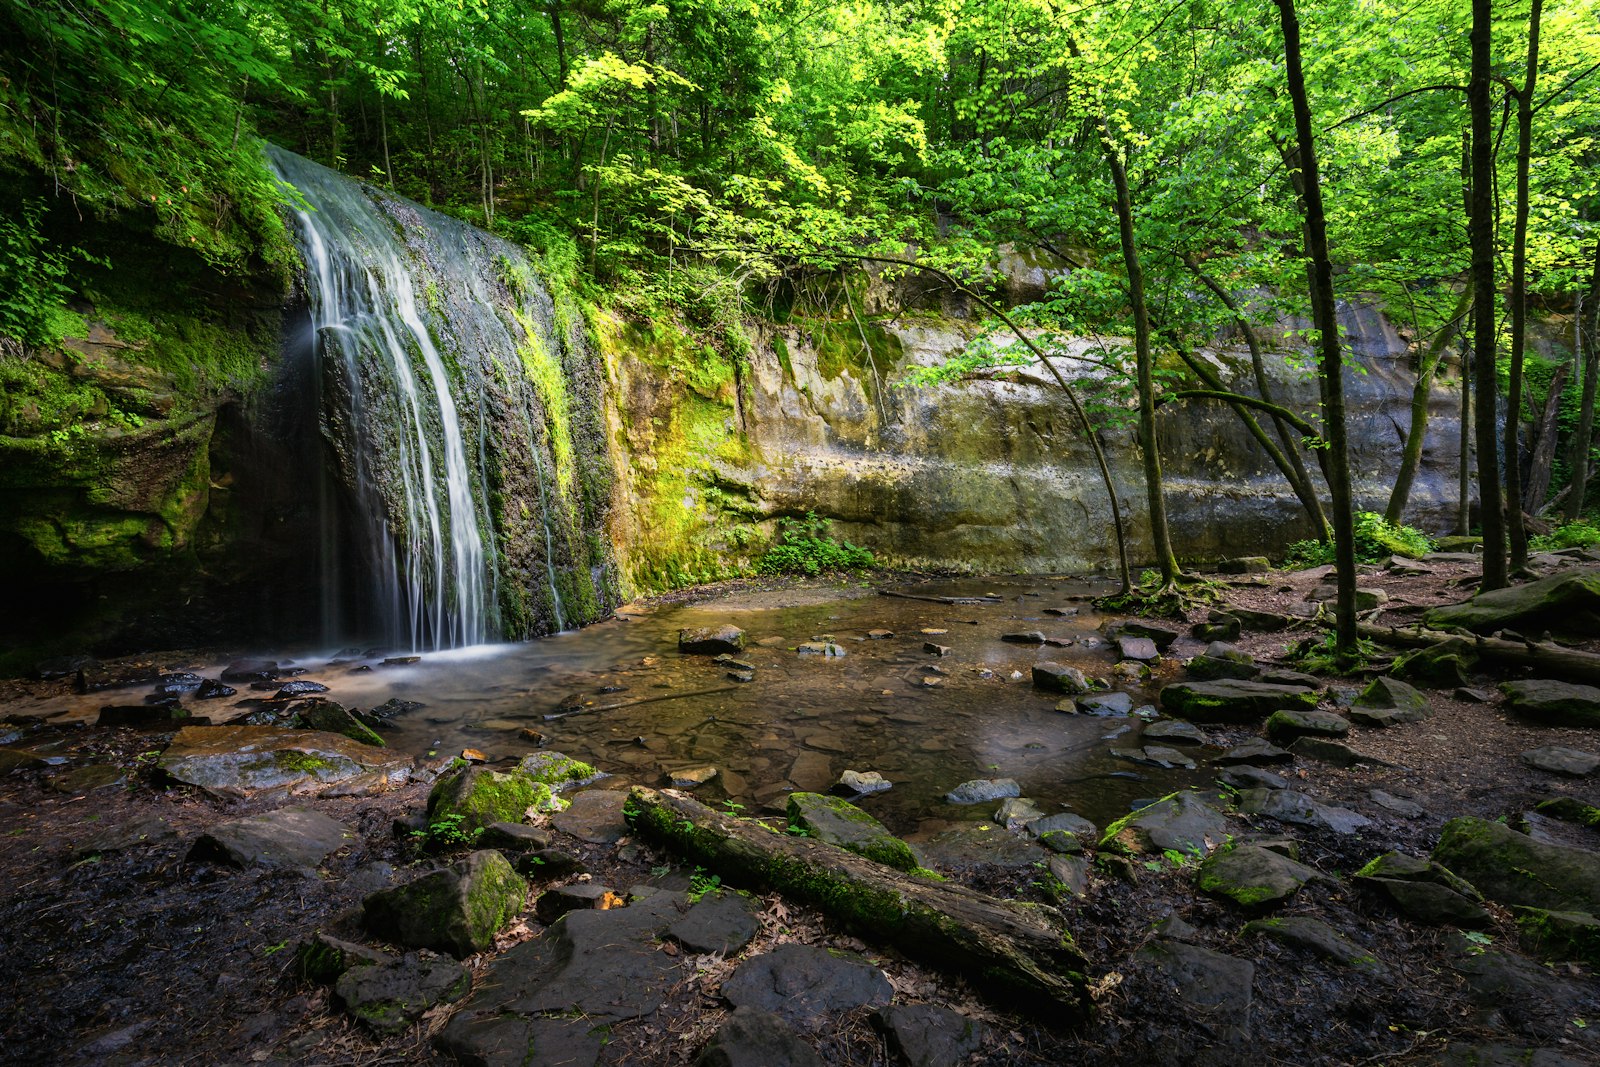
Smooth water is a texture, not a subject. This is the single biggest failure I see, and I made it for years: pointing the camera at the falls, centering them, shooting, and wondering why the result is boring. A smeared white shape in the middle of the frame is not a photograph.
Long exposure waterfalls in daylight need a contrast partner. Something hard, static, and detailed to make the softness mean something. Sharp rock. Crisp fern fronds. A fallen log with visible bark texture. The eye reads soft only in relation to sharp.
Practical framing moves that consistently work:
- Get low. Tripod near water level, foreground boulder in the bottom third. Instant depth, and it hides the boring flat water at your feet.
- Use the outflow as a leading line. The stream below the falls is a free compositional arrow. Shoot from downstream and let it pull the eye up to the drop.
- Frame with foliage. Overhanging branches on one edge cover dead sky and add that sharp texture the soft water needs.
- Shoot vertical more than you think. Falls are tall. Most cascades want portrait orientation, and most people default to landscape out of habit.
- Exclude the sky if you can. Bright sky next to bright water is two competing highlights and a dynamic range nightmare.
Fill the frame. Step closer. Almost every mediocre waterfall image I’ve shot was shot from too far back with too much irrelevant forest around the edges.
Light Conditions: Working With What You Get
Overcast is the gift. A heavy grey sky is a giant softbox and it drops your baseline exposure by two or three stops, meaning your 6-stop suddenly behaves like a 9-stop. Overcast days are when long exposure waterfalls in daylight get easy.
Direct midday sun on the falls is the hardest case. The white water goes nuclear, the shaded rock goes black, and no filter fixes a dynamic range problem. Options: wait for a cloud, shoot a tighter composition that excludes the sunlit section, or come back.
Dappled light through canopy is trickier than it looks. Bright patches drift across the scene during a two-second exposure, and you get inconsistent hot spots frame to frame. Sometimes a breeze solves it for you. Sometimes it ruins twenty frames.
Best window in the current season: early morning in September and October, when the sun is low enough to stay off the water and autumn color is stacking up on the banks. Fall is peak season for this work and you should be planning trips now, not in November when the leaves are down.
Field Workflow and the Stuff That Ruins Frames
Spray is the enemy. Not the camera-killing kind usually, but the lens-front kind. Water droplets on your filter turn into soft grey blobs in every frame, and at a second of exposure you won’t see them on the rear screen.
My routine: microfiber cloth in a pocket, not the bag. Wipe the front element between every single frame when I’m within spray range. Check the corners at 100% on the rear screen before moving on. I once shot a whole morning sequence with a droplet dead center and didn’t notice until I was home. Thirty frames, all garbage.
Stability checklist for long exposure waterfalls in daylight:
- Tripod feet on rock, not silt. Wet sediment compacts under load and your camera slowly sinks mid-exposure.
- Hang nothing from the center column. A swinging bag in breeze is worse than no ballast.
- Two-second timer or remote release. Your finger on the shutter is vibration.
- Turn image stabilization off. On a tripod, IS can hunt and introduce the very blur it prevents handheld.
- Electronic front curtain or full electronic shutter if your body offers it, to kill mirror and shutter slap.
- Cover the viewfinder eyepiece on a DSLR. Light leaks in through the back on multi-second exposures.
One more: shoot raw, obviously, but also shoot more frames than feels necessary. Long exposure waterfalls in daylight have a low hit rate. Wind moves a branch, a droplet lands, a cloud shifts. Ten frames of the same composition gives you one clean file.
Processing Long Exposure Waterfalls in Daylight Without Wrecking Them
Restraint. That’s the whole philosophy. The most common processing sin on these images is cranking clarity and contrast until the silky water you worked for turns crunchy again.
My actual sequence: white balance first, because ND glass shifts it. Then highlight recovery on the water, pulling the brightest areas back until texture returns. Then shadow lift on the rock, gently. Then dehaze at negative values, not positive, if the scene reads too contrasty.
Sharpen selectively. Mask the sharpening to the rock and foliage, keep it entirely off the water. Global sharpening on a long exposure fights the effect you spent the whole morning building.
Color is where these images get overcooked. Waterfall scenes are naturally green and grey and brown, and the temptation is to push saturation until it looks like a screensaver. Resist it. The polarizer already did the saturation work in camera, which is exactly why you use one.
Where the Technique Carries Over
Everything here transfers. The meter-then-filter discipline, the manual focus lock, the duration bracketing, the tripod paranoia. Once you internalize it for long exposure waterfalls in daylight, you own a whole category of work: coastal seascapes, urban light trails, moving cloud.
Night work uses the same muscles minus the filter. If you want to build the exposure-thinking faster, our piece on fireworks photography and the long exposure technique that makes everything else click covers the same mental model from the opposite lighting extreme.
The honest truth about long exposure waterfalls in daylight is that it’s a gear-dependent technique with a shallow learning curve and a deep practice curve. One filter and one tripod get you to competent in an afternoon. Getting to genuinely good takes seasons of walking out to the same creek and paying attention.
What to Take From This
- One filter to start: a quality 6-stop ND. Add a circular polarizer before you add a 10-stop.
- Meter before filtering: compose, autofocus, lock to manual, note the shutter speed, then mount the glass.
- Add stops by doubling: six stops turns 1/500 into 1/8. Count it on your fingers if you need to.
- Bracket duration, not just exposure: quarter second through two seconds at every location.
- Soft needs sharp: every frame needs hard-edged rock or foliage as a contrast partner.
- Wipe the filter between frames: spray droplets are invisible on the rear screen and fatal at home.
- Kill IS on a tripod and use a timer or remote. Vibration ruins more frames than wind does.
- Process gently: mask sharpening off the water, pull highlights back, leave saturation alone.
Go find a creek this month. Autumn light is the best window all year for long exposure waterfalls in daylight, the crowds thin out after Labor Day, and the mud is easier on your tripod than August dust. Take one ND, one polarizer, one microfiber cloth, and the patience to shoot the same composition ten times at five different shutter speeds. That last part is the actual skill. Everything else is just glass.
FAQ
What ND filter strength is best for long exposure waterfalls in daylight?
A 6-stop ND handles most situations, especially shaded forest cascades. Reach for a 10-stop only on open, unshaded falls in full midday sun, where 6 stops still leaves the shutter too fast.
What shutter speed should I use for waterfalls?
There’s no single answer. Half a second to two seconds gives the classic silky look. Use shorter durations on high-volume falls to preserve texture, and longer ones on thin trickles that need substance.
Do I need a tripod for long exposure waterfalls in daylight?
Yes, without exception. Any exposure longer than about 1/30 second will show handheld shake. A sturdy tripod with feet planted on rock rather than wet silt is non-negotiable for this technique.
Can I skip the ND filter and just stop down to f/22?
You can, but you shouldn’t. f/22 buys only a couple of stops beyond f/11 and introduces visible diffraction softening across the whole frame. Filtration costs you nothing in image quality.
Why does my white water look pink or blue?
Cheap ND glass has a color cast that worsens with filter strength. Correct what you can with white balance, but the real fix is buying one optically neutral filter instead of several budget ones.
Is a polarizer worth stacking with an ND?
Absolutely. It cuts glare off wet rock and foliage, deepens saturation, and contributes about 1.5 to 2 extra stops. Just check your corners for vignetting on wide-angle lenses.
Photo: Johannes Havn