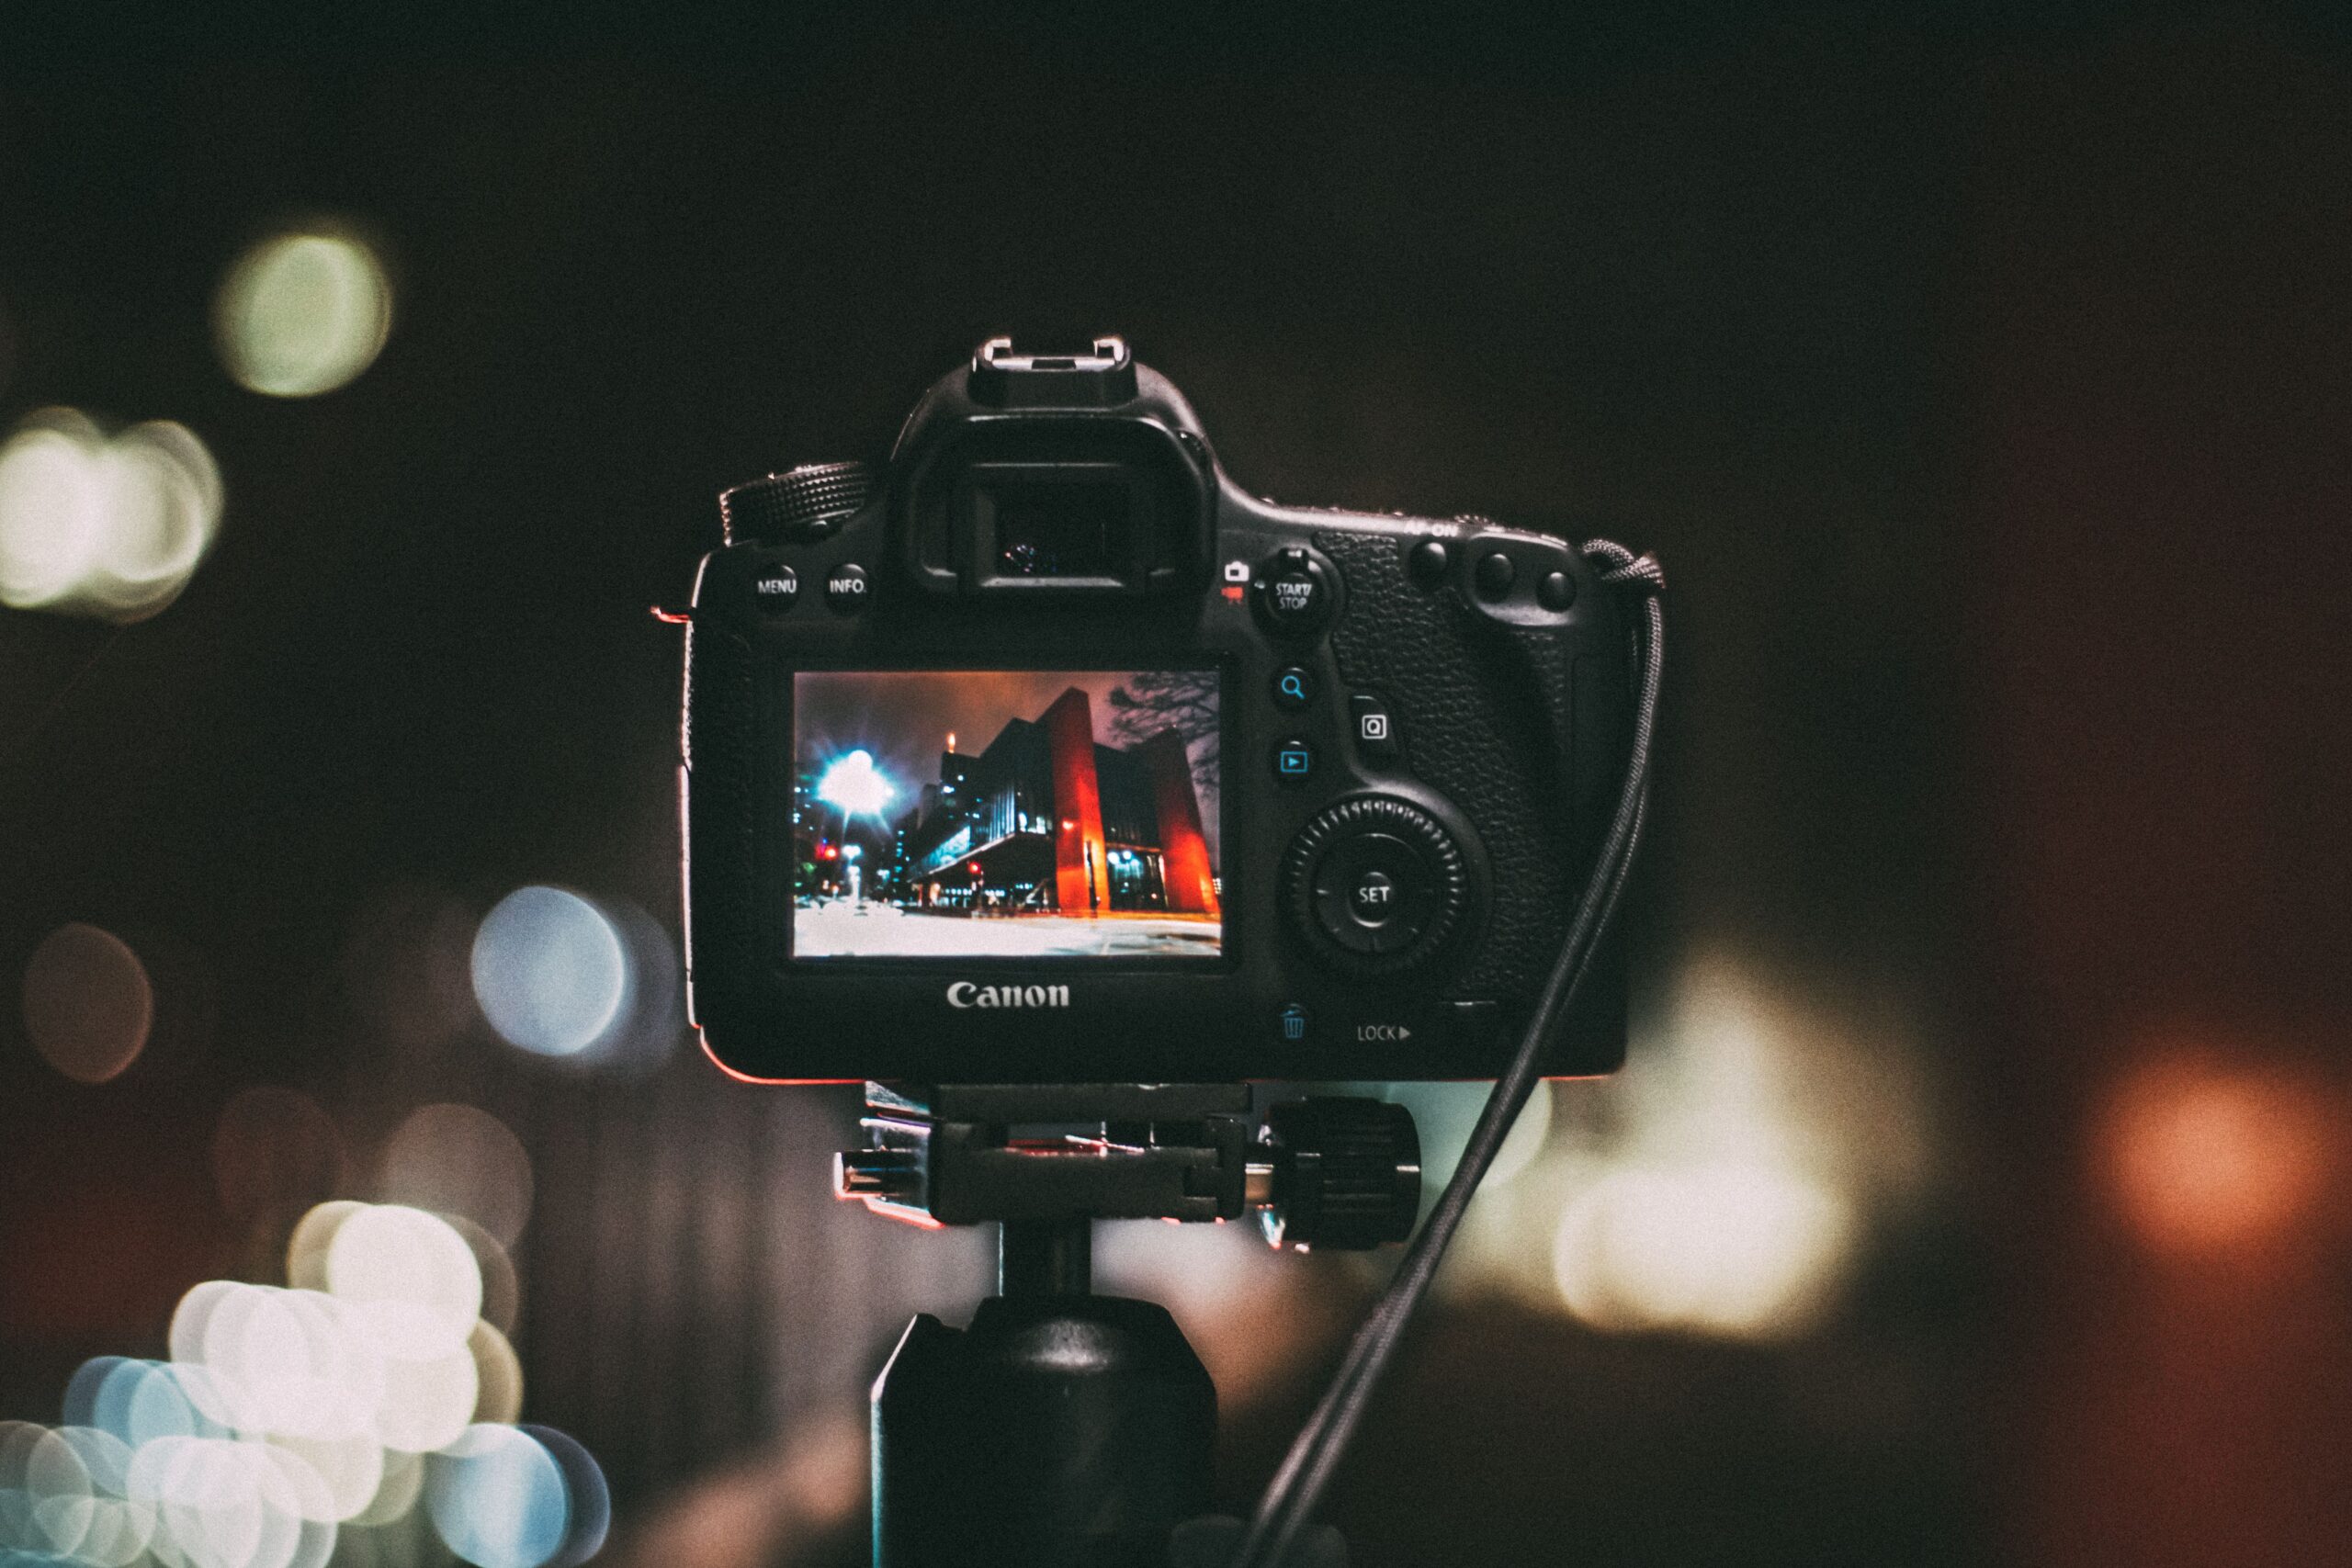
Night photography techniques aren’t about the newest sensor. They’re about the decisions you make in the dark, with the camera already in your bag. DPReview’s Night Lights winners prove it: strong low-light work comes from exposure discipline, patient focusing, and knowing when to hold still, not from chasing a new body.
It’s a Tuesday, nearly midnight, and I’m crouched on wet pavement outside a closed diner with the neon sign buzzing overhead. The air smells like rain that hasn’t fully committed. My hands are cold, my tripod leg is sinking into a soft patch of grass, and the autofocus is hunting like it’s lost its keys. That moment, the one where the camera refuses to lock on and the light won’t wait, is where every photographer eventually learns whether they actually understand night photography techniques or just own expensive gear.
DPReview just published the winners from its March 2026 Night Lights photo challenge, and looking through those 20 images reminded me of something I keep forgetting: none of this requires a new camera. It requires knowing what to do when the sun’s gone and the meter’s confused. So let’s walk through the decisions that actually matter, step by step, using the body you already shoot with.
How Do You Nail Exposure in the Dark?
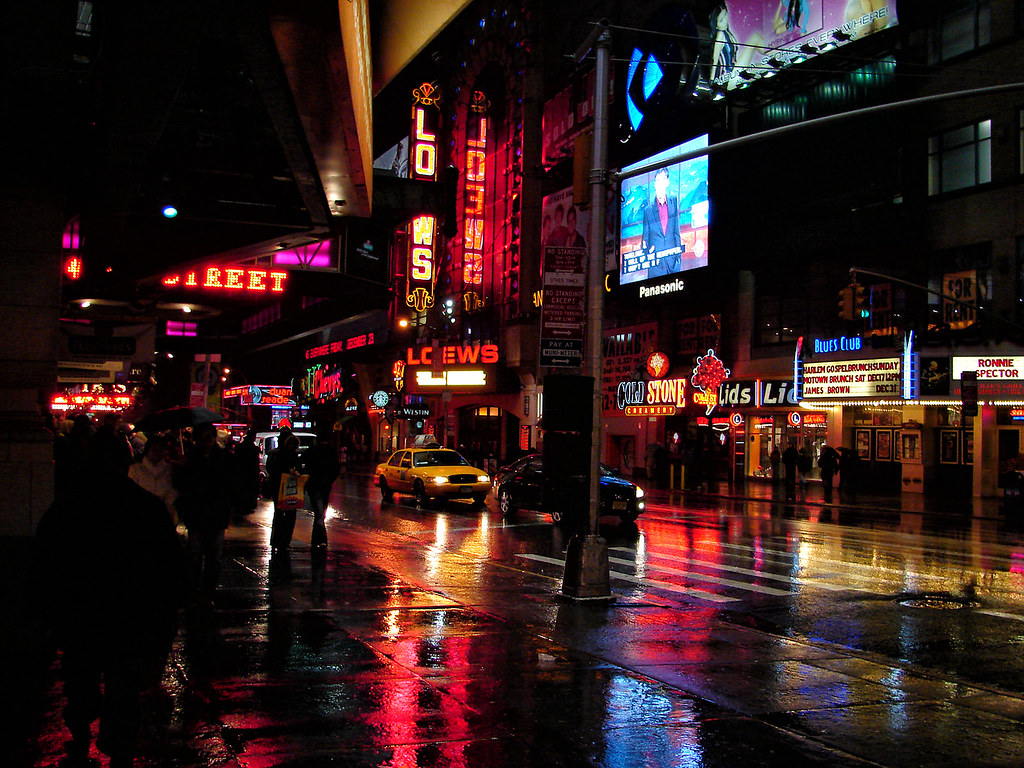
Here’s the first uncomfortable truth: your camera’s meter is guessing, and at night it guesses badly. It wants to turn a dark scene into a muddy gray one. The winning shots in that DPReview gallery are dark on purpose. Shadows stay shadows. Highlights glow without blowing out. That’s a choice, not an accident.
The exposure decisions are the foundation of every other move you make. Get these three settings talking to each other and the rest of your night photography techniques fall into place.
- Shoot in manual and stop trusting the meter. Set your exposure, take a frame, read the histogram, adjust. At night the histogram is your only honest friend. If the whole graph is bunched hard against the left wall, you’re crushing your shadows into noise you can’t recover.
- Expose for the highlights, then lift shadows in post. Protect the neon, the streetlight, the moon. Let the darks stay dark on the back of the camera. Modern sensors give you far more shadow latitude than highlight latitude, and this single habit rescued more of my night frames than any lens ever did.
- Use the “500 rule” as a starting point for stars, not gospel. Divide 500 by your focal length to estimate the longest shutter before stars streak. On a 24mm lens that’s roughly 20 seconds. Test it, then trust your own eyes over the math.
- Bracket when you’re unsure. Shoot the same frame at three exposures. Storage is cheap. Driving back to the location at 1am because you botched the exposure is not.
I underexposed an entire rooftop city series once because I glanced at the LCD and thought it looked “moody.” At home on a calibrated screen it was just noisy sludge. The histogram would have told me the truth on-site. I didn’t ask it. That’s on me.
Focusing When the Camera Can’t See
Autofocus at night is a coin flip, and the coin usually lands on “no.” This is where a lot of people give up and blame their gear. Don’t. Focusing in the dark is a skill, and it’s central to the night photography techniques that separate a sharp keeper from a soft near-miss.
- Switch to manual focus and magnified live view. Punch in to 100 percent on a distant point light, a streetlamp, a bright star, a lit window, and rack focus until that dot is as small and crisp as it gets. This is the single most reliable way to nail focus when the scene is too dark for autofocus.
- Use focus peaking if your body has it. Most cameras from the last decade do, even the ones you’ve written off. It highlights the in-focus edges so you can confirm sharpness without squinting.
- Try one autofocus grab on a hard edge first. Point at the brightest high-contrast line in the frame, let AF lock, then flip to manual so it can’t drift. Half the battle is just getting close before you fine-tune by hand.
- Tape down your focus once it’s set. If you’re shooting a locked-off composition for an hour, a strip of gaffer tape on the focus ring stops you from bumping it. Low-tech, unglamorous, saves the night.
The DPReview winners are tack sharp where they need to be and intentionally soft where they don’t. That precision doesn’t come from a $4,000 body. It comes from someone who took the extra thirty seconds to confirm focus instead of hoping.
Managing Noise Without Killing the Image
Noise is the boogeyman everyone uses to justify a new camera. And look, a newer sensor is cleaner. But noise is mostly a byproduct of underexposure, and underexposure is a decision, not a hardware limitation. Good night photography techniques attack noise at the source, in the field, before it ever reaches your editing app.
- Expose to the right, carefully. A brighter, cleaner exposure pulled down in post beats a dark exposure pushed up. The catch: never clip your highlights doing it. This is a balancing act, not a blunt instrument.
- Keep ISO as low as the scene allows. If you’re on a tripod with a static subject, drop the ISO and let the shutter stay open longer. Save high ISO for handheld moments and moving subjects where you have no choice.
- Shoot multiple frames and stack them. For static scenes, take five to ten identical frames and average them in software. The signal stays; the random noise cancels out. It’s free clean data from the gear you own.
- Denoise selectively in post. Blanket noise reduction turns everything to plastic. Apply it to smooth areas like sky, and hold back on textured detail so your image doesn’t look like a watercolor.
I once ran a noisy sky through heavy denoise and turned a gorgeous star field into a flat gray smear. Learned that the hard way. The stars I’d waited two hours for, gone in one careless slider drag. Restraint is a technique too.
Stabilization: Tripod, Bracing, or IBIS?
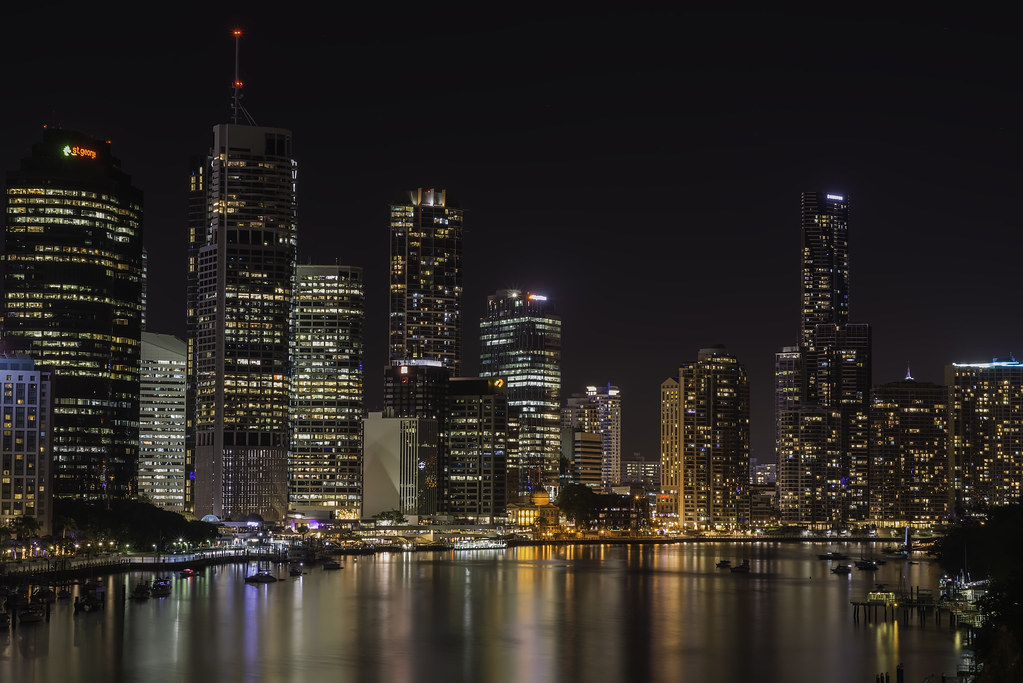
Long shutter speeds and shaky hands don’t mix. But you don’t always have a tripod, and sometimes you don’t want one. Knowing which stabilization tool to reach for is a quietly important part of your night photography techniques toolkit.
- Tripod for anything over roughly 1/15 second. No debate. If the shutter’s open long enough to matter, a stable base is non-negotiable. Weight down the center column with your bag if it’s windy.
- Use a remote release or the 2-second timer. Even on a tripod, the act of pressing the shutter introduces shake. Let the timer or a remote fire it so the camera settles first.
- Lean on in-body or lens stabilization for handheld. IBIS and optical stabilization can buy you several stops handheld, which is enough for street scenes at night if you brace properly. Turn stabilization OFF on the tripod, though, because it can hunt and soften your locked shots.
- Brace against the world. No tripod? Set the camera on a wall, a car roof, a railing. Tuck your elbows in, exhale slowly, and fire between heartbeats. It sounds like advice from a rifle range because it is, and it works.
The same discipline pays off across low-light work generally. If you shoot events, a lot of this overlaps with what I covered in our guide to low-light wedding photography, where the stabilization stakes are even higher because you can’t ask a first dance to hold still. And if long exposures are your thing, the long-exposure approach for fireworks uses nearly identical thinking about shutter, tripod, and timing.
What to Take From This
- Exposure: Shoot manual, read the histogram, protect highlights, let shadows stay dark, bracket when unsure.
- Focus: Manual focus with magnified live view on a point light; use peaking; tape the ring for locked shots.
- Noise: Expose to the right without clipping, keep ISO low on a tripod, stack frames for static scenes, denoise selectively.
- Stabilization: Tripod plus timer over 1/15s; IBIS and bracing for handheld; turn stabilization off on the tripod.
- Gear: Every one of these works on the body you already own. No new purchase required.
Understanding light after dark builds directly on understanding it during the day. If you want to sharpen the foundation, our piece on mastering natural light and the breakdown of making golden hour work for you both feed the same instincts you’ll lean on at midnight.
The photographers behind the DPReview Night Lights winners didn’t win because they bought the right camera in the spring of 2026. They won because they made better decisions in the dark than the person standing next to them. That’s the whole game. Master these night photography techniques with the gear already in your bag, go stand somewhere cold and quiet after sunset, and let the histogram, not your gear anxiety, tell you when you’ve got the shot.
FAQ
What is the best ISO for night photography techniques on a tripod?
Keep it as low as the scene allows, often the base ISO of your camera, and let the shutter stay open longer. A clean low-ISO long exposure beats a noisy high-ISO grab every time on a stable base.
How do you focus at night when autofocus fails?
Switch to manual focus, punch into magnified live view on a distant point light like a streetlamp or bright star, and rack focus until that dot is as small and sharp as possible.
Do I need a new camera for good low-light photos?
No. Noise mostly comes from underexposure, not old hardware. Better exposure decisions, frame stacking, and careful focusing produce cleaner night images from the body you already own than a new sensor with sloppy technique.
Should I turn off stabilization on a tripod?
Yes. In-body and lens stabilization can hunt for movement that isn’t there when the camera is locked down, softening your shot. Disable it on the tripod and re-enable it only for handheld frames.
Photo: Kaique Rocha