The short version: The four classic portrait lighting patterns (flat, loop, Rembrandt, and split) aren’t a textbook exercise. They’re a fast read of your client’s face. Loop flatters almost everyone, Rembrandt adds drama, split turns theatrical, and flat forgives texture. Learn to see the nose shadow, and you can set any of them in under a minute.
It’s a hot Tuesday in July, the AC in the rental studio is losing, and my client just sat down looking like she’d rather be anywhere else. Senior portrait, mom hovering by the door, twenty minutes booked and the room smelling faintly of hairspray. I moved one light about eight inches. Watched the shadow under her nose curl into a soft little comma. And her whole face changed, softer, more like her. That single move is the entire game of portrait lighting patterns, and nobody teaches it that way.
Here’s what the diagrams never tell you: the four classic portrait lighting patterns aren’t styles you pick from a menu. They’re what happens when light hits bone. Learn to read the face first, and the pattern chooses itself. This is the working version of what a good tutorial like the one over at Fstoppers lays out for beginners, except I’m going to talk about it the way it actually feels when the clock is running and someone’s paying you.
What Are the Four Classic Portrait Lighting Patterns?
The four classic portrait lighting patterns are flat, loop, Rembrandt, and split. They’re defined by one thing: where the shadow of the nose falls. That’s it. Everything else is just how hard the light is and where you feather it.
Flat lighting puts the source right beside your lens, minimal shadow, face lit evenly. Loop drops a small shadow off the side of the nose that doesn’t touch the cheek. Rembrandt lets that shadow connect to the cheek shadow and leaves a little triangle of light under the eye. Split runs the shadow straight down the middle so half the face glows and half goes dark.
I used to think of these as difficulty levels, like flat was for beginners and split was for the cool kids. Wrong. They’re just tools. Each one solves a different problem on a different face. The trick isn’t memorizing them. It’s knowing which face wants which.
How Do You Read a Face Before Choosing a Pattern?
Before you touch a light, look at the person. The face tells you which of the portrait lighting patterns to reach for. Round faces want shadow to add structure. Angular faces want softer transitions so they don’t look gaunt.
I do a quick scan every time now, and it takes maybe five seconds. Where’s the weight in the face? Where’s the acne, the scar, the thing they’re self-conscious about? Which side of their jaw is stronger? People are asymmetrical, all of us, and the camera is merciless about it.
Here’s a confession. Early on I lit everyone the same way because I had one setup I trusted and I was scared to break it. I shot a whole family session with flat, even light because it was safe, and every single portrait came back looking like a passport photo. Technically fine. Emotionally dead. The dad had this incredible weathered face and I flattened it into nothing.
Now I read for texture first. A face with beautiful skin can take a hard split. A face that’s had a rough month wants the mercy of soft loop lighting. You’re not just lighting a subject. You’re deciding what to say about them. That decision lives underneath all four portrait lighting patterns.
Loop Lighting: The One That Flatters Almost Everyone
If you only master one of the portrait lighting patterns for paid work, make it loop. It flatters roughly 80 percent of the humans who’ll sit in front of you, and clients read it as “professional” without knowing why. It’s my default when I don’t have time to think.
To set it fast: put your key light slightly above eye level and about 30 to 45 degrees off to one side. Watch the nose. When you see a small shadow angle down toward the corner of the mouth but stay off the cheek, stop. That’s loop. It gives shape without drama, and it forgives a lot.
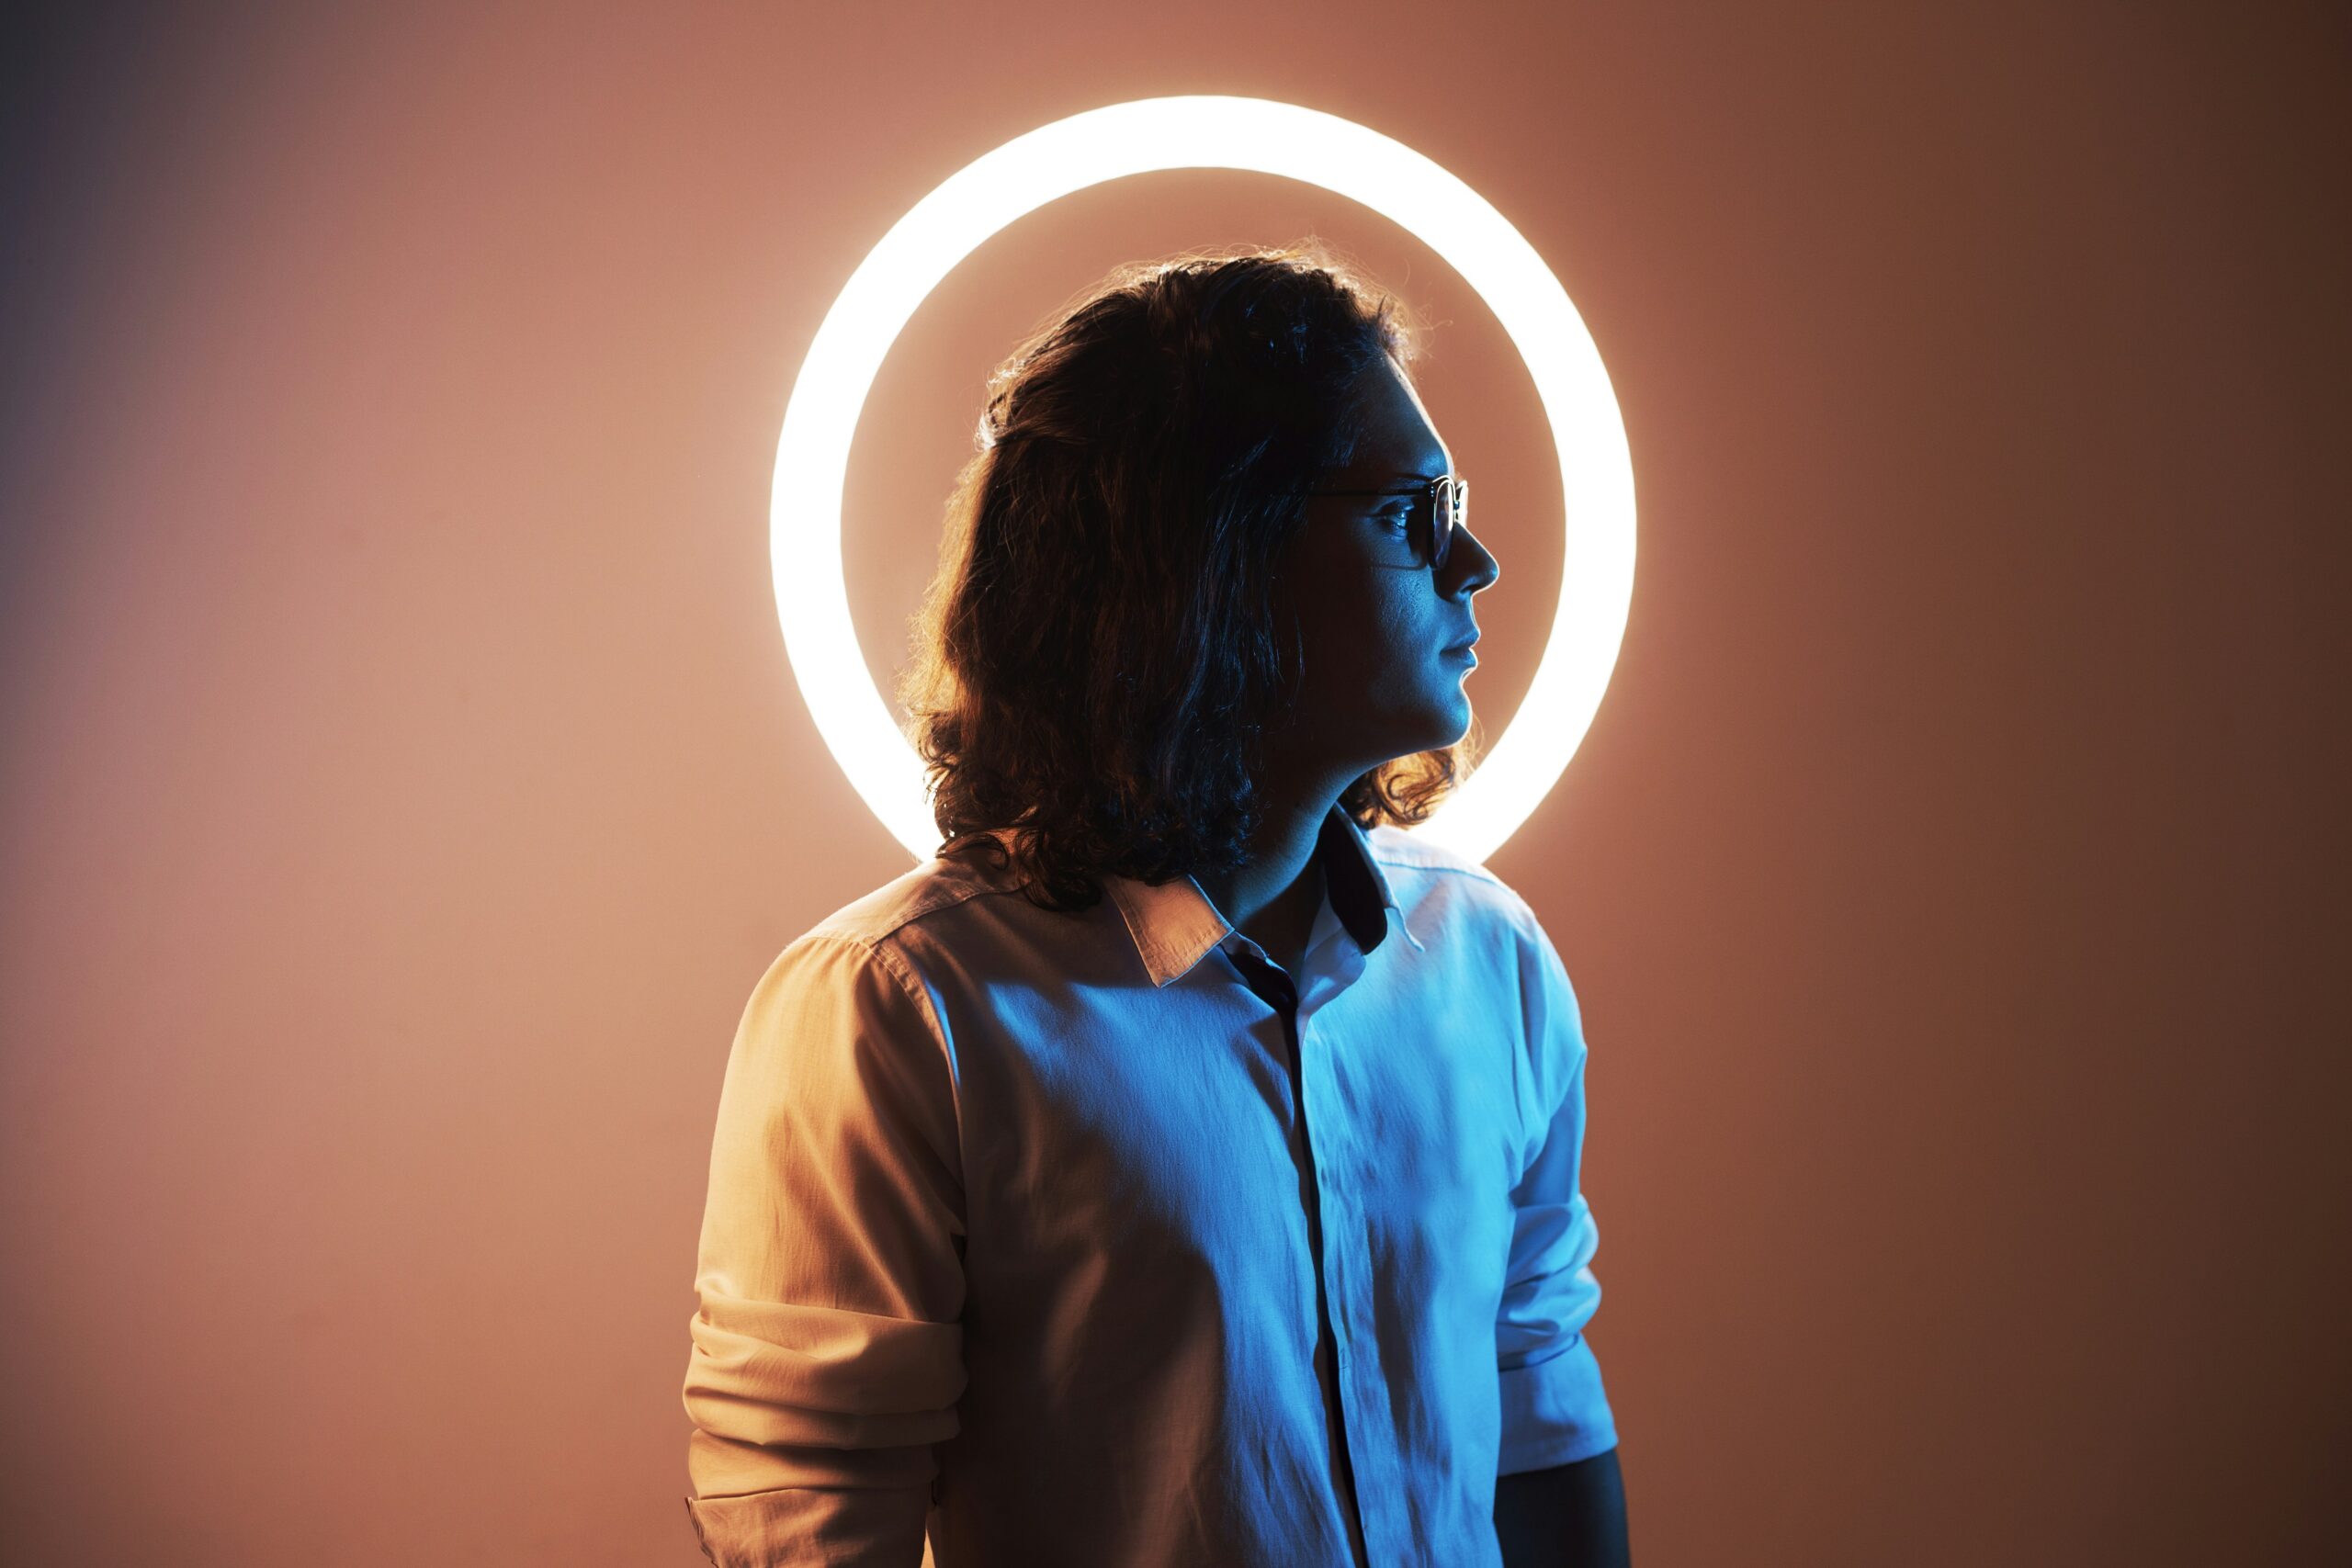
Why does it work for weddings, seniors, headshots, corporate? Because it looks natural, like decent window light. Nobody sits down thinking “I want a Rembrandt.” They think “I want to look like me on a good day.” Loop is the good day.
The mistake I made for too long: cranking the key too high, which drops the nose shadow into that dreaded mustache under the nostrils. Not flattering. Not on anyone. Bring the light down until the shadow points toward the mouth corner, not straight down. Small move, huge difference. This is the workhorse of portrait lighting patterns, and it deserves more respect than it gets.
Rembrandt and Split: When You Want the Photo to Feel Like Something
Rembrandt and split are the portrait lighting patterns you reach for when the client wants mood, when the brief says dramatic, or when you’re shooting for yourself and you’re tired of pretty. Rembrandt gives you that painterly triangle of light on the shadow-side cheek. Split cuts the face in half and dares the viewer to look away.
Rembrandt is loop’s moody cousin. You just push the key a little further around until the nose shadow marries the cheek shadow, leaving that small lit triangle under the eye. The triangle should be about as wide as the eye and no longer than the nose. Rule of thumb, not law. On the right face it’s gorgeous. On a round face it can add ten years, so know your subject.

Split is the diva. Light dead to the side, shadow down the center line. It’s phenomenal for musicians, actors, anyone with a strong bone structure who wants edge. It’s also unforgiving. I once shot a split-lit set for a client with textured skin, thought it looked cinematic on the back of the camera, and got a very polite email asking for something “a little softer.” Fair. Split shows everything. That’s the point and also the risk.
Here’s the honest working note on both: they eat time. On a paid shoot with a tight window, you don’t jump straight to Rembrandt or split. You start at loop, get the safe shots in the bag, then earn the drama once the client trusts you. That’s not selling out. That’s protecting the deliverable while still swinging for something better.
Flat Lighting Isn’t Boring, It’s a Tool
Flat lighting gets trashed as the beginner’s pattern, but it’s a deliberate choice when you need to hide texture. Beauty work, older clients who want kindness, anyone breaking out or scarred, flat is mercy. Of the four portrait lighting patterns, it’s the most forgiving and the most misunderstood.
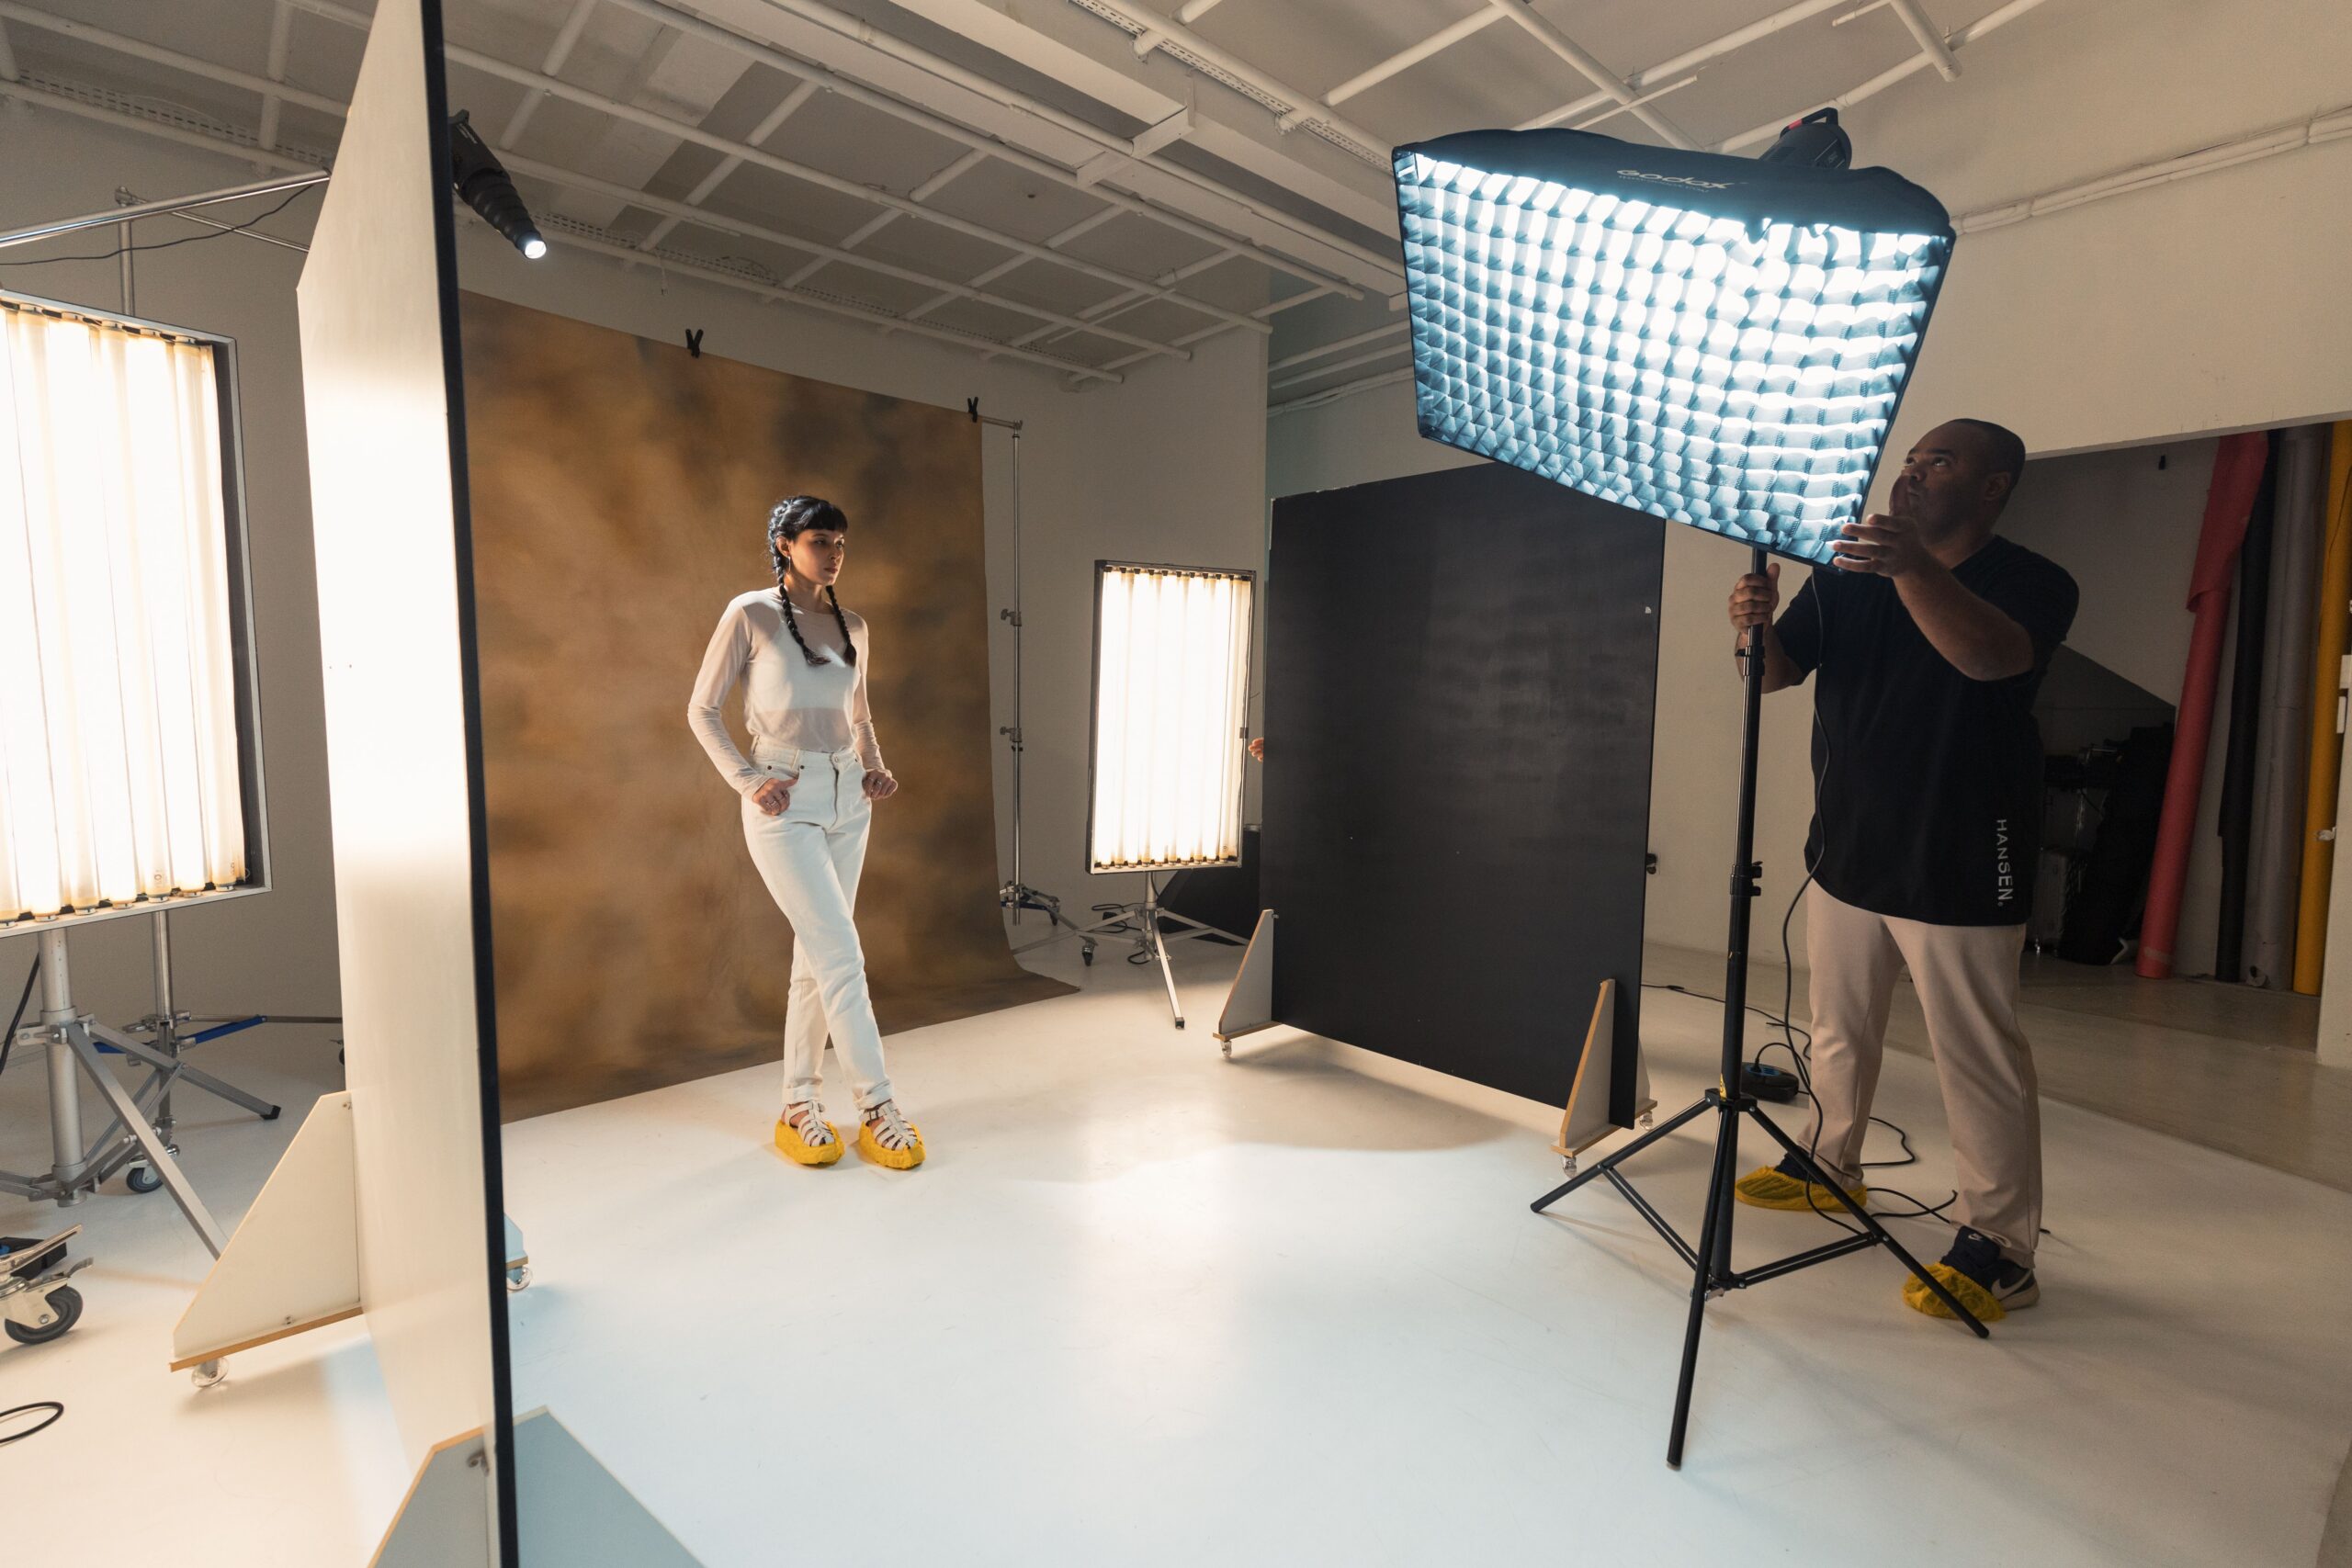
You set it by bringing the key close to the lens axis, straight-on or nearly so. Big soft source, close in. The shadows fill, the skin smooths, the face reads open and friendly. Clamshell setups (a light above and a reflector or second source below) are basically flat lighting dressed up for beauty campaigns.
The catch is that flat can flatten personality along with the texture. That family session I confessed to earlier? All flat. So use it on purpose, not out of fear. When someone’s insecure about their skin and they’re paying you to make them feel good, flat lighting is a gift you can hand them in about thirty seconds.
Reading light is a muscle, and it’s the same muscle you build shooting outdoors. If you want to sharpen it further, our piece on mastering natural light covers reading a scene without gear, and the shadow techniques guide gets deep into what shadows actually do. Both feed straight back into how you see portrait lighting patterns.
Setting Portrait Lighting Patterns Fast on a Paid Shoot
On a real shoot, speed is the whole ballgame. My workflow: read the face, start with loop, lock exposure, shoot the safe frames, then move ONE light to explore the other portrait lighting patterns. One variable at a time. Never rebuild from scratch mid-session.
The reason is trust. A client who watches you fumble with three stands loses confidence, and a nervous client photographs stiff. When you can slide a key eight inches and turn loop into Rembrandt without a word, they relax. They think you’re a wizard. You’re not. You just know where the nose shadow goes.
Gear-wise, none of this needs a lot. One decent light and a modifier will do all four patterns. I’ve run entire sessions on a single softbox and a bounce card. If you’re building a kit for this, used strobes and modifiers hold their value and turn up all over the place, from eBay to GearFocus at wildly different conditions for the same money, so buy on the modifier size, not the badge.
If you want your results to actually stand apart once you’ve got the patterns down, our guide on shooting portraits that don’t look like everyone else’s is the natural next step. The patterns are the grammar. Style is what you say with them.
The Takeaway
Stop treating portrait lighting patterns like a checklist to grind through and start treating them like a language you speak to a specific face. Loop for the everyday flatter, Rembrandt and split when you want the photo to mean something, flat when your client needs kindness more than drama. The pattern is never the point. The person is.
The photographers who make people feel seen aren’t the ones with the most lights. They’re the ones who look at a face for five seconds and know exactly where the shadow should fall. That’s a muscle you build one session at a time, one nose shadow at a time. Master the four portrait lighting patterns, then forget the diagrams and just watch the light land. If this helped, send it to the friend who’s still lighting everyone the exact same way.
FAQ
Which portrait lighting pattern is best for beginners?
Loop lighting. It flatters the majority of faces, reads as professional to clients, and is hard to get wrong once you learn to watch the nose shadow. Start there, get comfortable, then branch into Rembrandt, split, and flat as you learn to read different faces. Loop will carry you through most paid work while you’re building confidence with the other portrait lighting patterns.
How do I set a portrait lighting pattern quickly during a client session?
Start with loop, lock your exposure, and shoot your safe frames first. Then move only one light at a time to explore other patterns, watching where the nose shadow lands. Changing one variable keeps you fast and keeps the client relaxed. Rebuilding the whole setup mid-shoot burns time and confidence, so evolve from a working base instead of starting over.
Do I need expensive gear to shoot these patterns?
No. A single quality light and one modifier can produce all four classic patterns. The modifier size and your positioning matter far more than the brand on the strobe. Plenty of pros run full sessions on one softbox and a reflector, so invest in learning to read faces before you invest in a second light.
Photo: Matheus Bertelli